How to Make Indoor Hanging Planters: Easy DIY Ideas for Beginners
Are you looking to add a touch of green to your home without taking up floor space? Making your own indoor hanging planters is a simple and creative way to bring life into any room.
Imagine fresh plants gently swaying above your head, brightening your space and improving your mood every day. You’ll discover easy steps to create beautiful hanging planters that fit your style and space. Whether you’re a beginner or just want a new project, you’ll find tips that make the process fun and rewarding.
Keep reading, and you’ll soon have your own personalized indoor garden hanging right where you want it!
Credit: homeandgarden.craftgossip.com
Choosing Materials
Choosing the right materials is key to creating beautiful and lasting indoor hanging planters. The right materials support your plants and add charm to your space. Think about the container, the ropes or chains, and the tools you need. Each part plays a role in making your planter safe and stylish.
Best Containers For Hanging Planters
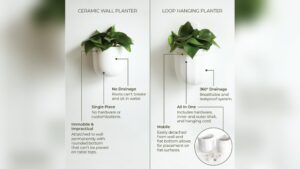
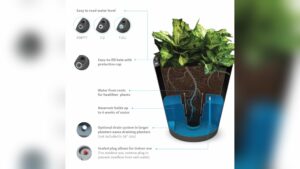
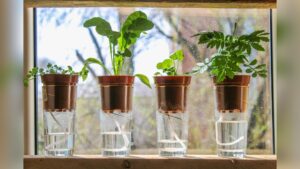
Pick containers that hold soil and water well. Ceramic pots are popular for their look and durability. Plastic pots are light and easy to hang. Glass containers add a modern touch but need careful handling. Avoid heavy pots that strain your hanging setup. Choose containers with drainage holes to keep plants healthy.
Selecting Durable Ropes And Chains
Strong ropes or chains keep your planter secure. Natural ropes like jute or cotton are easy to work with and look nice. Synthetic ropes last longer and resist moisture. Metal chains offer excellent strength but can be heavy. Match the rope or chain strength to your planter’s weight for safety.
Tools You’ll Need
Prepare simple tools before starting your project. Scissors or a sharp knife will cut ropes cleanly. A drill might be needed to make holes in containers. Hooks or ceiling anchors help hang your planter safely. A measuring tape ensures even rope lengths. Gather these tools to work smoothly and safely.
Preparing Your Planters
Preparing your indoor hanging planters is an important step. It helps your plants grow well and look good. Taking time to clean, decorate, and fill your containers makes a big difference. Let’s explore each part carefully.
Cleaning And Drilling Drainage Holes
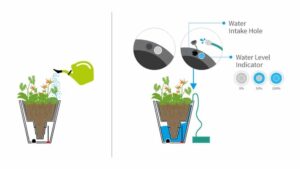
Start by cleaning your containers well. Remove dust and dirt using soap and water. Dry them completely to avoid mold. Next, drill small drainage holes at the bottom. These holes let excess water escape. Good drainage prevents root rot and keeps plants healthy.
Painting And Decorating Containers
Choose paints that work on your container’s material. Acrylic paint is safe for most pots. Apply thin, even coats for a smooth finish. Let each layer dry before adding another. You can add patterns or simple colors. Decorating makes your planter unique and fits your home style.
Adding Soil And Suitable Plants
Use potting soil made for indoor plants. It holds moisture but drains well. Fill the container about three-quarters full with soil. Pick plants that fit your space and light conditions. Small ferns, succulents, or herbs work great. Plant gently and press soil around roots lightly. Water your new plants carefully to start them off well.
Simple Hanging Techniques
Making indoor hanging planters is fun and easy. Simple hanging techniques help you create beautiful displays. These methods keep your plants safe and stylish. They work well for beginners and experts.
Basic Knot Tying For Beginners
Start with simple knots like the square knot and slip knot. These knots hold the planter firmly. Practice tying knots with rope or string. Keep the knots tight to avoid slipping. This skill is useful for many hanging projects. Knot tying helps balance the planter evenly.
Using Macramé For Style
Macramé adds a decorative touch to your planters. Use cotton or jute cord for a natural look. Learn basic macramé knots like the half hitch and lark’s head. These knots create patterns that look great indoors. Macramé also strengthens the hanger for heavier pots. Choose colors that match your room decor.
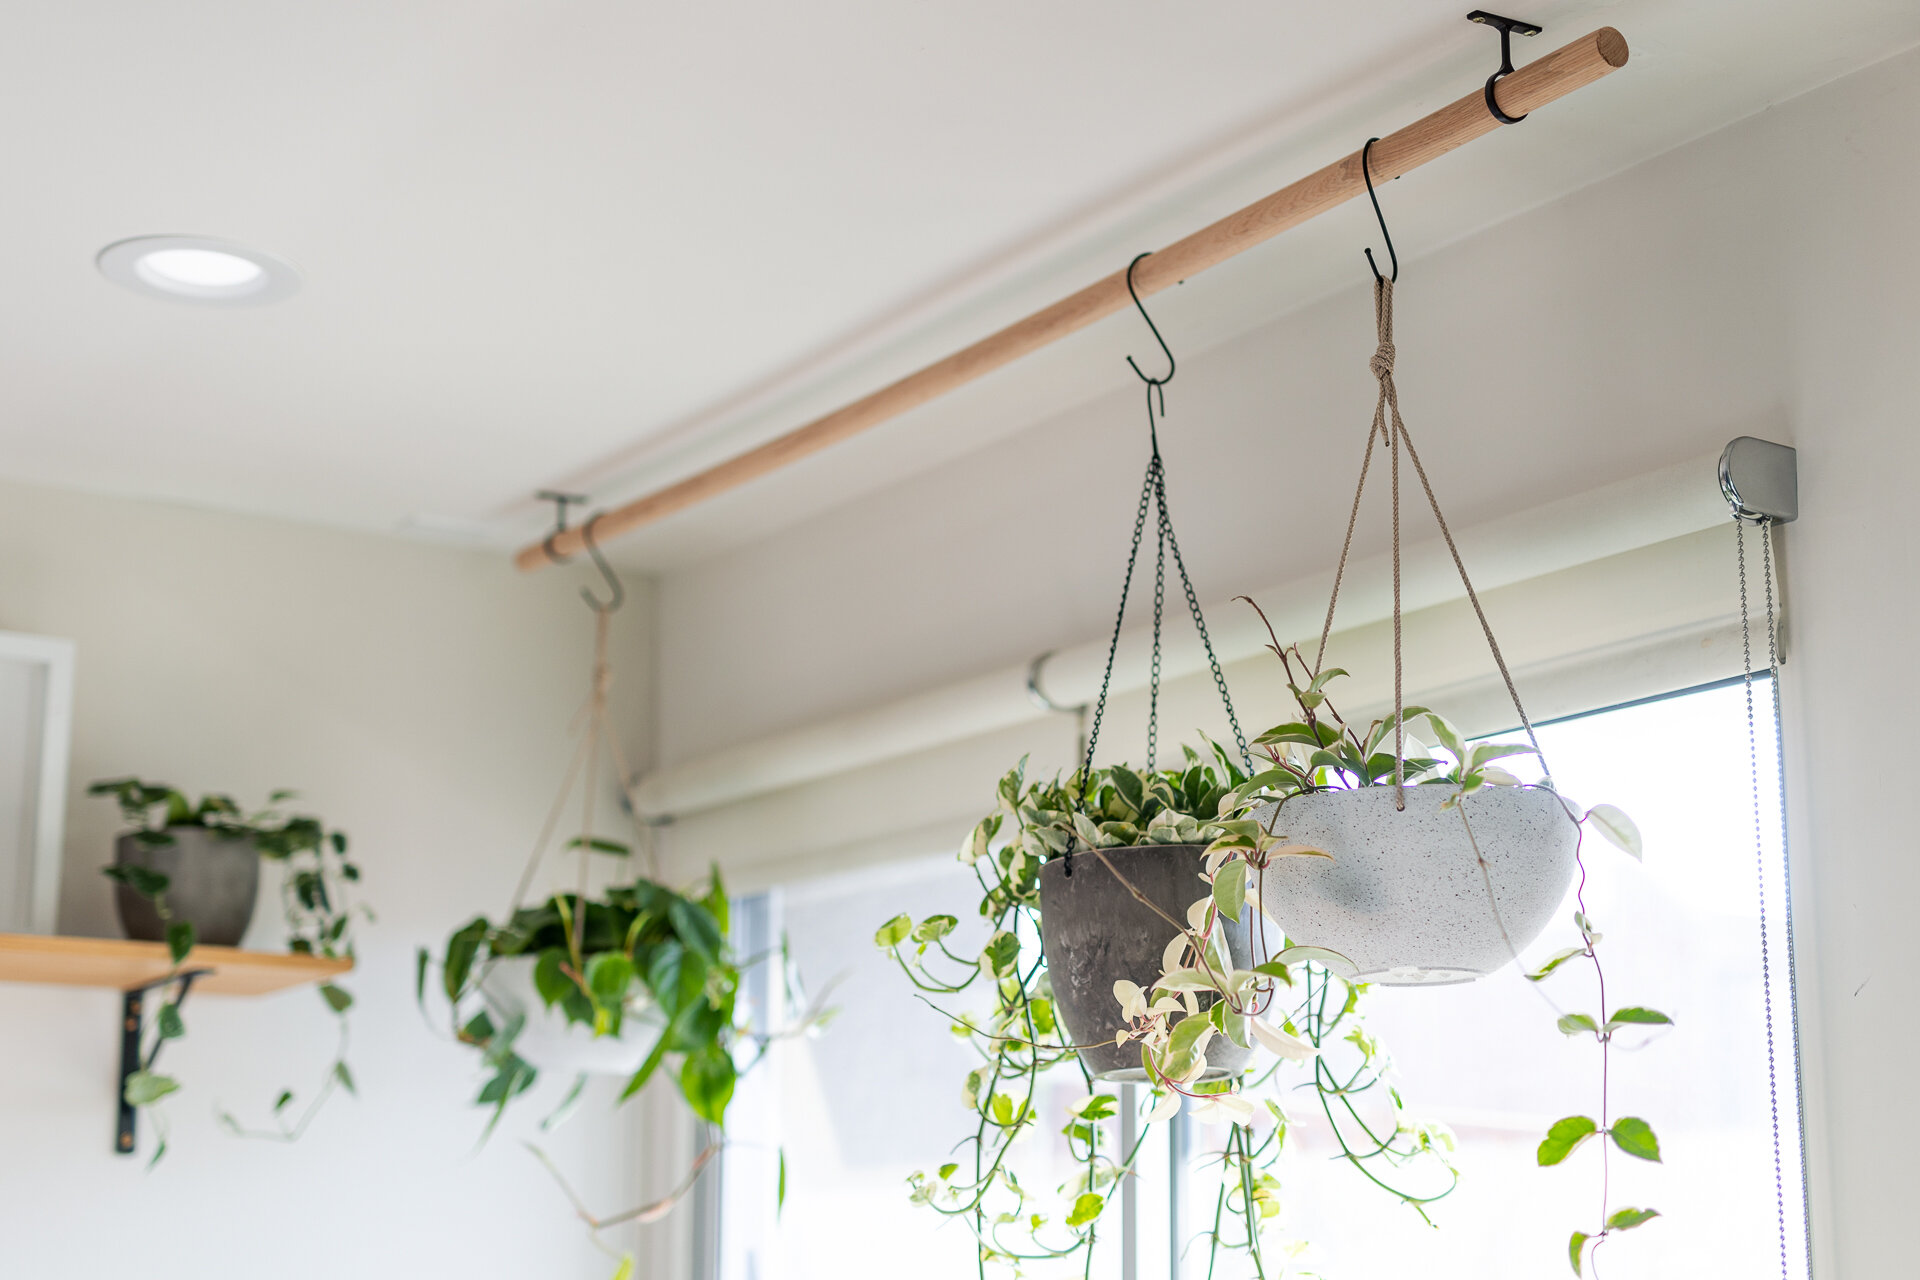
Attaching Planters Securely
Secure the planter with hooks or rings. Check that the weight of the planter suits the hook’s strength. Tie the rope or cord tightly around the pot’s rim. Use a plastic or metal ring for extra support. Test the hanger before placing the plant inside. A secure attachment prevents accidents and keeps plants safe.
Credit: www.modmusings.com
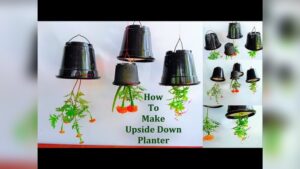
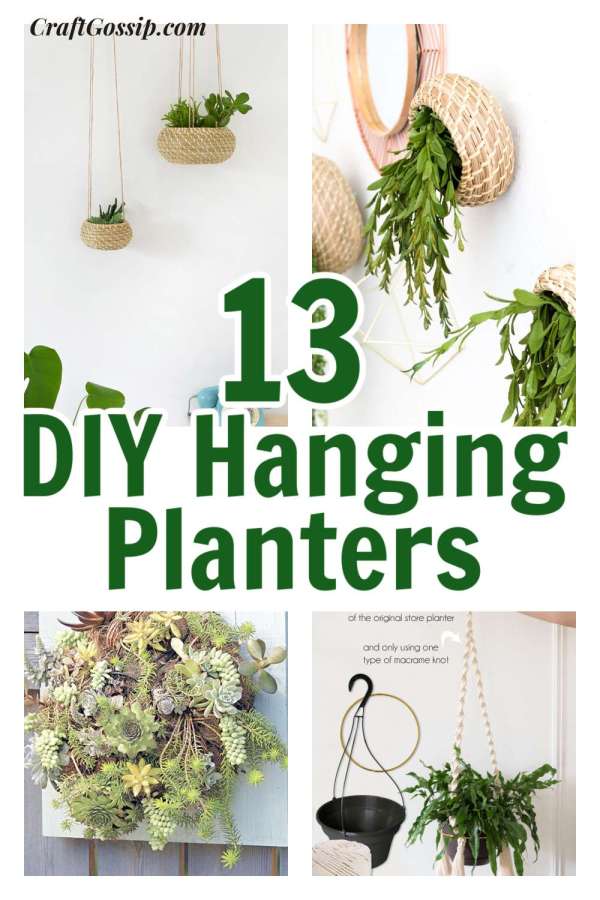
Creative Diy Ideas
Creative DIY ideas bring charm and personality to indoor hanging planters. They turn simple plants into eye-catching decor. These ideas use everyday items and small touches to create unique displays. Experimenting with materials and styles makes planting fun and personal.
Repurposing Household Items
Old jars, teacups, and tins make great planter pots. Clean them well and add drainage holes. Use colorful mugs or tins to brighten a room. Even an old colander or basket can hold plants. This method saves money and cuts waste.
Using Wooden Holders And Frames
Wood adds warmth and a natural look to planters. Build simple holders from scrap wood or pallets. Frames can hold small pots or create a vertical garden. Sand and paint the wood for a smooth finish. These wooden planters suit rustic or modern styles.
Incorporating Lights And Accessories
Lights make planters stand out in any room. Use fairy lights or small LED bulbs around pots. Hang planters near window lights to catch sun rays. Add beads, shells, or ribbons for extra detail. These touches create a cozy, inviting atmosphere.
Placement And Care Tips
Proper placement and care keep indoor hanging planters healthy and beautiful. Plants need the right light, water, and attention to thrive inside your home. Small steps make a big difference in their growth and appearance.
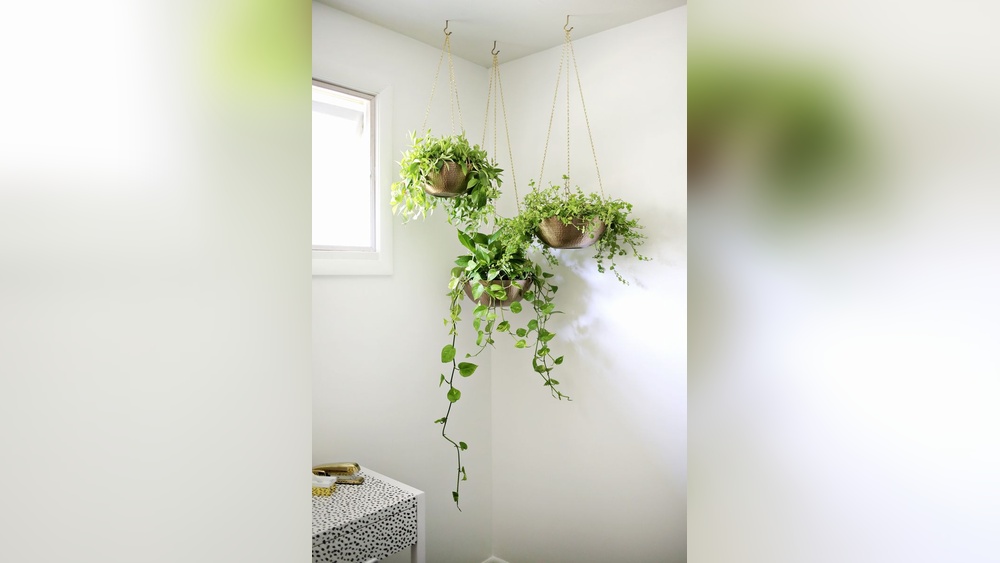
Choosing Ideal Indoor Locations
Pick spots with enough natural light for your plants. South or east-facing windows work well. Avoid dark corners where plants struggle. Keep hanging planters away from cold drafts or heating vents. Make sure they have space to hang freely without hitting walls or furniture.
Watering And Maintenance Advice
Water plants regularly but do not overwater. Check soil moisture with your finger. Water only when the top inch feels dry. Use pots with drainage holes to avoid water buildup. Clean leaves gently to remove dust and help plants breathe. Trim dead or yellow leaves to keep plants fresh.
Troubleshooting Common Issues
Yellow leaves might mean too much water or poor light. Brown edges can show dry air or underwatering. Look for pests like spider mites or aphids on leaves. Treat infestations with mild soap and water spray. Move plants to better light if they grow leggy or weak. Catch problems early for quick recovery.
Frequently Asked Questions
What Materials Do I Need To Make Indoor Hanging Planters?
You need pots, ropes or chains, hooks, soil, and plants to start making indoor hanging planters.
How Do I Hang Indoor Planters Safely On The Ceiling?
Use strong hooks and anchors rated for the planter’s weight to hang them securely from the ceiling.
Which Plants Grow Best In Indoor Hanging Planters?
Choose lightweight, trailing plants like pothos, spider plants, or ferns for easy care and great look.
How Often Should I Water Indoor Hanging Planters?
Water your hanging plants when the top inch of soil feels dry to the touch.
Can I Make Indoor Hanging Planters Without Special Tools?
Yes, simple tools like scissors, a drill, and measuring tape are enough to create indoor hanging planters.
Conclusion
Making indoor hanging planters brings life to any room. You can use simple materials and follow easy steps. These planters save space and add beauty to your home. Choose plants that fit your style and light conditions. Regular care keeps your plants healthy and happy.
Try different designs to match your decor. Enjoy the calm and fresh air plants provide. Hanging planters turn plain walls into green spaces. Start your project today and brighten your indoor space.