How to Diy Hanging Planters: Easy Steps for Stunning Green Decor
Are you looking to add a fresh, green touch to your space without spending a lot? Making your own hanging planters is easier than you think—and it’s a fun way to show off your style.
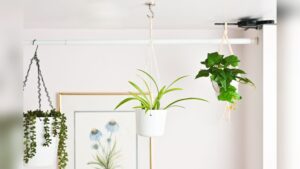
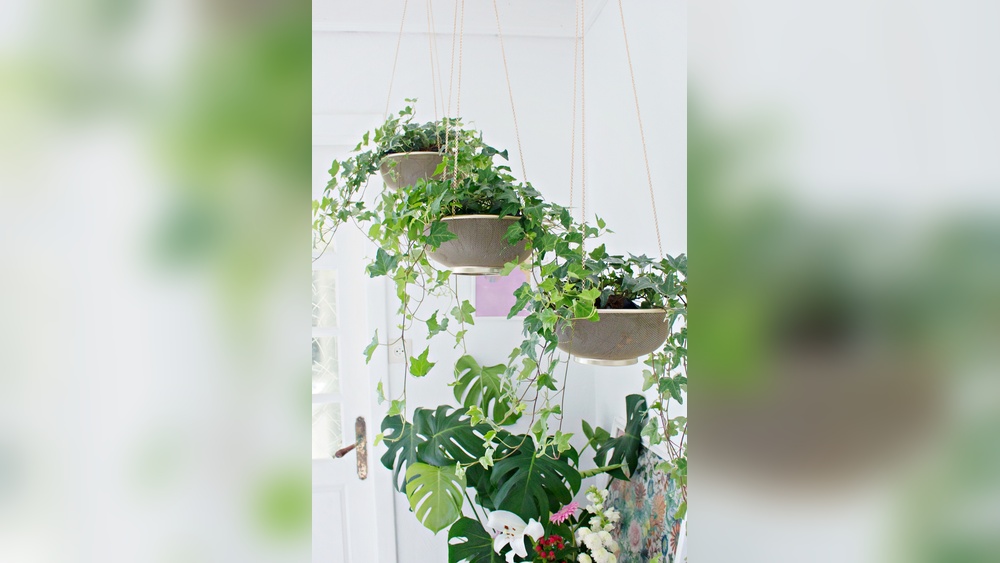
Imagine your favorite plants floating gracefully in the air, saving space and brightening your room. In this guide, you’ll discover simple steps to create beautiful hanging planters that fit perfectly with your home. Ready to bring life to your walls and enjoy the satisfaction of a DIY project?
Choosing Materials
Choosing the right materials for DIY hanging planters is important. The materials affect the planter’s look, strength, and how well your plants grow. Picking good materials makes your project easier and more fun. It also helps your plants stay healthy and safe.
Types Of Planters
Planters come in many forms. You can use pots made of clay, plastic, or metal. Clay pots are heavy and break easily but look natural. Plastic pots are light and cheap. Metal pots last long but can get hot in the sun. Another option is using recycled items like jars or baskets. Choose a planter that fits your style and holds water well.
Selecting Suitable Plants
Pick plants that grow well in hanging planters. Trailing plants like ivy or spider plants look great. Small flowers such as petunias or pansies add color. Succulents need less water and care. Avoid tall plants that need a lot of support. Think about how much sunlight your spot gets. This helps you choose plants that will thrive.
Tools And Supplies Needed
Gather all tools before starting. You need strong rope or twine to hang the planter. Hooks or ceiling mounts secure the planter. A drill helps make holes if needed. Scissors or a knife cut the rope. Don’t forget soil and water drainage materials. Having the right supplies saves time and avoids problems.
Preparing Your Workspace
Preparing your workspace is the first step to making DIY hanging planters. A tidy, organized area helps you work faster and avoid mistakes. It also keeps your materials safe and easy to find. Take time to set up a good space before starting your project.
Setting Up A Clean Area
Choose a flat surface with enough room for all your tools and materials. Clear the space of any clutter or dust. Lay down a protective sheet or newspaper to catch dirt and spills. Arrange your supplies so you can reach them quickly. Good lighting is important to see details clearly.
Safety Tips
Wear gloves to protect your hands from sharp tools or rough materials. Use goggles if you plan to drill or cut anything. Keep children and pets away from your workspace. Handle tools carefully and store them safely after use. Take breaks to avoid tiredness and mistakes.
Basic Hanging Planter Techniques
Creating your own hanging planter is a fun and creative project. Basic hanging planter techniques help you build strong and attractive holders for your plants. These simple skills make your DIY planters safe and beautiful. Start with easy methods to hang pots and learn as you go.
Macrame Knotting Basics
Macrame uses knots to create patterns. It holds the planter firmly without needing glue or nails. Learn a few basic knots, like the square knot and the half hitch. These knots are easy to practice and strong enough to hold pots. Use cotton or jute cords for a natural look. You can find many free tutorials to guide your first knots.
Using Ropes And Strings
Choose ropes or strings that are thick and durable. Avoid thin strings that may break under the plant’s weight. Cut the ropes to the desired length. Tie a secure knot at the end to hold the pot. You can create simple loops or more complex designs. Mixing colors and textures adds style to your hanging planter.
Attaching Hooks And Supports
Select hooks that fit the weight of your planter. Screw hooks into ceiling beams or wall studs for strong support. Use anchors for drywall to prevent damage. Hang your planter with a loop or knot on the hook. Check the hook and rope regularly for safety. Proper support keeps your plants safe and your home damage-free.
Credit: www.giggleliving.com
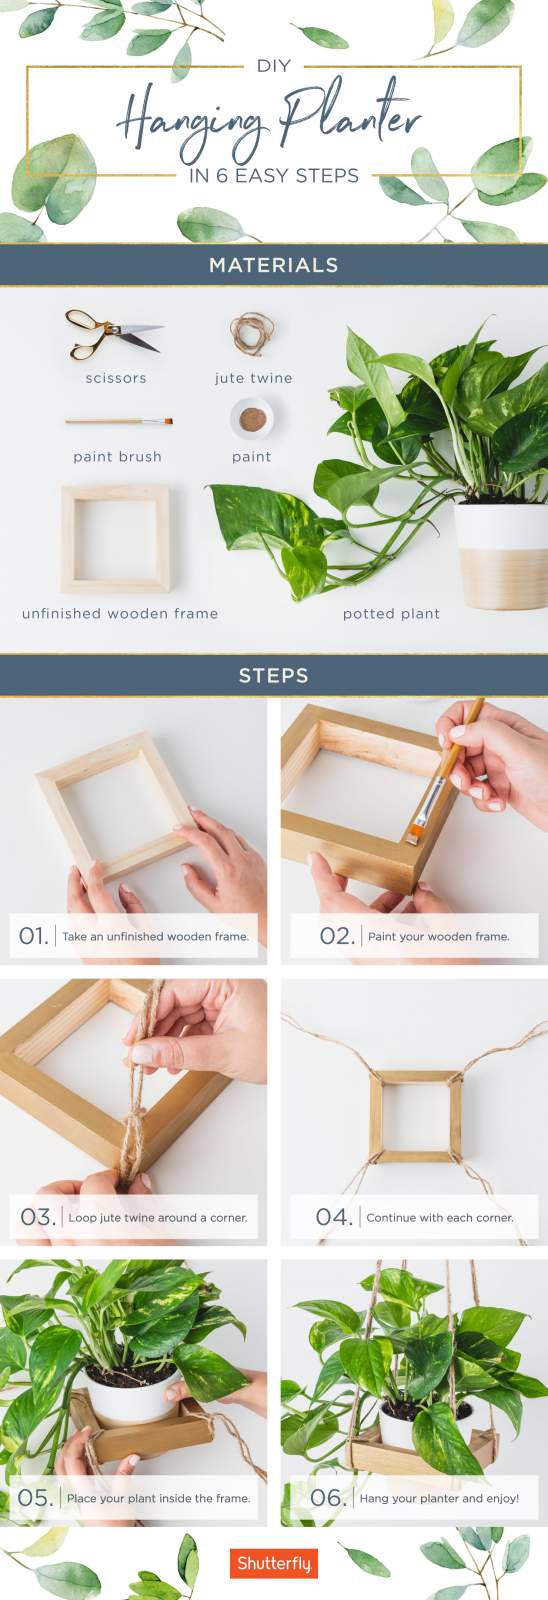
Step-by-step Planter Assembly
Creating your own hanging planter is simple and fun. This section guides you through the process step-by-step. Follow each stage carefully for the best results. You will learn how to measure, cut, knot, and secure your planter. Let’s start building your beautiful hanging planter.
Measuring And Cutting Materials
First, measure the length of the cord or rope needed. Usually, 4 to 6 feet works well for most planters. Cut the rope into equal pieces. You will need at least four strands for a sturdy hanger. Use sharp scissors to get clean cuts. Keep your measurements consistent to avoid imbalance.
Knotting And Assembling
Group the rope strands together. Tie a strong knot at one end to hold them in place. Leave enough length below the knot for the planter to hang. Separate the strands into pairs for knotting. Tie knots about 6 inches apart. These knots create pockets for your planter. Make sure knots are tight and even.
Securing The Planter
Place your pot inside the knotted holder. Adjust the knots if the pot feels loose. Tie a final knot above the pot to secure it. Use a loop knot at the top for hanging. Test the weight by gently pulling the hanger. The planter should feel firm and balanced. Your DIY hanging planter is ready to display.
Customizing Your Planters
Customizing your hanging planters lets you create a look that fits your style. It makes your plants feel special and adds charm to your space. Personal touches turn simple planters into eye-catching decor. Try easy, fun ways to make each planter unique.
Small changes can make a big difference. Use colors, textures, and shapes to show your creativity. Your planter can reflect your personality and brighten any room or porch.
Painting And Decorating
Choose paint colors that match your room or garden. Use acrylic or spray paint for smooth coverage. Paint stripes, dots, or shapes for a playful look. Let each layer dry before adding another. Seal with clear varnish to protect your design.
Adding Beads Or Embellishments
Glue beads, shells, or buttons onto your planter for texture. Pick colors that pop or blend with your paint. Use strong craft glue to keep decorations in place. Wrap twine or ribbon around the planter for a rustic feel. Embellishments make your planter stand out.
Choosing Unique Containers
Use containers beyond typical pots. Old teacups, tins, or jars work well. Look for interesting shapes or patterns. Make sure they have drainage holes for plant health. Unique containers add charm and surprise to your hanging garden.
Planting And Care Tips
Taking good care of your hanging planters helps your plants grow healthy and strong. Knowing how to pot your plants, water them properly, and place them in the right light will make a big difference. These simple tips will keep your hanging garden thriving.
Potting Your Plants
Choose pots with good drainage holes to avoid water buildup. Use light, well-draining soil for healthy roots. Gently loosen roots before planting to help them spread. Fill the pot with soil, leaving space at the top for watering. Press the soil lightly to hold the plant steady.
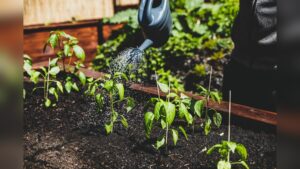
Watering And Maintenance
Check the soil moisture before watering. Water only when the top inch feels dry. Avoid overwatering to prevent root rot. Use a watering can with a narrow spout for control. Remove dead leaves and trim old stems to keep plants fresh. Clean pots regularly to avoid pests and mold.
Light And Placement
Place hanging planters where plants receive the right light. Most plants prefer bright, indirect sunlight. Avoid direct harsh sunlight, which can burn leaves. Rotate planters occasionally for even light exposure. Keep plants away from cold drafts or very hot areas.
Troubleshooting Common Issues
Troubleshooting common issues in DIY hanging planters helps keep your plants safe and healthy. Problems can arise from planter setup, plant care, or materials used. Fixing these early stops bigger issues later. Here are simple tips to solve frequent troubles.
Planter Stability Problems
Unstable planters can fall and damage plants. Check the knots and hooks holding the planter. Tighten loose knots or replace weak hooks with stronger ones. Balance the weight by spreading soil and plants evenly. Avoid heavy plants in small, light planters. Use sturdy cords or chains for extra support. Test the planter before hanging it permanently.
Plant Health Concerns
Poor plant health can come from too much or too little water. Ensure your planter has good drainage to avoid root rot. Choose plants that fit the light in your space. Rotate the planter regularly for even light exposure. Feed your plants with appropriate fertilizer every few weeks. Remove dead leaves to keep plants clean and healthy.
Material Durability
Materials like rope, wood, or metal wear out over time. Inspect your planter materials regularly for signs of wear. Replace frayed ropes or rusted chains quickly. Use weather-resistant materials for outdoor planters. Treat wooden parts with sealant to prevent rot. Choose durable containers that hold soil and moisture well. Proper care extends your planter’s life.
Creative Ideas For Display
Hanging planters brighten any space with style and life. Creative display ideas make your plants stand out. They turn plain corners into green havens. Explore unique ways to show off your DIY hanging planters.
Grouping Multiple Planters
Cluster several planters together for a bold look. Use different sizes and shapes to add interest. Hang them at varied heights for a dynamic effect. This creates a lush, layered display that feels natural. Grouping plants also helps fill empty wall or ceiling space.
Indoor Vs Outdoor Use
Choose planter materials based on location. Indoors, lightweight and decorative pots work best. Outdoors, select weather-resistant materials like metal or ceramic. Consider sunlight and moisture needs of your plants. Adjust placement to protect plants from harsh weather or low light.
Seasonal Decor Themes
Change your hanging planters with the seasons. Add bright flowers in spring for fresh energy. Use warm colors and dried plants in fall for coziness. Decorate with pinecones or small ornaments in winter. Seasonal themes keep your space lively and inviting all year.

Credit: www.youtube.com
Frequently Asked Questions
What Materials Do I Need For Diy Hanging Planters?
You need pots, strong ropes or cords, hooks, and scissors to start making hanging planters.
How Do I Hang A Planter Safely Indoors?
Use strong ceiling hooks and secure knots to hang planters safely inside your home.
Which Plants Grow Best In Hanging Planters?
Trailing plants like pothos, spider plants, and ferns work well in hanging planters.
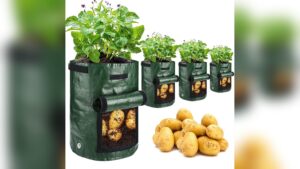
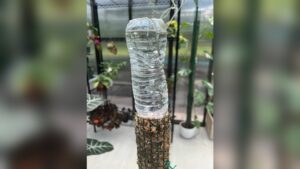
Can I Use Recycled Materials For Hanging Planters?
Yes, old jars, cans, or bottles can be repurposed as creative hanging planters.
How Do I Water Hanging Planters Without Making A Mess?
Use a watering can with a narrow spout and water slowly to avoid spills.
Conclusion
DIY hanging planters bring life to any space. They save money and add personal style. You can choose materials and shapes that fit your taste. Hanging plants brighten rooms and improve air quality. Start small and enjoy the process of creating.
Your home will feel fresh and inviting. Try different plants and designs to find what works best. Keep experimenting, and have fun with your green projects.