How to Use Seed Starter Trays: Easy Steps for Seedling Success
Growing plants from seeds is fun and easy when you use seed starter trays. These trays help seeds grow strong roots and healthy leaves. This guide explains how to use them step-by-step. You will learn how to start seeds indoors and care for young plants.
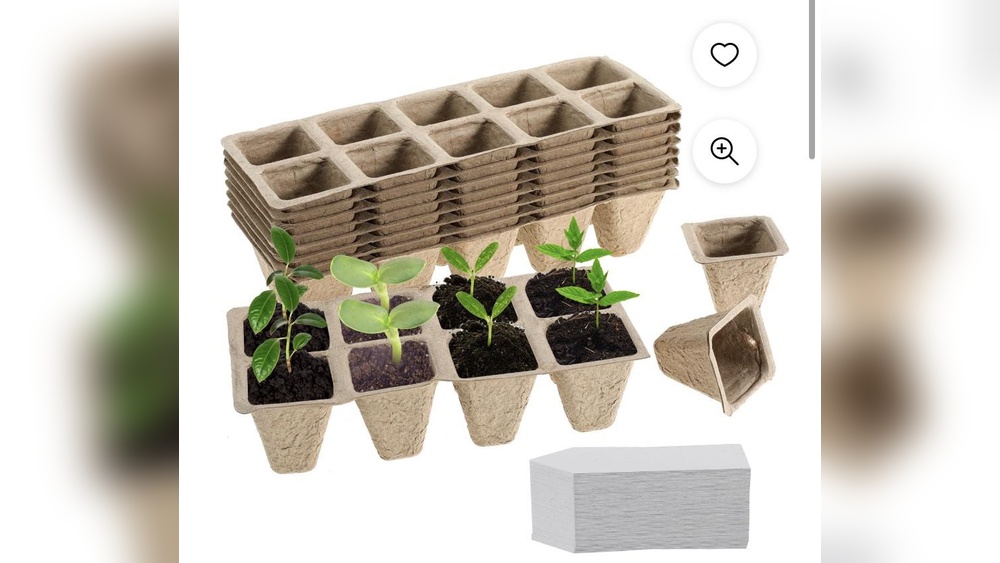
What Are Seed Starter Trays?
Seed starter trays are small containers with many cells. Each cell holds soil and a seed. They are smaller than regular pots. They help young plants grow without crowding. The trays can be made of plastic or other materials.
Why Use Seed Starter Trays?
- They keep seeds organized and easy to manage.
- Each seed has its own space to grow.
- They make watering and caring simple.
- You can start many plants indoors before planting outside.
What You Need Before Starting
- Seed starter tray with cells
- Seed starting mix (not regular soil)
- Seeds to plant
- Water spray bottle or watering can
- Plastic humidity dome (optional)
- Labels or markers
- A bright window or grow light
Step 1: Fill the Cells with Soil
- Use seed starting mix, not garden soil.
- Fill each cell loosely with the mix.
- Press the soil lightly to remove air pockets.
- Make sure the soil is moist, like a wet sponge.
Moist soil helps seeds sprout faster. If the soil is dry, seeds may not grow well. It is better to moisten the soil before planting.
Credit: www.homedepot.com
Step 2: Plant the Seeds
- Check the seed packet for planting depth.
- Usually, plant seeds 2 to 3 times their size deep.
- Place 2 to 4 seeds in each cell for better chances.
- Cover seeds lightly with more seed starting mix.
Planting extra seeds helps if some do not grow. Later, you can remove the weaker plants.
Step 3: Water the Seeds
- Use a spray bottle to mist the soil surface gently.
- Or water from the bottom by placing the tray in water.
- Stop watering when the soil is just damp, not soaked.
Water helps seeds start growing roots. Too much water can harm them.
Step 4: Use a Humidity Dome
- Place a clear plastic dome on top of the tray.
- This keeps air moist and warm for faster sprouting.
- Check daily to see if seedlings appear.
The dome creates a good environment like a mini greenhouse. Remove the dome once the seeds sprout.
Step 5: Provide Light for Seedlings
- Move the tray to a bright window or under grow lights.
- Seedlings need 12 to 16 hours of light each day.
- Light stops seedlings from growing tall and weak.
Good light helps plants grow strong and healthy. Without enough light, plants grow tall and thin.
Step 6: Keep Soil Moist
- Check soil moisture daily.
- Water gently when soil feels dry.
- Do not let soil dry out completely.
Consistent moisture is important for young plants. But avoid water puddles that cause rot.
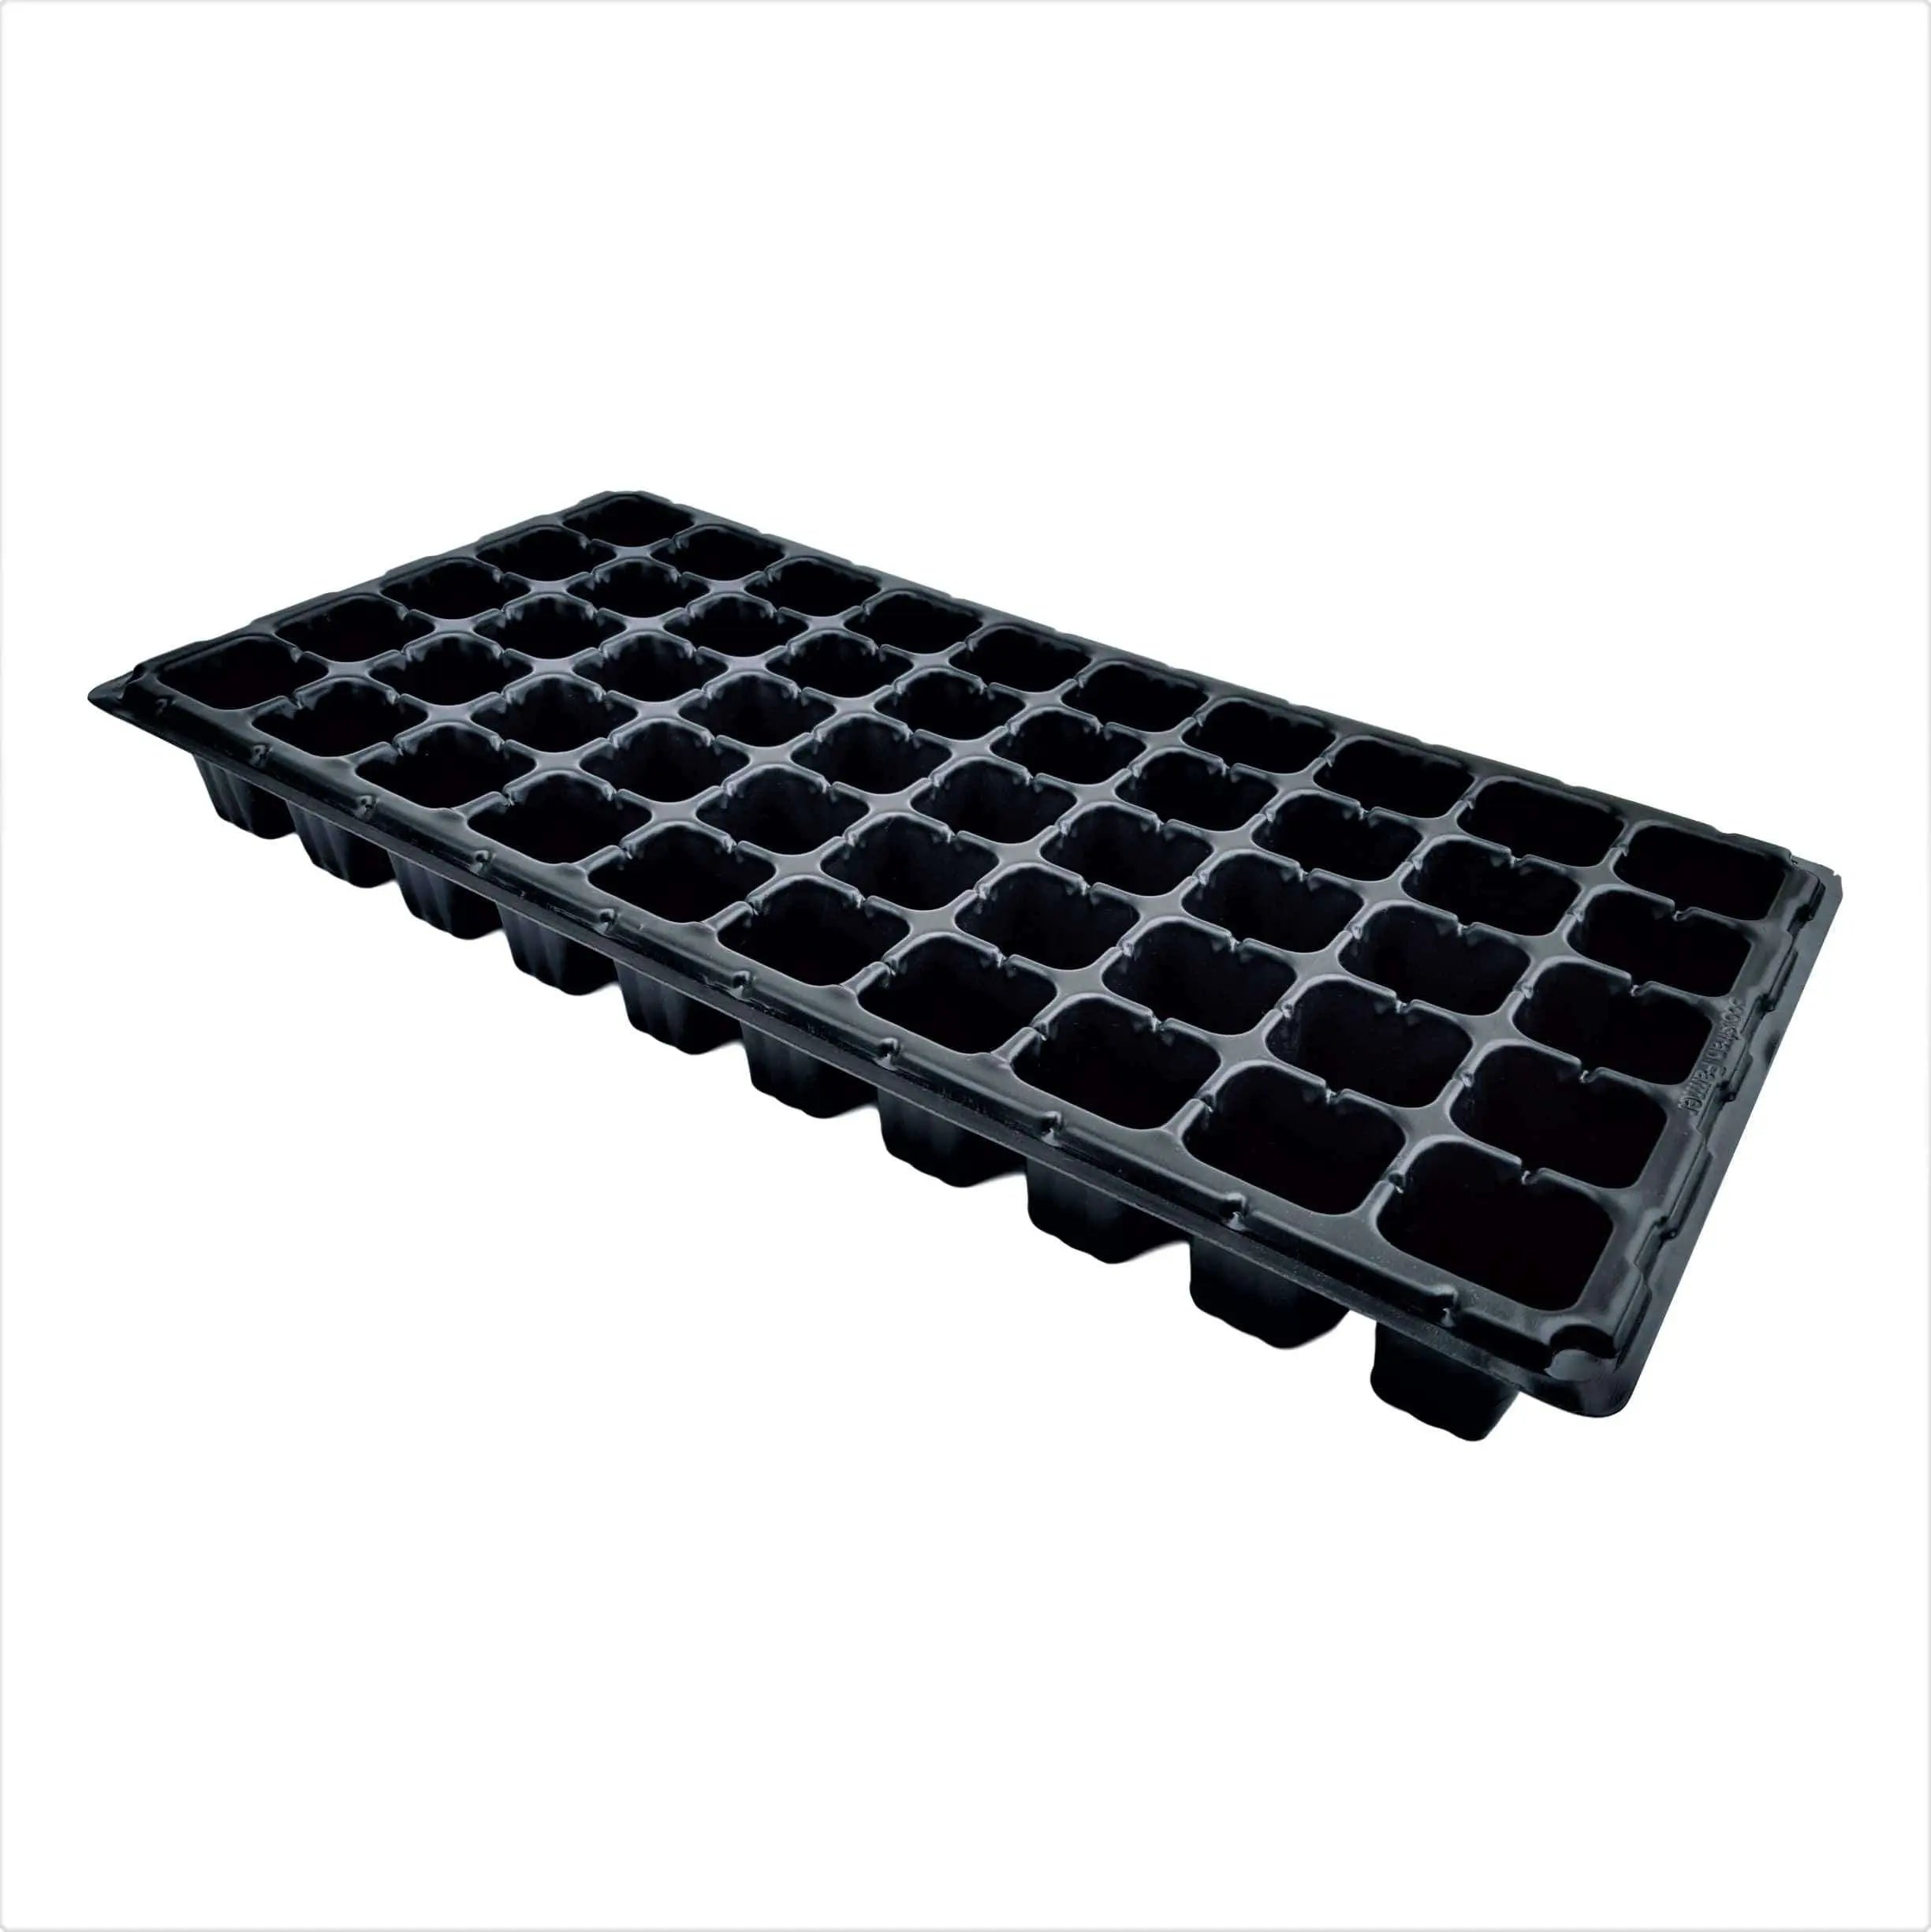
Credit: www.bootstrapfarmer.com
Step 7: Label Your Seeds
- Use labels or small sticks to mark each cell.
- Write the seed type and date planted.
- This helps you remember what is growing where.
Labeling prevents confusion, especially when growing many types.
Step 8: Thin Seedlings
- When seedlings grow, some cells have many plants.
- Remove the smaller or weaker seedlings by cutting them.
- Leave one strong seedling per cell.
- Pull gently to avoid damaging roots.
Thinning helps the best plants grow bigger and stronger.
How Long Should Seedlings Stay in Starter Trays?
Seedlings usually stay in trays until they have 2 to 4 true leaves. This can take 3 to 6 weeks. After this, plants can move to bigger pots or outside.
When to Move Seedlings Outside
- Check local weather for frost dates.
- Move seedlings outside when the weather is warm.
- Harden off plants by slowly introducing them outdoors.
- This helps plants adjust to sunlight and wind.
Hardening off takes about one week. Start by putting seedlings outside a few hours daily.
Tips for Successful Seed Starting
| Tip | Reason |
|---|---|
| Use fresh seed starting mix | It drains well and holds moisture. |
| Keep trays warm (65-75°F) | Warmth helps seeds sprout faster. |
| Do not overwater | Too much water causes mold and rot. |
| Provide bright light | Prevents seedlings from getting leggy. |
| Label seeds clearly | Keeps track of what grows where. |
Common Mistakes to Avoid
- Using regular garden soil instead of seed mix.
- Planting seeds too deep or too shallow.
- Letting soil dry out or stay too wet.
- Not giving enough light to seedlings.
- Skipping the thinning step.
Avoiding these mistakes will help your seeds grow well.
Frequently Asked Questions
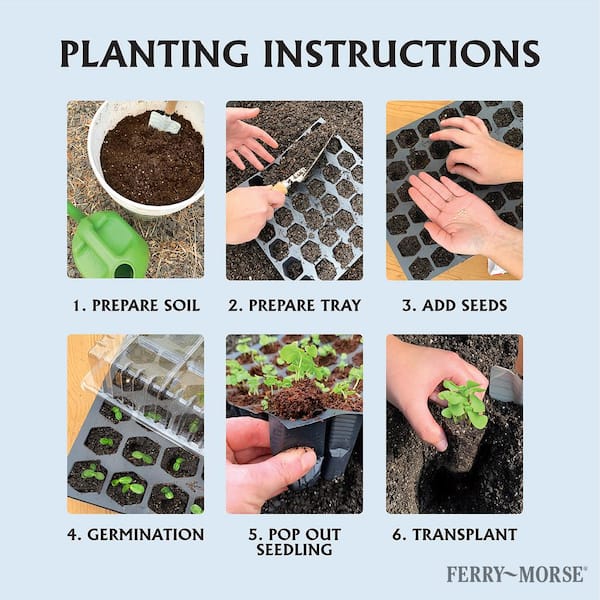
How Do You Use Seed Starter Trays?
Fill seed starter trays with moist seed starting mix. Plant seeds at correct depth, cover lightly, and water gently. Use a humidity dome to keep warmth and moisture. Place trays in bright light after seeds sprout. Keep soil moist and label each cell for easy identification.
Thin seedlings as needed.
How Long Should Seedlings Stay In Starter Trays?
Seedlings should stay in starter trays until they develop 2-4 true leaves, usually 2-4 weeks. Transplant once roots fill cells. Keep soil moist and provide bright light during this period for healthy growth. Avoid overcrowding by thinning weaker seedlings early.
How Do You Use A Seed Sprouting Tray?
Fill tray cells with moist seed starting mix. Plant seeds per packet depth and spacing. Cover lightly and mist. Use a humidity dome for warmth. Once sprouts appear, provide bright light and keep soil moist. Thin seedlings if needed. Label each cell to track plants.
How Many Seeds Do You Put In A Seedling Tray?
Plant 2 to 4 seeds per seedling tray cell to ensure germination. Thin seedlings later to keep the strongest.
Conclusion
Seed starter trays are simple tools for growing plants indoors. They help seeds grow strong and healthy. Follow these steps carefully:
- Fill cells with moist seed mix.
- Plant seeds at the right depth.
- Water gently and keep soil moist.
- Use a humidity dome for warmth.
- Give plenty of light when seeds sprout.
- Label cells to keep track.
- Thin seedlings to keep the strongest plants.
- Move seedlings outside when ready.
With patience and care, you can grow many plants from seeds. Seed starter trays make the process easy and organized. Happy gardening!