How to Make Hanging Planters from Plastic Bottles: Easy DIY Guide
Looking to add a fresh touch to your space without spending a fortune? Making hanging planters from plastic bottles is a simple and creative way to do just that.
You can turn everyday waste into beautiful greenery holders that brighten up your home or garden. Plus, this easy project lets you express your style while helping the environment. Ready to learn how you can transform plastic bottles into charming hanging planters?
Keep reading, and you’ll discover step-by-step tips to create your own green oasis in no time.
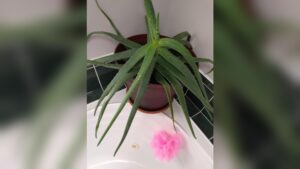
Credit: theseamanmom.com
Materials Needed
Gathering the right materials makes crafting hanging planters simple. Prepare your workspace and collect everything before starting. This helps save time and keeps the process smooth. Below are the essential items needed to create beautiful, eco-friendly hanging planters from plastic bottles.
Plastic Bottles Selection
Choose clean plastic bottles, preferably clear or green. Look for bottles with a wide body for planting space. Avoid very thin or fragile bottles that may break easily. Different sizes work well for various plant types. Bottles with a flat surface are easier to decorate. Reuse bottles from water, soda, or juice containers.
Tools And Accessories
Gather a sharp utility knife or scissors for cutting. Use a drill or nail to make drainage holes. String, wire, or twine will hold the planter for hanging. A marker helps mark cutting lines on the bottle. Gloves protect your hands while cutting plastic. Have a ruler or tape measure for precise cuts.
Optional Decorative Items
Paints add color and style to your planter. Waterproof markers work well on plastic surfaces. Use ribbons or beads for extra decoration. Stickers or washi tape can personalize each planter. Natural materials like jute or burlap wrap nicely around bottles. These items make your planter unique and charming.
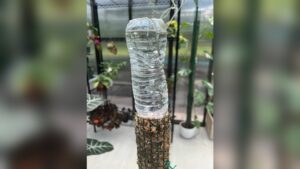
Preparing The Bottles
Preparing plastic bottles is the first step in making hanging planters. Proper preparation ensures your planter is safe and lasts long. It also helps plants grow well inside the bottle.
Cleaning And Drying
Rinse the bottle with warm water to remove any dirt or residue. Use a small amount of dish soap and scrub inside. Remove labels by soaking the bottle in warm water for 10 minutes. Dry the bottle completely using a clean cloth or let it air dry. A dry bottle prevents mold and keeps the soil healthy.
Cutting Techniques
Mark the area to cut using a permanent marker. Use sharp scissors or a craft knife for clean cuts. Cut slowly and carefully to avoid cracks. You can cut a large opening or create side windows for your plants. Smooth the edges with sandpaper to prevent injuries.
Creating Drainage Holes
Make small holes at the bottom of the bottle for water drainage. Use a heated needle or a small drill to poke holes. Drainage holes stop water from pooling and killing plant roots. Check that holes are big enough to let water flow out easily.
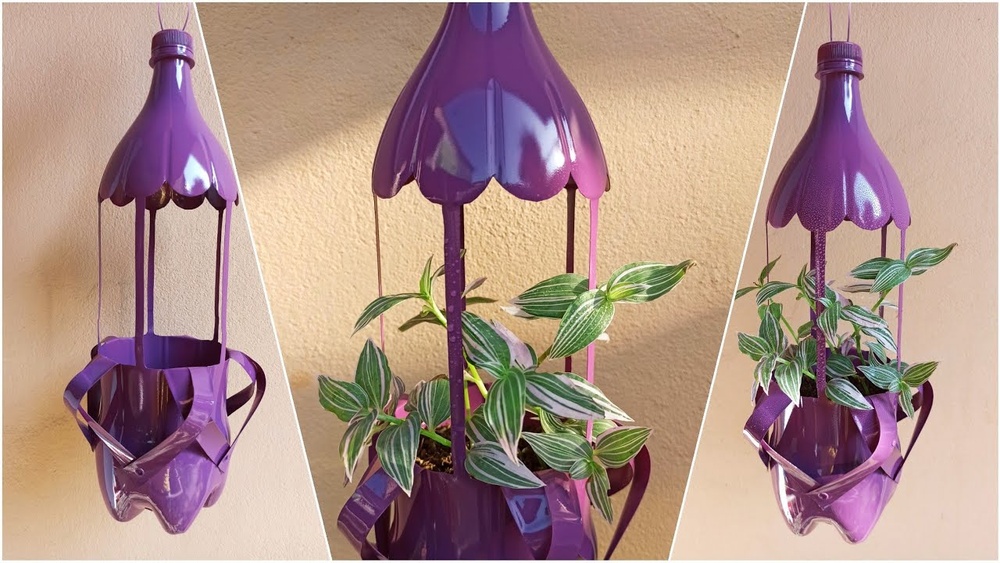
Designing The Planter
Designing your hanging planter from a plastic bottle makes the project fun and unique. This step lets you shape, hang, and decorate the planter to fit your style. You can turn a simple bottle into a beautiful home for your plants. Let’s explore easy ways to design your planter.
Shaping The Bottle
Start by cutting the plastic bottle to create space for your plant. Use scissors or a craft knife carefully. Cut a large opening on the side or top for soil and roots. Round the edges with sandpaper to avoid sharp cuts. You can also cut patterns or shapes to add a creative touch.
Adding Hanging Mechanism
Next, make sure your planter can hang securely. Punch two small holes near the bottle’s neck or sides. Thread strong string, twine, or wire through the holes. Tie knots to hold the planter firmly. Check the balance so the planter hangs straight. This keeps your plant safe and stable.
Personalizing With Paint And Decorations
Customize your planter with paint to add color and style. Use acrylic or spray paint made for plastic surfaces. Paint simple patterns, stripes, or dots to make it lively. Add decorations like ribbons, beads, or stickers for extra charm. Let the paint dry fully before planting to avoid damage.

Credit: www.youtube.com
Planting Tips
Planting tips help your hanging planters thrive. Choosing the right plants, soil, and planting steps is key. Each part affects how well your plants grow in plastic bottle planters.
Follow simple guidelines for healthy and beautiful hanging gardens.
Choosing Suitable Plants
Select plants that grow well in small spaces. Herbs like basil, mint, and parsley work great. Succulents and small flowering plants also do well. Choose plants that need little water and sunlight. Avoid large or deep-rooted plants. They struggle in limited soil and space.
Soil And Fertilizer Selection
Use light, well-draining potting soil. Avoid heavy garden soil that holds water. Mix in perlite or sand for better drainage. Choose a balanced, slow-release fertilizer. It feeds plants slowly and evenly. Organic fertilizers support healthy plant growth. Fertilize once a month for best results.
Planting Steps
Start by cleaning the plastic bottle planter well. Add a layer of small stones for drainage at the bottom. Fill with potting soil, leaving space for roots. Gently place the plant in the soil. Cover roots completely and press soil lightly. Water the plant lightly after planting. Hang the planter where it gets enough light.
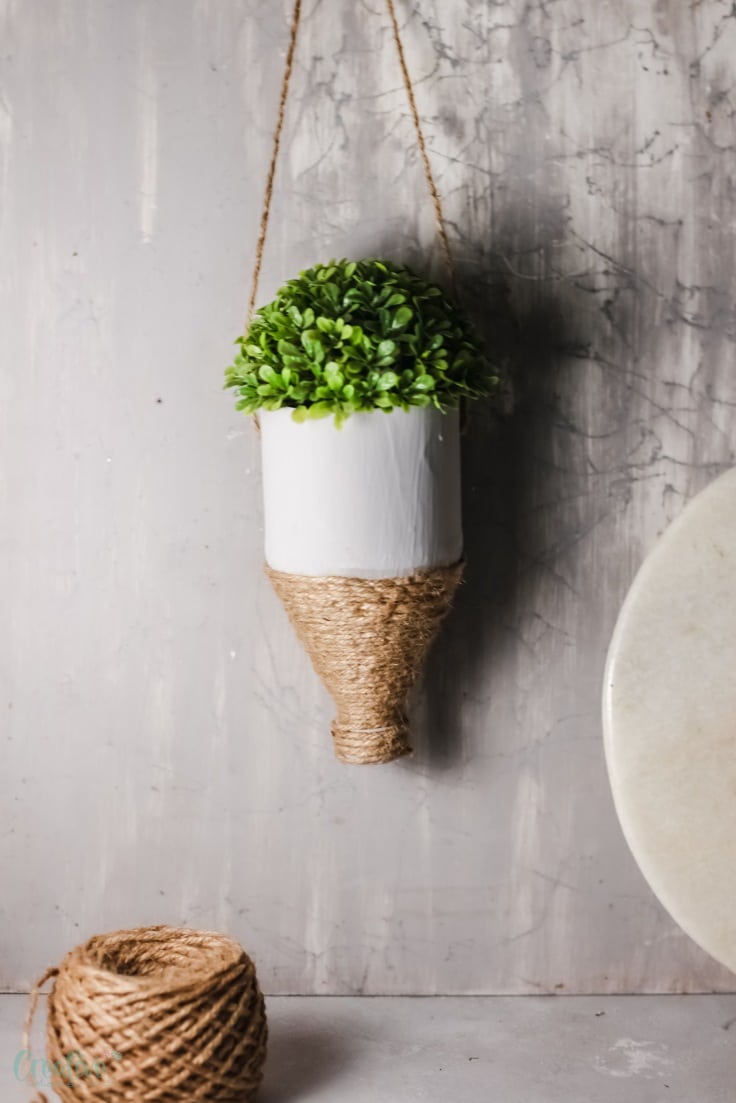
Hanging And Maintenance
Hanging and maintaining your plastic bottle planters is key for healthy plants. Proper placement ensures plants get enough light and air. Regular care helps plants thrive. Watch your plants daily for signs of stress or pests.
Best Spots For Hanging
Choose a spot with good sunlight but not too harsh. East or west-facing windows work well. Avoid places with strong wind or heavy rain. Hanging near a balcony or porch offers fresh air. Ensure the planter hangs securely to prevent falls.
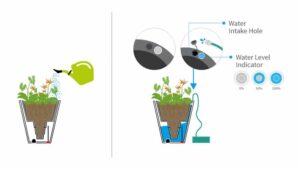
Watering And Care
Water your plants regularly but do not overwater. Check soil moisture before watering. Use a small watering can or spray bottle. Remove dead leaves to keep plants healthy. Fertilize once a month with diluted liquid fertilizer. Clean the bottle planter to prevent mold buildup.
Troubleshooting Common Issues
Yellow leaves mean too much water or poor drainage. Brown leaf edges show dry air or sunburn. Check for pests like aphids or spider mites. Use mild soap water to clean pests off leaves. If plants wilt, adjust watering or light. Replace soil if it smells bad or is compacted.

Credit: tulipcolor.com
Frequently Asked Questions
What Materials Do I Need For Plastic Bottle Hanging Planters?
You need empty plastic bottles, scissors, string, soil, and plants to make hanging planters.
How Do I Prepare The Plastic Bottle For Planting?
Cut the bottle in half or make holes for drainage and place soil inside.
Which Plants Grow Best In Hanging Plastic Bottle Planters?
Small herbs, succulents, and flowers work well in these hanging planters.
How Do I Hang The Plastic Bottle Planters Securely?
Use strong string or wire and tie it tightly around the bottle’s neck.
Can Hanging Planters From Bottles Be Used Indoors?
Yes, they brighten indoor spaces and need enough light and occasional watering.
Conclusion
Making hanging planters from plastic bottles saves money and helps the environment. You can create unique, green decorations for your home or garden. The steps are simple and use materials you already have. It’s a fun way to recycle and grow small plants.
Try different bottle sizes and shapes for variety. Start today and enjoy a greener space with DIY hanging planters.