How to Make Wall Hanging Planters: Easy DIY Ideas for Beginners
Are you looking to add a fresh, green touch to your home without taking up floor space? Wall hanging planters are the perfect solution.
They bring life and color to any room while keeping your space neat and stylish. Imagine turning an empty wall into a vibrant garden that brightens your mood every day. In this guide, you’ll discover simple, step-by-step ways to make your own wall hanging planters.
Whether you’re a beginner or just want a new project, you’ll find easy tips that save money and boost your creativity. Ready to transform your walls and enjoy the beauty of plants like never before? Keep reading to find out how!
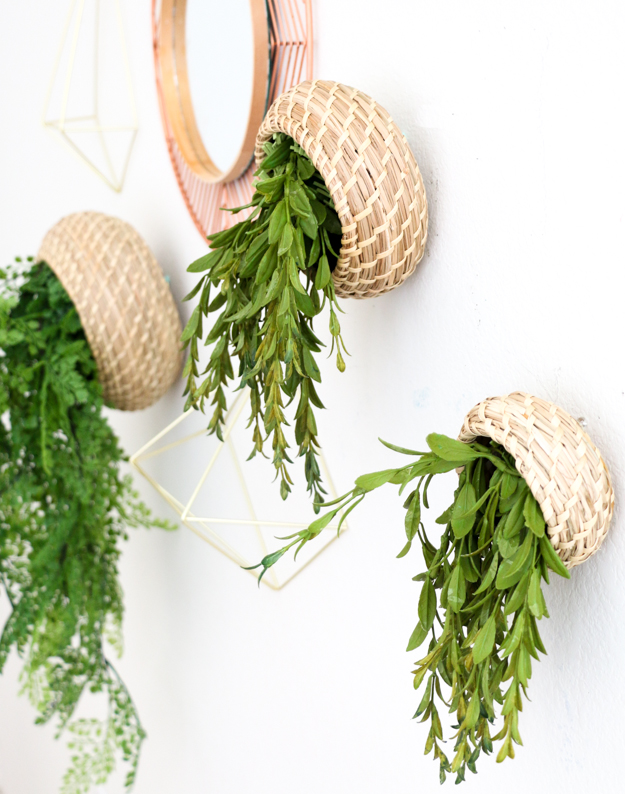
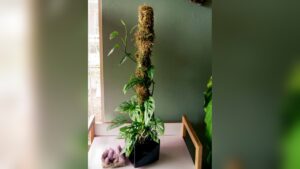
Credit: akailochiclife.com
Choosing Materials
Choosing the right materials for wall hanging planters is key to a successful project. The materials affect the look, durability, and ease of installation. Selecting strong and suitable materials ensures your planter lasts long and supports healthy plants.
Selecting Planter Types
Planters come in many shapes and materials. You can use pots made of ceramic, plastic, metal, or wood. Fabric pockets and recycled containers also work well. Choose planters that fit your wall space and style. Lightweight options reduce the risk of falling.
Best Plants For Wall Hanging
Pick plants that thrive in small spaces and vertical settings. Succulents, herbs, and small ferns are ideal. These plants need less water and root space. Choose plants that match the light conditions of your wall. This helps plants grow healthy and strong.
Tools You Need
Gather a few basic tools before you start. A drill, screws, and wall anchors help secure the planters. Use a level to keep planters straight. A measuring tape ensures even spacing. Gloves protect your hands during setup.
Preparing Your Workspace
Preparing your workspace is the first step to making wall hanging planters. A clean and organized area helps you work faster and better. It also keeps your tools and materials easy to find. Taking time to set up your space makes the project more enjoyable.
Safety Tips
Wear gloves to protect your hands from sharp tools. Use a mask if you work with soil or paint. Keep your workspace well-ventilated to avoid breathing fumes. Always handle scissors and knives carefully. Keep a first aid kit nearby for small cuts or accidents.
Organizing Supplies
Gather all your materials before you start. Place pots, soil, and plants within reach. Sort tools like scissors, glue, and string in one spot. Use containers or trays to keep small items together. Clear clutter to create enough space for your project.
Simple Fabric Planters
Simple fabric planters offer a creative and eco-friendly way to hang your plants. They use materials you may already have at home. These planters are lightweight and easy to make. Plus, they add a soft, cozy look to your space.
Fabric planters also allow air flow to the roots. This helps plants grow healthy and strong. You can customize them with different colors and patterns. Let’s explore two easy styles to create your own fabric planters.
Using Old T-shirts
Old t-shirts make great fabric planters. Cut the shirt into strips or shapes. Use the bottom part for a pouch. Stitch the sides to make a small bag. Leave the top open for the plant.
Make holes at the top corners. Thread some string or ribbon through them. Tie the strings to hang the planter on a wall or hook. The soft fabric holds the soil well and looks nice.
Creating Pocket Planters
Use fabric scraps to sew pocket planters. Cut fabric into rectangles or squares. Fold and stitch three sides to form a pocket. Leave the top open for planting.
Sew or glue the pockets onto a larger fabric piece. Hang the whole piece on a wall or rod. Plant small herbs or succulents in each pocket. This style saves space and looks neat.
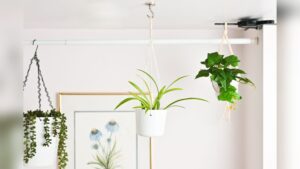
Macramé Plant Hangers
Macramé plant hangers bring a natural and artistic touch to any space. They are perfect for displaying your favorite plants without taking up floor space. Making your own macramé hanger is simple and fun. It allows you to customize size, color, and style to fit your home decor.
These hangers use knots to create sturdy, decorative holders. You do not need special tools, just some cord and basic knot skills. The craft combines creativity and practicality, giving your plants a unique home.
Basic Knots For Beginners
Start with simple knots to build your macramé skills. The square knot is the most common and holds the structure well. The half hitch knot adds patterns and texture. Learning these knots helps you create strong, beautiful hangers.
Practice tying knots evenly and tightly. Consistent knots make the hanger look neat and last longer. Use cotton or nylon cords for best results. These materials are easy to work with and durable.
Step-by-step Macramé Guide
Cut four cords about six feet long each. Fold them in half and tie a loop at the top. This loop will hang on your hook or ceiling.
Divide cords into pairs. Use square knots to tie each pair about six inches down. Repeat knots every two inches to create the basket shape. Leave some cord at the bottom for a finishing knot.
Place your plant pot in the middle. Gather all cords below the pot. Tie a large knot to secure the pot in place. Trim any excess cord for a clean look.
Wooden Wall Planters
Wooden wall planters offer a natural and warm look for your indoor or outdoor space. They save space and add greenery to bare walls. Making these planters is simple and fun. You only need basic tools and wood pieces. This DIY project suits beginners and experienced crafters.
Building A Wooden Frame
Start by choosing the right wood, like pine or cedar. Cut the wood into four pieces for the frame. Use a saw and measure carefully. Join the pieces with nails or screws. Make sure the frame is square and strong. Sand the edges to avoid splinters. Paint or stain the frame for a finished look.
Adding Plant Holders
Next, create holders for your plants inside the frame. Use small wooden boxes or cut boards to fit. Attach these holders to the frame with screws. Drill holes for water drainage in each holder. Line the inside with plastic to protect the wood. This keeps your plants healthy and your planter long-lasting.
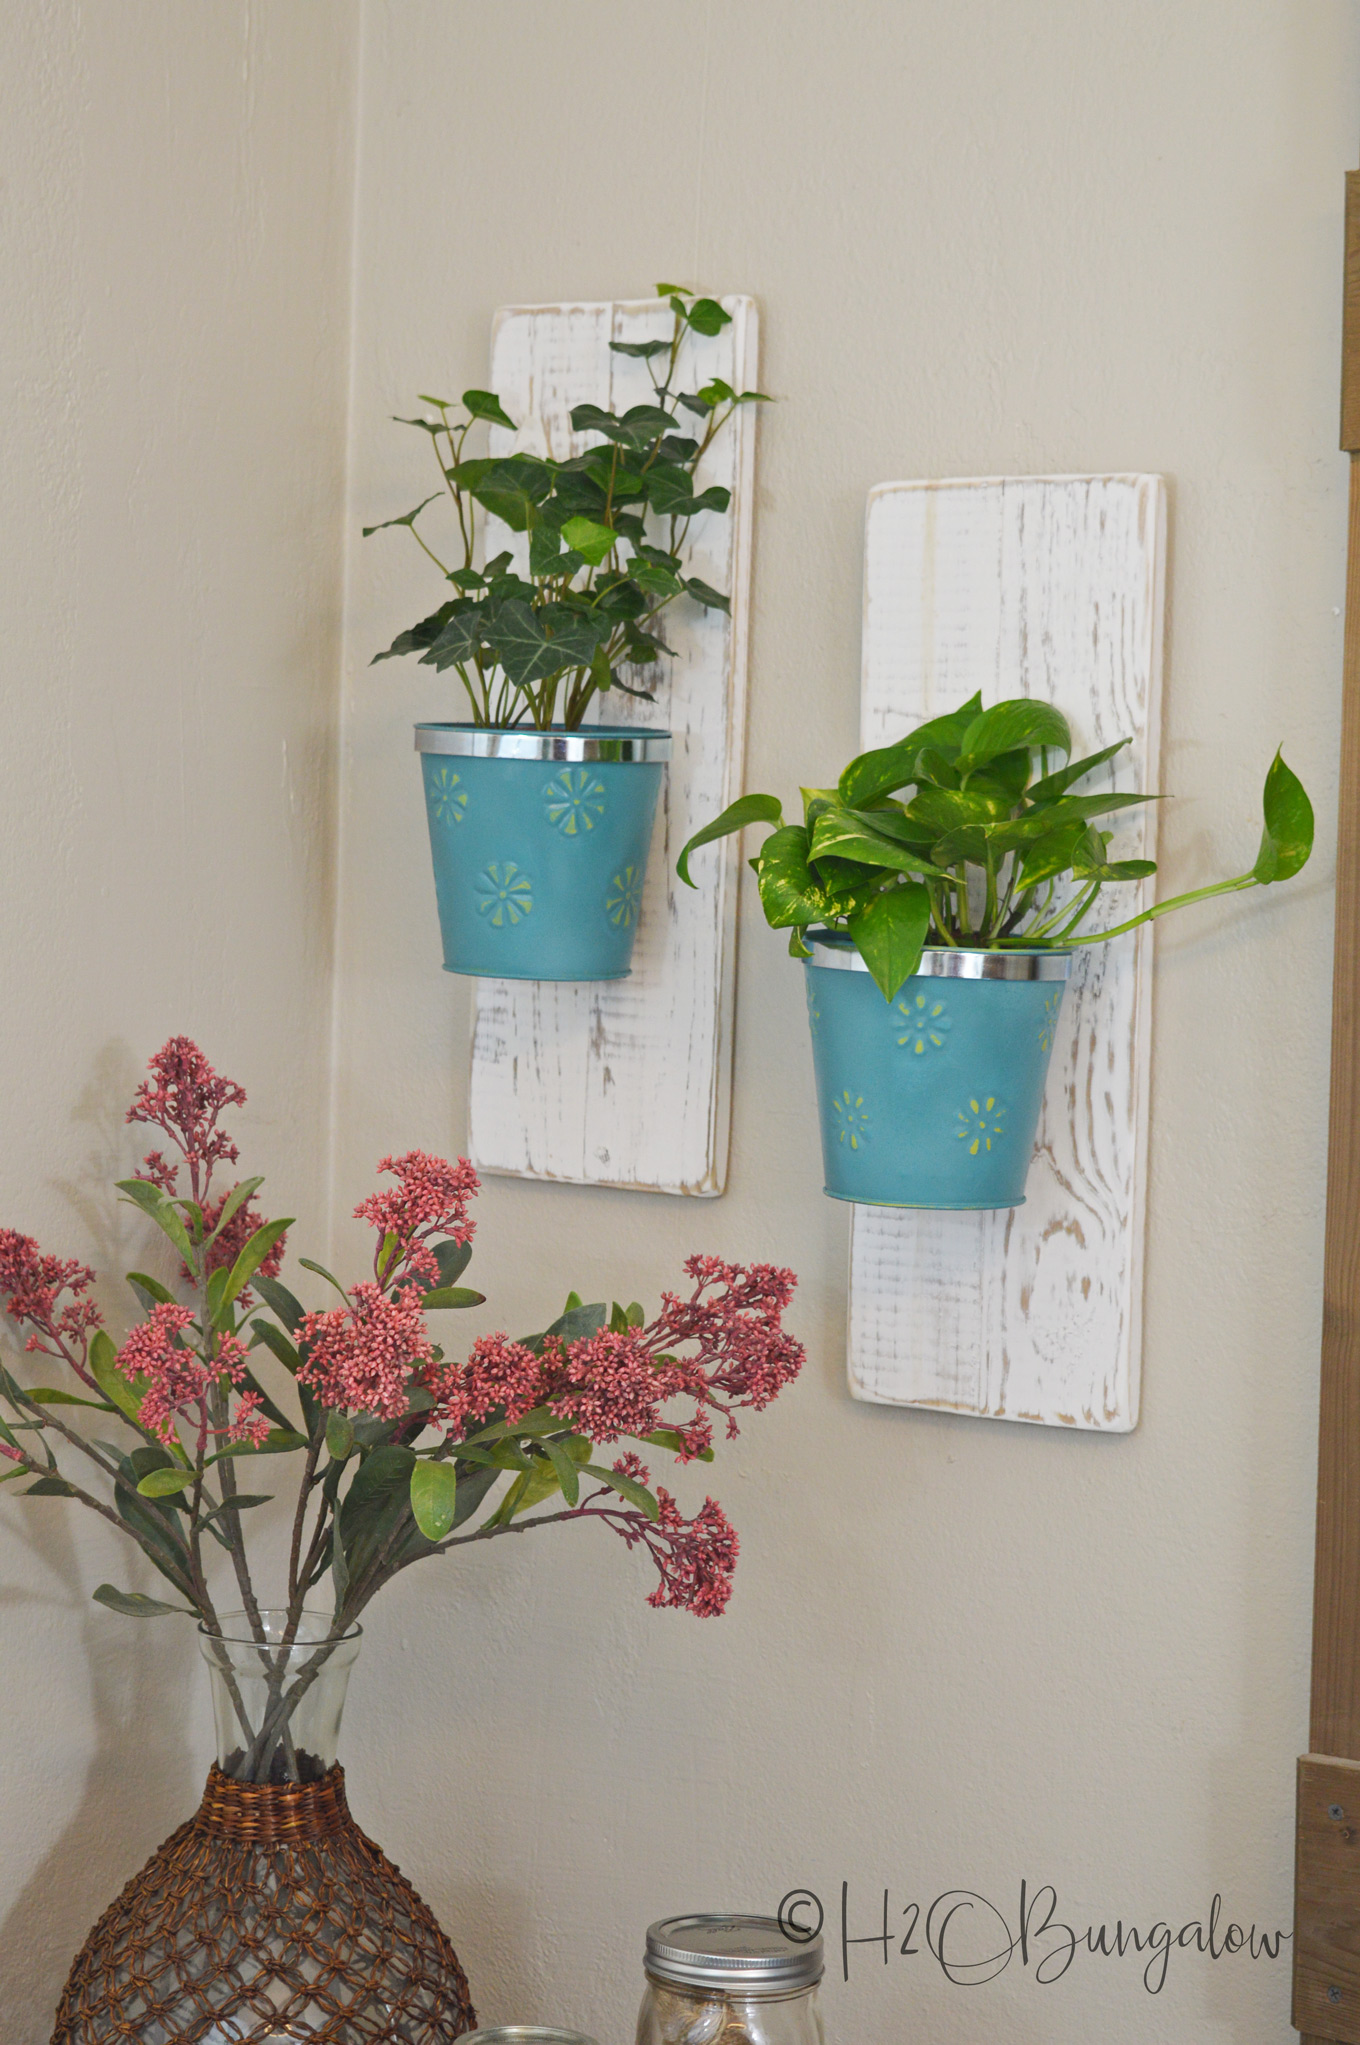
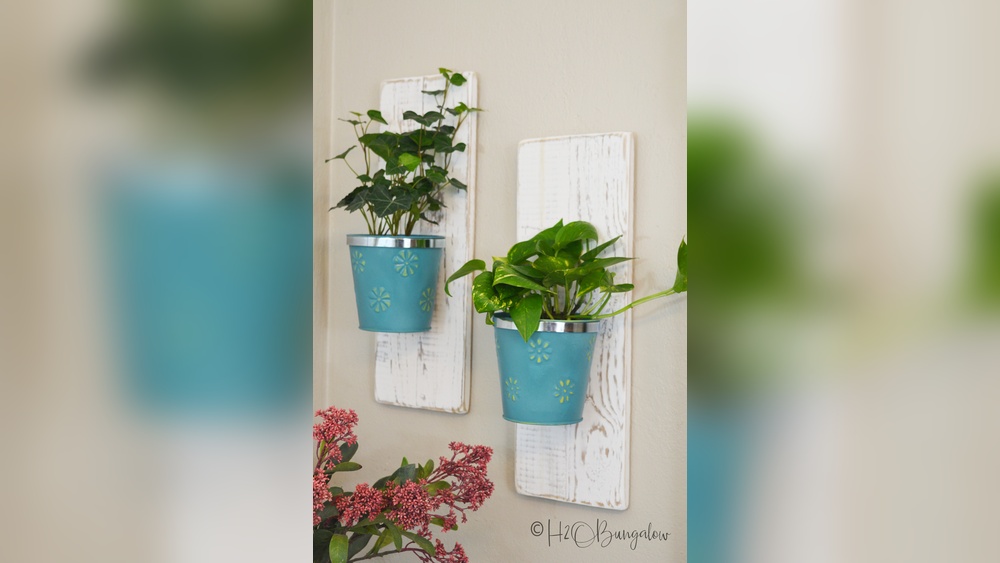
Credit: h2obungalow.com
Recycled Material Planters
Recycled material planters help reduce waste and save money. They give new life to old objects. Creating wall hanging planters from recycled items is simple and fun. You can make unique pieces that suit your style. These planters also add a green touch to your space.
Using Tin Cans
Tin cans are perfect for small wall planters. Clean the cans well and remove labels. Paint or decorate them to match your decor. Drill small holes in the bottom for drainage. Attach strings or wires to hang them securely. Fill with soil and plant herbs or small flowers. Tin cans are sturdy and easy to work with.
Upcycling Plastic Bottles
Plastic bottles can transform into creative hanging planters. Cut the bottle in half or make side openings. Paint or wrap with fabric for a fresh look. Add holes for water drainage and hanging support. Use the top or bottom part as the planter base. Plastic bottles are lightweight and weather-resistant. They work well for indoor and outdoor plants.
Mounting And Displaying
Mounting and displaying your wall hanging planters is the final step to brighten your space. Proper placement and secure hanging keep your plants safe and looking great. This section guides you through choosing the best spots and securing your planters firmly on the wall.
Choosing Wall Spots
Pick spots with enough light for your plants to grow. Avoid areas with direct strong sunlight that may burn leaves. Consider places near windows or bright rooms. Check if the wall can support the planter’s weight. Walls made of solid wood or brick are best. Avoid thin drywall that may not hold heavy pots. Keep plants away from heaters or air conditioners. These can dry out plants quickly. Think about viewing angles. Place planters where they add beauty and are easy to water.
Secure Hanging Techniques
Use strong hooks or nails designed for wall hangings. Make sure they match the weight of your planter plus soil and water. Use wall anchors for drywall to prevent damage. Secure knots if you use rope or twine to hang planters. Double-check that everything is tight and stable before hanging. For heavy planters, consider using wall brackets or shelves. Test the hanging by gently pulling down. If it feels loose, adjust or reinforce it. Safety first to avoid accidents and broken pots.
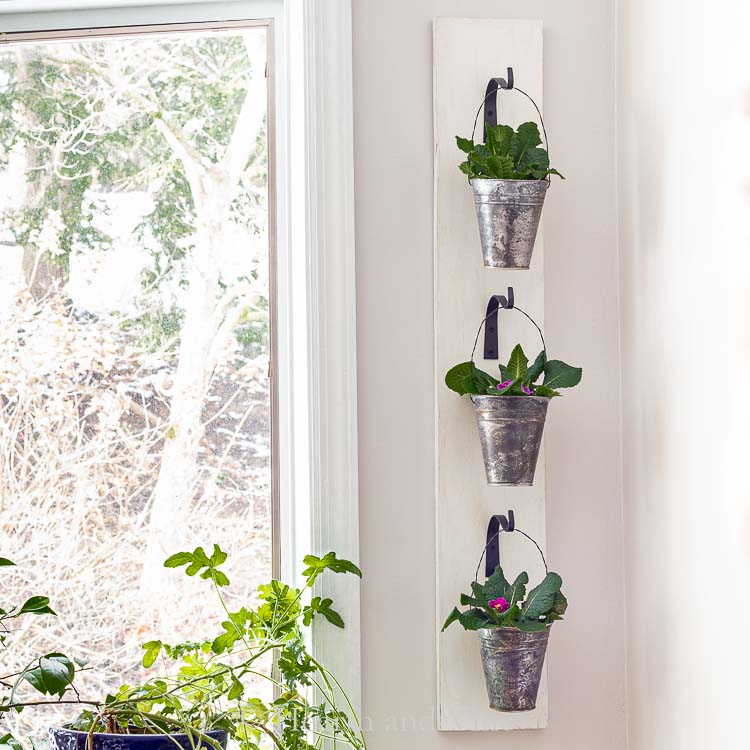
Credit: hearthandvine.com
Plant Care Tips
Caring for plants in wall hanging planters is important for their health and growth. These tips help your plants thrive and keep your space green and fresh.
Understanding the right water and light needs supports strong roots and vibrant leaves. Small changes in care can make a big difference.
Watering Guidelines
Water your plants regularly but not too much. Overwatering can cause root rot. Check the soil before watering. If the top inch feels dry, it is time to water.
Use a spray bottle for misting small plants. This adds moisture without soaking the soil. For larger planters, water slowly to let moisture reach all roots.
Drainage is key. Make sure your planter has holes to let extra water escape. Standing water harms plant health.
Light Requirements
Most wall hanging plants need bright, indirect light. Avoid direct sunlight, which can burn leaves. A spot near a window with filtered light works well.
Low light plants also do well in shaded areas. Choose plants that match the light in your room. Observe your plants. If leaves turn yellow or drop, they may need more light.
Rotate your planter every week. This helps all sides get equal light and grow evenly.
Frequently Asked Questions
What Materials Do I Need For Wall Hanging Planters?
You need pots, strong strings or ropes, hooks, soil, and plants for making wall hanging planters.
How Do I Choose The Right Plants For Wall Planters?
Pick small or medium plants that need little water and sunlight, like succulents or ferns.
Can I Make Wall Hanging Planters Without Drilling Holes?
Yes, use adhesive hooks or tension rods to hang planters without drilling into walls.
How Often Should I Water Wall Hanging Planters?
Water your plants when the soil feels dry. Usually, once a week is enough.
What Is The Best Place To Hang Wall Planters Indoors?
Choose spots with good light but not direct sun, like near windows or bright corners.
Conclusion
Creating wall hanging planters adds charm to any space. They save room and bring nature indoors. You only need a few materials and some patience. Try different plants to find what suits your style best. These planters make your home feel fresh and lively.
Start today and enjoy the beauty of green walls. Small efforts lead to big changes in your decor. Simple, fun, and rewarding—why wait?