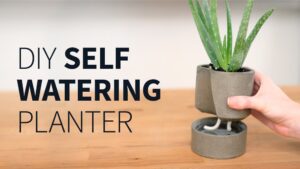
How to Create a Self Watering Planter: Easy Steps for Thriving Plants
If you love plants but often forget to water them, a self-watering planter could be your new best friend. Imagine your plants getting just the right amount of water, all on their own, without daily reminders or worries.
Creating your own self-watering planter is easier than you think—and it saves you time, water, and stress. Whether you want a simple setup using a plastic bottle or a clever wicking system with rope, this guide will walk you through step-by-step.
Keep reading to discover how you can help your plants thrive effortlessly with a DIY self-watering planter made from items you probably already have at home. Your green space is about to get a whole lot smarter!
Credit: www.ehow.com
Materials Needed
Gathering the right materials is the first step to build a self watering planter. Different methods need different supplies. Choose the system that fits your needs and space.
Below, find detailed lists for three popular systems. Each list helps you prepare before starting your project.
Plastic Bottle Drip System Supplies
- Empty plastic bottle (any size)
- Small stick or Q-tip
- Tape (masking or duct tape)
- Sharp tool to poke holes
- Chopstick or skewer for support
- Water to fill the bottle
Wicking System Supplies
- Cotton rope or thick cotton string
- Water container or reservoir
- Plant pot with drainage holes
- Potting soil suitable for your plant
- Scissors to cut the rope
Advanced Electronic Components
- Soil moisture sensor
- Microcontroller (e.g., Arduino or Raspberry Pi)
- Water pump or solenoid valve
- Water reservoir or tank
- Power supply or batteries
- Connecting wires and breadboard
- Programming software for microcontroller
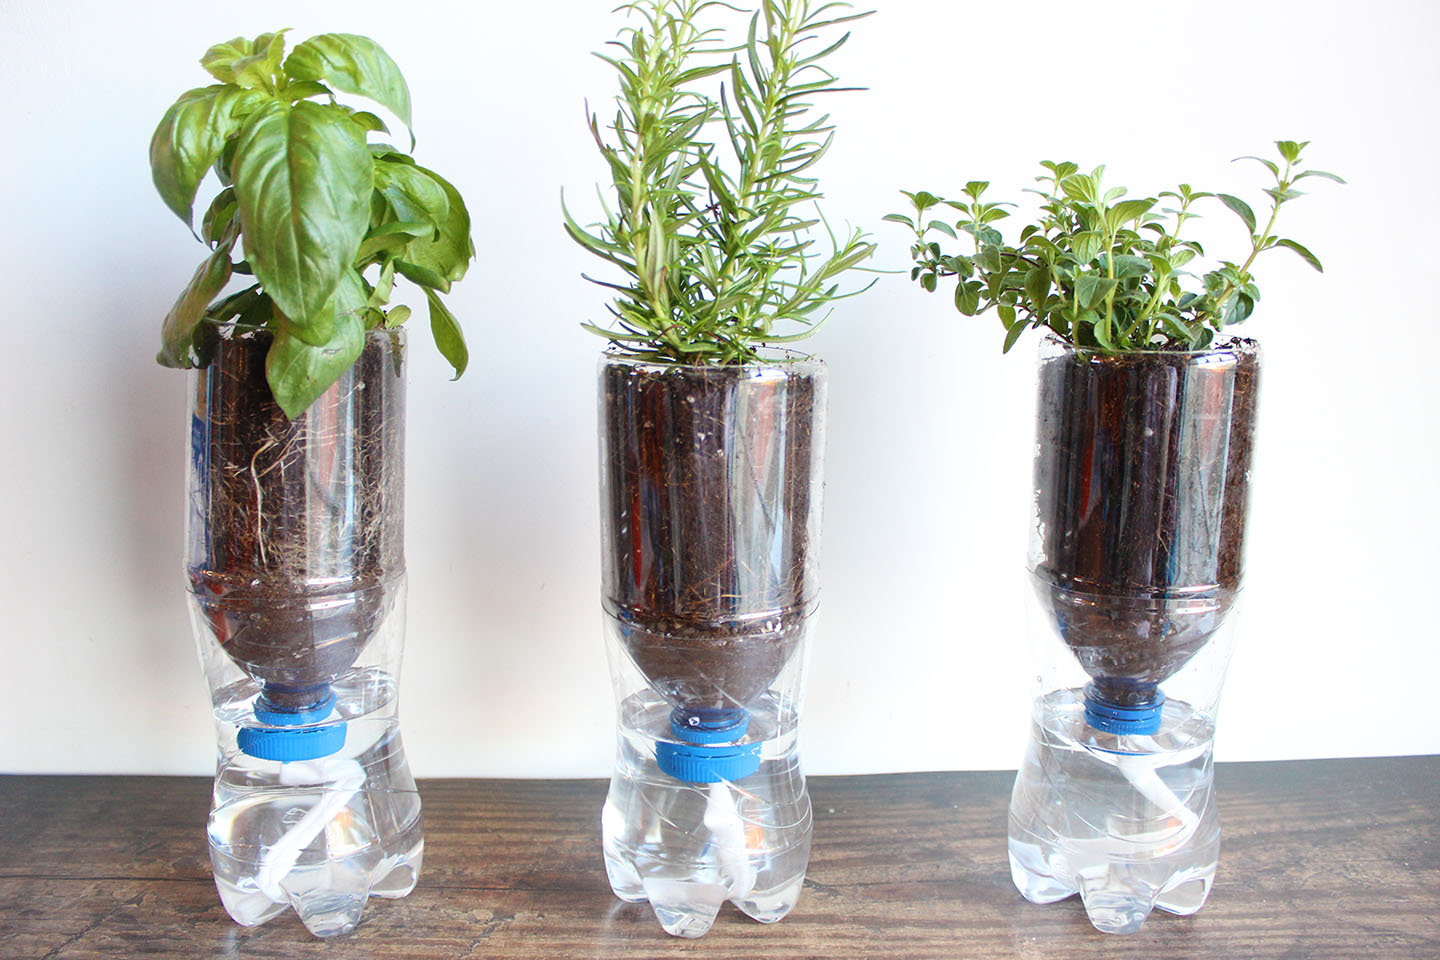
Bottle Drip Method
The Bottle Drip Method is a simple way to make a self-watering planter. It uses a plastic bottle that slowly drips water into the soil. This method helps keep plants hydrated without daily watering. It works well for both indoor and outdoor plants. The slow drip keeps soil moist but not too wet. This section explains how to prepare the bottle, set up the drip, and adjust the water flow for best results.
Preparing The Bottle
Choose a clean plastic bottle of suitable size for your plant. Remove the label for a neat look. Make a small hole in the bottle cap using a sharp tool. The hole should be about 1-2 mm wide to control water flow. Insert a Q-tip or a small stick through the hole. This will help slow down the dripping of water. Fill the bottle with fresh water after preparation.
Setting Up The Drip Mechanism
Turn the bottle upside down carefully. Place the Q-tip or stick end into the soil near the plant roots. Make sure it is stable and will not move easily. Use tape or a stick to hold the bottle in place if needed. The bottle should stand upright without falling. The water will slowly drip from the bottle into the soil, keeping it moist.
Adjusting Water Flow
Check the dripping speed after setting up the bottle. If water drips too fast, make the hole smaller or use a thicker Q-tip. If the water drips too slow or stops, widen the hole slightly or trim the Q-tip. Adjust the bottle’s height to change the pressure. Lower the bottle to slow the drip, raise it to speed it up. Find the right balance to keep soil evenly moist without flooding.
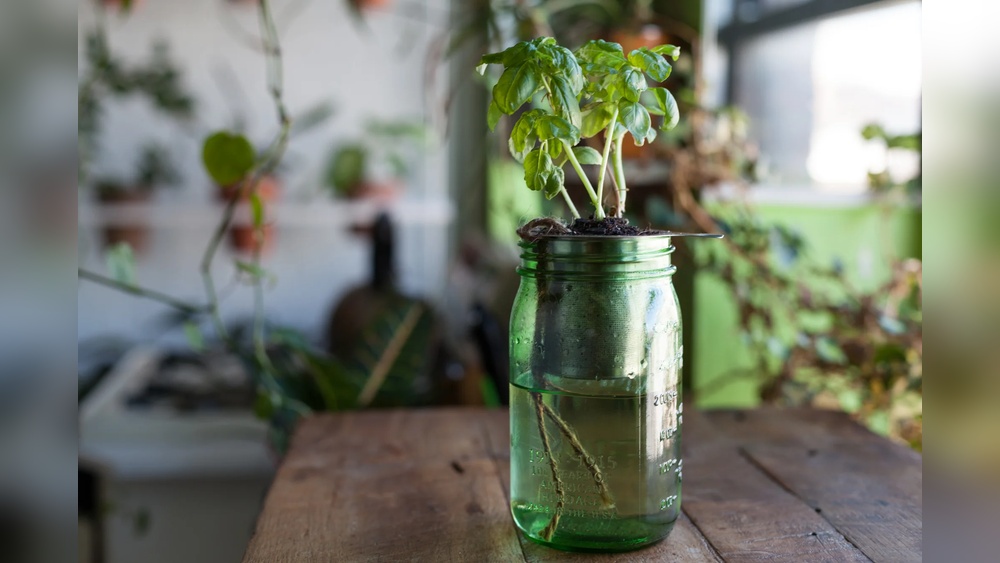
Wicking System Setup
The wicking system setup is the heart of a self watering planter. It lets plants draw water from the reservoir automatically. This method saves time and keeps soil evenly moist. Setting it up correctly ensures your plants thrive with minimal care.
Choosing The Right Rope
Select a rope that absorbs water well. Cotton or nylon ropes work best for wicking. Avoid synthetic ropes that repel water. The rope should be thick enough to carry water but flexible to fit in your planter. Check the rope length to reach both water and soil.
Positioning The Water Reservoir
Place the water reservoir below or beside the planter. It should hold enough water for several days. Ensure the reservoir is stable and won’t tip over. Position it so one end of the rope can sit in the water without moving. A sealed container with a small opening works well.
Placing The Wicking Rope In Soil
Insert the rope end deep into the soil, about 2 to 3 inches. This ensures water reaches plant roots efficiently. Spread the rope fibers gently to increase contact with soil. Avoid burying the rope too shallow or it will dry out. The other end stays submerged in the water reservoir.

Credit: www.instructables.com
Advanced Electronic System
An advanced electronic system takes your self-watering planter to the next level. It uses sensors and microcontrollers to monitor soil moisture and control watering automatically. This system keeps plants healthy without daily care. It ensures water is used efficiently, avoiding overwatering or underwatering. Building this system requires basic electronics skills and some patience. Below are key steps to set up a reliable electronic watering system.
Assembling The Circuit
Start by gathering components: a moisture sensor, microcontroller, relay module, and water pump. Connect the moisture sensor to the microcontroller’s input pins. Attach the relay to control the pump power. Use jumper wires to link parts on a breadboard or PCB. Double-check connections to prevent short circuits. Make sure power supply matches the components’ needs. Use a sturdy container to hold the water pump safely. Keep wires neat and secure to avoid damage.
Programming The Microcontroller
Write code to read soil moisture levels from the sensor. Set a threshold value to trigger watering. When soil is dry, the microcontroller turns on the pump via the relay. Once moisture reaches the set level, the pump switches off. Use simple commands in Arduino IDE or similar software. Test the program with the circuit connected. Adjust the timing to deliver enough water without flooding. Save and upload the code to the microcontroller carefully.
Calibrating Moisture Sensor
Place the moisture sensor in dry soil and note the reading. Then insert it into wet soil and record the value. Use these readings to define dry and wet thresholds in your program. Calibration helps the system know when to start or stop watering. Repeat calibration regularly for accuracy. Sensors can drift over time or with soil type changes. Proper calibration ensures your plants receive just the right amount of water.
Tips For Thriving Plants
Creating a self-watering planter is just the start. For your plants to thrive, they need the right care and attention. Follow these tips to keep your plants healthy and growing strong. Understanding their needs helps you maintain the perfect environment.
Choosing Suitable Plants
Select plants that do well in consistent moisture. Herbs like basil and mint thrive in self-watering planters. Succulents and cacti usually need less water, so avoid them. Choose plants with similar water needs to simplify care. Check plant labels or research online to find the best options.
Monitoring Water Levels
Keep an eye on the water reservoir regularly. Refill it before it runs completely dry to avoid stress. Use a clear container or a water gauge if possible. Too much water can cause root rot, so avoid overfilling. Water needs may change with seasons and indoor climate.
Maintaining The Planter
Clean your planter every few months to prevent mold and algae. Remove dead leaves and debris from the soil surface. Check for blocked water wicks or holes to ensure water flows freely. Replace or repair damaged parts to keep the system working well. Healthy soil and clean planters support plant growth.

Credit: www.youtube.com
Frequently Asked Questions
How To Make An Automatic Watering System For Plants At Home?
Create an automatic watering system using a plastic bottle with a small hole and Q-tip for slow drip. Alternatively, use a cotton rope from a water reservoir to soil for wicking. Both methods supply water gradually, keeping plants hydrated without daily watering.
Do Self-watering Planters Really Work?
Self-watering planters effectively provide consistent moisture by slowly delivering water to plants. They reduce overwatering and save time, making plant care easier and more efficient.
How Can I Automatically Water My Plants While On Vacation?
Use a DIY drip system with an inverted bottle or a wicking system using a cotton rope from a water reservoir. For tech-savvy users, set up an automatic watering system with a soil moisture sensor, pump, and microcontroller to water plants precisely during vacation.
What Are The Drawbacks Of Self-watering Pots?
Self-watering pots may cause overwatering, root rot, and salt buildup. They limit plant variety and require regular reservoir cleaning.
Conclusion
Creating a self-watering planter saves time and keeps plants healthy. It uses simple materials anyone can find. The drip and wicking methods both work well for different plants. This system helps water reach roots slowly and evenly. You won’t worry about forgetting to water your plants.
Try building your own self-watering planter today. Enjoy greener, happier plants with less effort.