How to Make a Self Watering Planter: Easy DIY Guide for Lush Plants
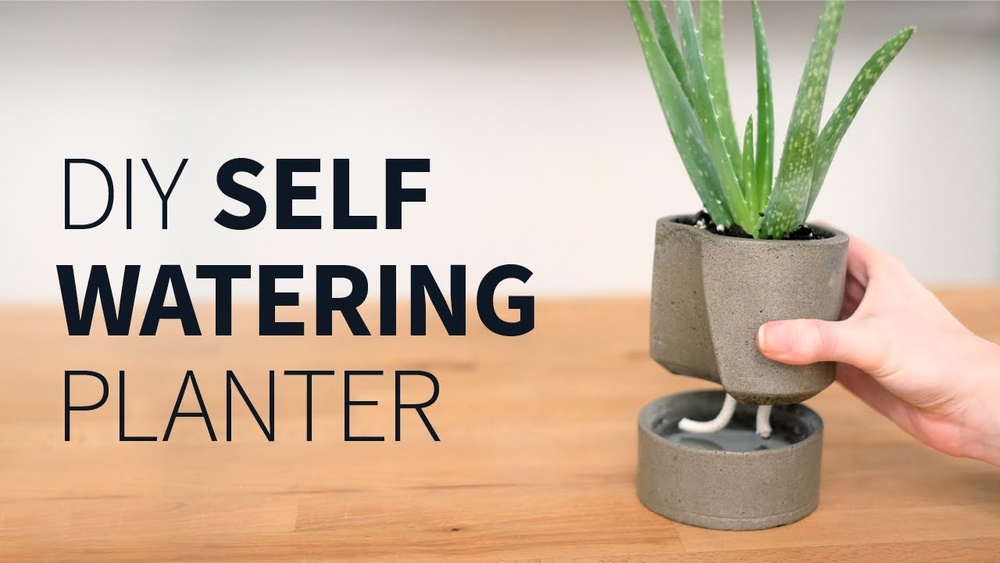
Are you tired of constantly worrying whether your plants have enough water? Imagine having a planter that takes care of watering itself, giving your plants just the right amount of moisture whenever they need it.
Making a self-watering planter is easier than you think, and it can save you time, water, and stress. Whether you’re a busy person, a beginner gardener, or just someone who wants healthier plants, this simple DIY project will change the way you care for your green friends.
Keep reading, and you’ll learn how to create your own self-watering planter with everyday materials—no fancy tools or skills required!
Benefits Of Self Watering Planters
Self watering planters offer many advantages for both beginner and experienced gardeners. They help maintain the right moisture level in the soil, which supports healthy plant growth. These planters simplify plant care by reducing the need for frequent watering. They also promote water saving, making them eco-friendly and cost-effective.
Consistent Moisture Supply
Self watering planters provide a steady supply of water to plants. The soil remains evenly moist without drying out. This consistent moisture helps plants grow strong roots. It prevents stress caused by irregular watering schedules.
Reduced Watering Frequency
These planters need less frequent watering than traditional pots. The water reservoir feeds the soil slowly over time. This feature saves time and effort for busy gardeners. It also reduces the risk of overwatering or underwatering.
Improved Plant Health
Plants in self watering planters often show better health. Steady moisture encourages vigorous root development. It decreases the chance of root rot and other diseases. Plants stay green and vibrant for longer periods.
Water Conservation
Self watering planters use water efficiently by limiting waste. Water is delivered directly to the roots where plants need it most. This system reduces evaporation and runoff. It helps gardeners save water and lower utility bills.
Materials Needed
Creating a self-watering planter requires a few simple materials. These materials help your plants get water slowly and stay healthy. Gather everything before starting the project. This saves time and makes the process smooth.
Containers And Reservoirs
Choose two containers: one for the plant and one for water storage. The plant container holds soil and plants. The reservoir stores water at the bottom. Use plastic pots, jars, or recycled bottles. Make sure the containers fit well together. The reservoir should hold enough water for days.
Wicking Materials
Wicking materials move water from the reservoir to the soil. Use cotton rope, strips of cloth, or nylon string. The wick must be long enough to reach the water and soil. It should soak water easily and release it slowly. Avoid materials that break or do not absorb water.
Tools And Accessories
Prepare basic tools like scissors, a drill or sharp knife, and a ruler. Scissors cut the wick and containers if needed. A drill or knife makes holes for the wick or drainage. The ruler measures the wick length and container size. A small tray or plate can catch extra water under the planter.
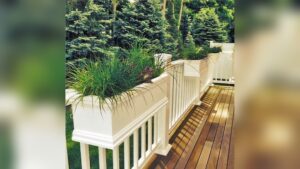
Choosing The Right Container
Choosing the right container is key to building a successful self-watering planter. The container holds the soil and water reservoir, so its features affect plant health and growth. Picking the best size, shape, and material ensures your planter works well and lasts long.
Size And Shape Considerations
Select a container size that fits your plant’s roots comfortably. Small plants need smaller containers to avoid waterlogging. Larger plants require bigger containers for enough soil and water storage. Choose shapes that allow easy access for refilling water and planting. Tall containers can hold more water but may be unstable. Wide containers offer more surface area for roots and soil.
Material Options
Containers come in plastic, ceramic, metal, and wood. Plastic is light, affordable, and holds moisture well. Ceramic looks nice and keeps soil cool but can be heavy and may crack. Metal containers heat up quickly and need extra care to prevent rust. Wood is natural and breathable but can rot if not treated. Pick materials that suit your climate and plant type.
Drainage Features
Good drainage is vital to avoid root rot. Your container should have holes or a system to drain excess water. Some self-watering planters have separate reservoirs that keep roots above standing water. Make sure the container allows air flow to the roots. Proper drainage helps plants absorb water without drowning.
Building The Reservoir
Building the reservoir is a key step in making a self watering planter. This part holds the water your plant needs. It releases moisture slowly to keep soil wet without flooding the roots. A well-built reservoir saves time and keeps plants healthy. Focus on making a water storage chamber that fits your planter size. Seal it well to avoid leaks. Add overflow protection to prevent water spills. These steps ensure your planter works smoothly and lasts long.
Creating A Water Storage Chamber
Start by choosing a container for your reservoir. It should fit inside the planter with some space left for soil. Use plastic or any waterproof material. Cut it to size if needed. Drill small holes near the top for air flow. These holes help water move up to the soil by capillary action. The chamber holds water and supplies it to the plant roots gradually.
Ensuring Proper Sealing
Seal all edges of the water chamber carefully. Use waterproof glue or silicone sealant. Check for any gaps or cracks. Water leaks reduce reservoir efficiency and can damage surfaces. Let the sealant dry fully before using the planter. Proper sealing keeps water inside and protects your furniture or floor.
Adding Overflow Protection
Overflow protection prevents water from spilling out of the reservoir. Drill a small hole near the top edge of the chamber. This hole acts as an overflow outlet. When water reaches this level, extra water drains out safely. This prevents flooding inside the planter. Overflow holes keep your self watering planter clean and mess-free.
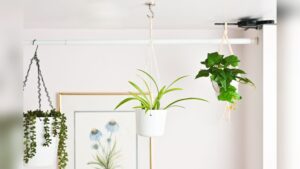
Setting Up The Wicking System
Setting up the wicking system is key for a self-watering planter. It moves water from the reservoir to the soil. This keeps plants hydrated without daily watering. A good wicking system saves time and supports healthy growth.
Selecting Suitable Wicks
Choose wicks made from absorbent materials like cotton or nylon. These draw water efficiently through capillary action. Avoid synthetic wicks that repel water. The wick should be thick enough to hold moisture but thin enough to fit in your planter.
Positioning The Wick Correctly
Place one end of the wick in the water reservoir. The other end must reach deep into the soil. Ensure the wick stays in contact with moist soil at all times. This allows water to travel steadily from the reservoir to the roots.
Testing Capillary Action
Before final assembly, test the wick’s water movement. Dip one end of the wick in water. Watch how fast the water travels up. A good wick pulls water steadily without dripping. Replace the wick if it fails to draw water well.

Credit: www.anikasdiylife.com
Assembling The Planter
Assembling your self-watering planter is a fun and simple step. This process ensures your plants get water without daily care. Preparing the layers and setting up the wicks correctly helps keep the soil moist. Follow each step carefully for the best results.
Layering Soil And Wicks
Start with a layer of small stones or gravel at the bottom of the container. This creates space for water storage. Next, add a layer of potting soil above the stones. Insert wicks through the soil to reach the water reservoir below. The wicks pull water up into the soil as needed.
Planting Tips
Choose plants that like consistent moisture. Dig small holes in the soil for your plants. Place each plant gently into the holes. Cover the roots fully with soil but avoid packing it too tight. Water lightly to help plants settle in.
Final Assembly Steps
Fill the water reservoir at the bottom with clean water. Check that the wicks stay in the water to absorb moisture. Place the top container with soil and plants over the reservoir. Make sure it fits snugly without gaps. Place the planter where it gets enough light but not direct harsh sun.
Maintaining Your Planter
Maintaining your self-watering planter is key to healthy plants and long-lasting use. Proper care keeps the system working smoothly and prevents common problems. Regular checks and simple steps help your plants thrive without extra effort.
Refilling The Reservoir
Check the water level in the reservoir often. Refill it before it runs completely dry. Use clean water to avoid harmful buildup. Keep the reservoir filled to ensure constant moisture for your plants.
Preventing Root Rot
Root rot happens when roots sit too long in water. Make sure your planter has good drainage and airflow. Avoid overfilling the reservoir. Remove any dead or rotting roots you see. This protects your plant’s health and growth.
Cleaning And Troubleshooting
Clean the planter every few months to stop algae and mold growth. Empty the reservoir and scrub it gently with mild soap and water. Rinse well before refilling. If water does not flow properly, check for blockages or damaged parts. Fix issues quickly to keep your planter working well.
Common Mistakes To Avoid
Building a self-watering planter is a smart choice for better plant care. Yet, many beginners make avoidable mistakes. These errors can harm your plants or reduce the planter’s effectiveness. Knowing what to watch for helps your plants thrive and keeps your planter working well.
Overwatering Risks
Too much water can drown plant roots. Self-watering planters hold water in a reservoir. This design can lead to overwatering if not managed carefully. Overwatered plants may show yellow leaves or root rot. Check the soil moisture regularly. Adjust the water level in the reservoir to avoid excess moisture. Plants need air around their roots to stay healthy.
Poor Drainage Issues
Drainage is crucial to prevent water buildup. Without good drainage, water stays trapped and causes root problems. Many DIY planters miss this step. Use containers with drainage holes. Add a layer of gravel or small stones at the bottom. This helps excess water escape and keeps roots healthy. Poor drainage can kill plants fast.
Using Unsuitable Plants
Not all plants suit self-watering planters. Some plants need dry soil between waterings. Others prefer constant moisture. Choose plants that thrive in moist conditions, like herbs or tropical houseplants. Avoid cacti or succulents in self-watering pots. These plants may suffer from too much water. Match plants to the watering style for best results.
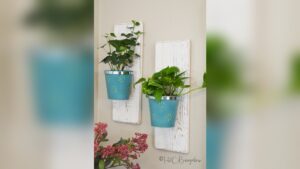
Advanced Tips And Variations
Advanced tips and variations can enhance your self-watering planter’s function and style. These ideas help tailor your planter to different plants and growing conditions. Experimenting with materials and technology can improve water efficiency and plant health.
Self Watering Planters For Vegetables
Vegetables need steady moisture to grow well. Use larger reservoirs to hold more water for these plants. Choose deep containers to support root growth. Add a mesh or wick system to deliver water evenly. Monitor the soil moisture often for best results.
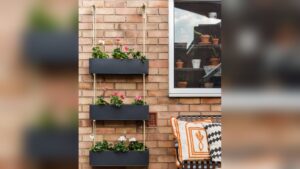
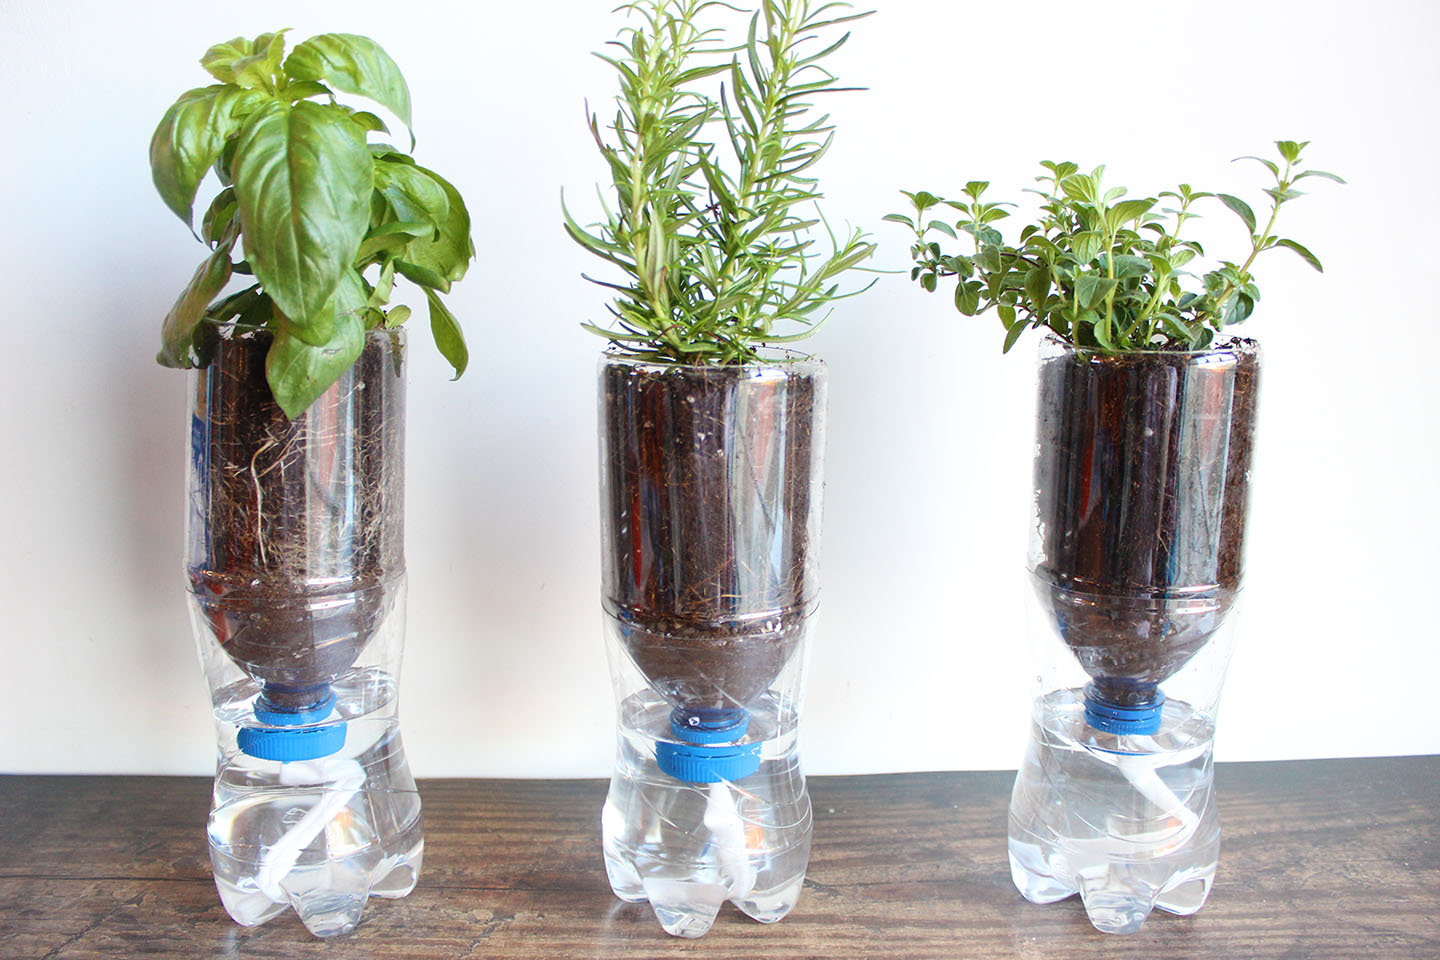
Using Recycled Materials
Recycle old containers like plastic bottles, buckets, or jars to build your planter. Cut and modify them to create water reservoirs and plant holders. This saves money and reduces waste. Make sure to clean materials well before use. Paint or decorate to improve appearance and durability.
Automating Watering With Sensors
Water sensors can make your planter smarter. Sensors detect soil moisture and trigger watering only when needed. Connect sensors to small pumps or valves to control water flow. This prevents overwatering and saves water. Simple kits are available for beginners to add automation easily.

Credit: www.prettypurpledoor.com
Diy Ideas For Vacation Watering
Going on vacation can be stressful for plant lovers. Ensuring your plants get enough water during your absence is key. DIY self-watering ideas offer simple and effective ways to keep your plants hydrated. These methods use everyday items and easy setups that anyone can try. They help maintain moisture without daily attention. Here are some popular DIY ideas for vacation watering.
Water Bottle Method
This method uses a plastic bottle as a slow water source. First, drill small holes near the bottle’s cap. Fill the bottle with water and quickly invert it into the soil. The water slowly drips out through the holes, keeping soil moist. This works well for small to medium pots. It is cheap and easy to set up before leaving.
Drip System Setup
A drip system delivers water directly to the plant roots. Use a small container filled with water placed above the plant pot. Connect thin tubing from the container to the soil. The water drips slowly through the tubing, providing steady moisture. You can control the drip rate by adjusting the tubing size. This system works well for multiple plants and longer trips.
Long-term Solutions
Long-term solutions include self-watering planters and wicking systems. Self-watering planters have a water reservoir below the soil. Plants absorb water through capillary action as needed. Wicking systems use a cloth strip connecting water in a container to the soil. These setups reduce watering frequency significantly. They are perfect for vacations lasting weeks or more.
Credit: www.ehow.com
Frequently Asked Questions
Can I Make My Own Self-watering Planter?
Yes, you can make a self-watering planter using common containers and a water reservoir. It keeps soil moist consistently.
What Are The Drawbacks Of Self-watering Pots?
Self-watering pots may cause root rot due to poor drainage and stagnant water. Roots can grow into the reservoir, limiting airflow. Some plants may suffer from overwatering. These pots often require monitoring to prevent waterlogging and are less ideal for plants needing dry soil cycles.
How Can I Automatically Water My Plants While On Vacation?
Use a DIY self-watering planter or an inverted water bottle with holes. Fill it, then insert into soil to release water gradually. Automated drip systems also work well for longer vacations.
Do Self-watering Planters Really Work?
Yes, self-watering planters work by providing consistent moisture through a built-in reservoir. They prevent over- and under-watering, saving time and water. Ideal for many plants, they are less suitable for those needing dry soil, like succulents.
Conclusion
Creating a self-watering planter saves time and helps plants stay healthy. It uses simple materials you likely have at home. This system delivers water steadily, preventing both dryness and overwatering. Your plants get just the right amount of moisture. Try making one for your garden or indoor plants.