How to Make Plant Watering Bottle: Easy DIY Tips for Lush Plants
Are you tired of constantly remembering to water your plants or worried about leaving them thirsty while you’re away? Imagine a simple, cost-effective way to keep your plants hydrated without daily effort.
Making your own plant watering bottle is easier than you think, and it can save your plants from drying out while giving you peace of mind. Whether you have indoor houseplants or a garden, this DIY self-watering system uses everyday bottles to deliver water slowly and steadily right where your plants need it most.
Keep reading, and you’ll discover easy step-by-step instructions to create your own watering bottle that helps your plants thrive effortlessly.

Credit: www.truevalue.com
Materials Needed
Gathering the right materials is the first step to create a plant watering bottle. The materials should be easy to find and safe for plants. Using recycled items can save money and help the environment. Prepare your workspace before starting to keep everything organized. Below are the essential materials and tools needed.
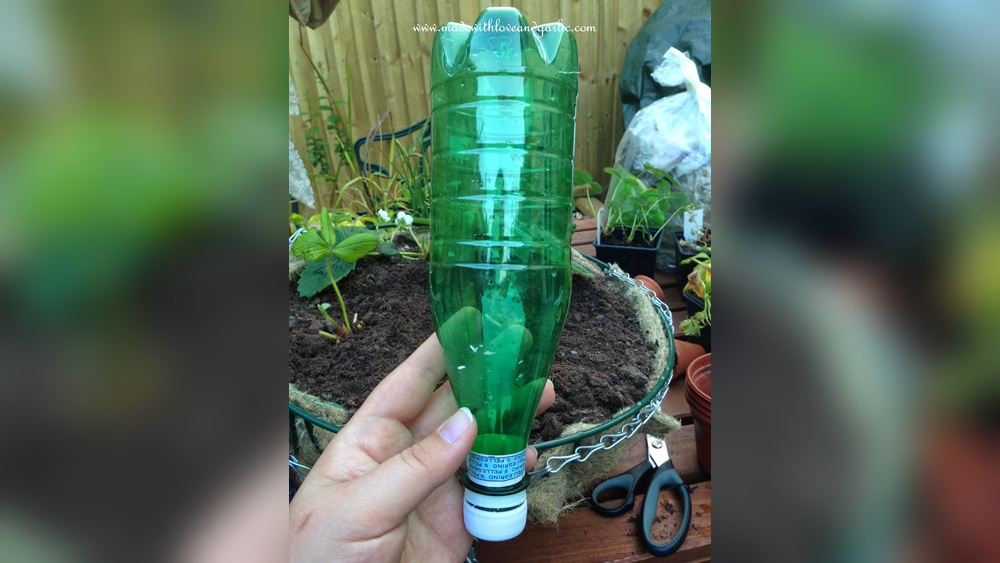
Choosing The Right Bottle
Pick a plastic or glass bottle with a tight cap. Clear bottles help you see the water level easily. A 500 ml or 1-liter bottle works well for most plants. Avoid bottles with labels as they can block water flow. The bottle neck should fit into the soil without being too large. Smooth bottles are easier to clean and reuse.
Additional Tools And Supplies
Use a sharp knife or scissors to make holes in the bottle cap or body. A needle or small drill helps create precise holes for water drip. Cotton or thin cloth strips act as wicks to control water release. A funnel makes filling the bottle with water easier and mess-free. Gloves protect your hands while handling sharp tools. Have a marker handy to mark where to cut or drill.
Preparing The Bottle
The self-watering globe technique is an easy way to keep plants hydrated. It uses a bottle filled with water that slowly releases moisture into the soil. This method helps plants stay healthy, especially during dry days or when you are away.
The water drips out gently, giving the roots just the right amount. It saves time and reduces the risk of overwatering. Using simple bottles and placing them correctly can make a big difference in plant care.
Using Glass Bottles
Glass bottles work well for the self-watering globe. They hold water tightly and look neat in your garden or home. Choose bottles with a narrow neck, like soda or wine bottles.
Make sure the bottle is clean before filling it with water. Glass lets you see the water level, so you know when to refill. It lasts longer and does not break down in the soil.
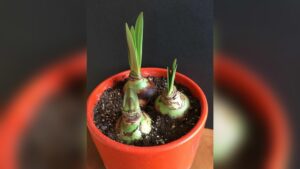
Burying The Neck Near Roots
Place the bottle neck deep in the soil near the plant roots. This position allows water to drip directly to the roots where it is needed most. Burying the neck keeps the bottle stable and prevents spills.
Insert the bottle slowly to avoid disturbing the roots. The water will seep out slowly, feeding the plant over time. This method works best for potted plants and garden beds.
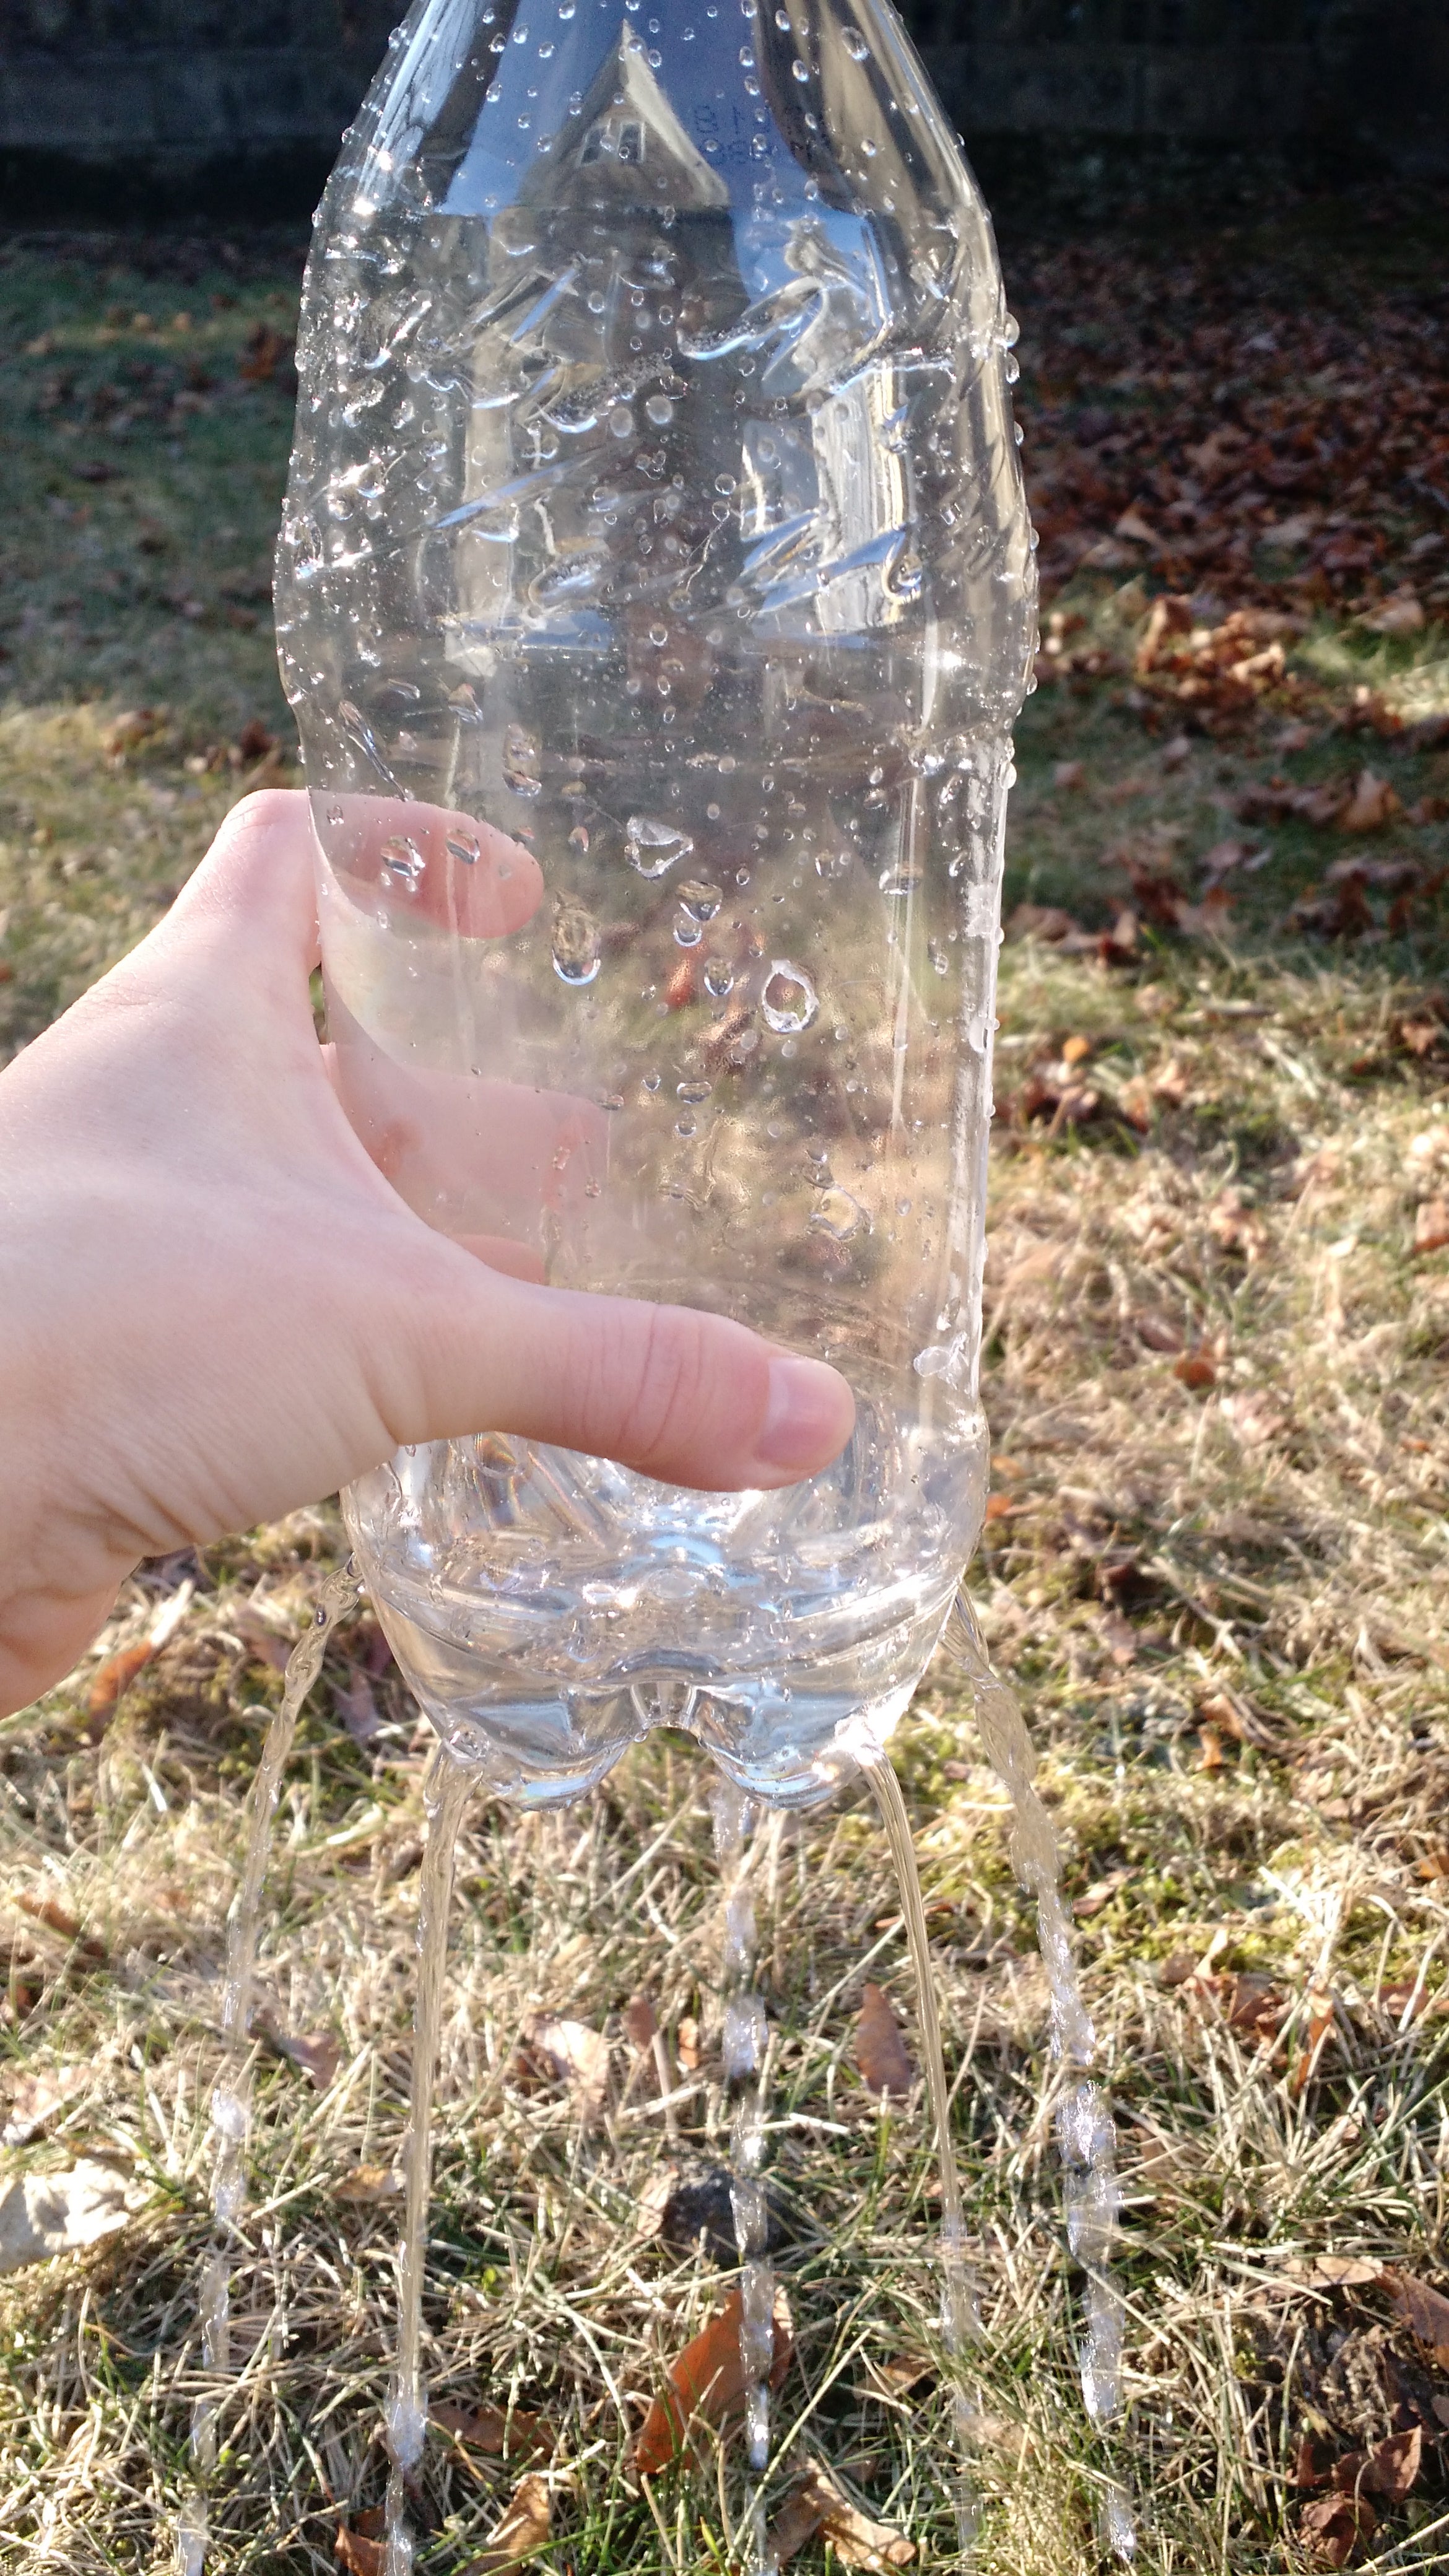
When To Use Caps Or Corks
Caps or corks help control water flow from the bottle. Use them if water drips too fast or you want to slow the release. Small holes can be made in the cap to allow slow dripping.
If the plant soil is already moist, you might not need a cap. But in dry soil, capping helps keep water inside longer. Choose caps that fit tightly to avoid leaks.
Bottle Drip Watering Method
Getting the best results from your plant watering bottle takes some care. Simple steps help your plants stay healthy and hydrated. Follow these tips to make your watering bottle work well and last longer.
Each plant and soil type is different. Watching your plants closely will help you adjust the watering system to their needs.
Watering Before Setup
Water your plant fully before placing the bottle. This makes sure the soil is moist and ready. A wet base helps water from the bottle spread evenly. It also prevents dry spots around the roots.
Monitoring Soil Moisture
Check the soil regularly after installing the bottle. Use your finger or a moisture meter to see if the soil is dry or wet. This helps you know if the bottle is watering enough or too much. Adjust the watering bottle or refill it as needed.
Adjusting For Plant Types
Different plants need different water amounts. Succulents need less water than tropical plants. Use smaller holes or fewer holes for plants that need less water. Larger holes or more holes work for thirstier plants. Change the bottle setup to match each plant’s needs.
Credit: www.gardeningknowhow.com

Credit: www.youtube.com
Frequently Asked Questions
How To Make Your Own Self-watering Bottle For Plants?
Fill a plastic bottle with water, poke small holes in the cap, and insert the neck into the plant’s soil. Water drips slowly, keeping soil moist.
How To Water Plants While Away For 2 Weeks Diy?
Use a water-wicking system by placing one rope end in water and the other in soil. Or, poke holes in a bottle, fill it with water, and insert it neck-down into the soil for slow drip irrigation. Both methods keep plants hydrated for two weeks.
How Do You Make A Plant Watering Device?
Make a plant watering device by poking holes in a bottle, filling it with water, and inserting its neck into the soil. Water drips slowly, keeping soil moist. Alternatively, use a rope wick from a water container to the plant’s roots for consistent watering.
What Liquid Is Best For Watering Plants?
The best liquid for watering plants is clean, room-temperature water. Avoid using softened or chlorinated water. Rainwater or distilled water works well for sensitive plants.
Conclusion
Creating a plant watering bottle saves time and keeps plants healthy. It uses simple materials you can find at home. This DIY method controls water flow, preventing overwatering. Your plants will stay hydrated, even when you are away. Try this easy project to support your garden’s growth.
Small steps like this make plant care less stressful. Enjoy watching your plants thrive with less effort every day.