How to Make a Watering Bottle for Plants: Easy DIY Guide
Are you tired of worrying about your plants while you’re away or simply want an easy way to keep them hydrated every day? Making your own watering bottle for plants is a simple, affordable solution that you can create with items you already have at home.
Imagine a system that slowly delivers just the right amount of water, keeping your plants healthy and thriving without constant attention from you. In this guide, you’ll learn step-by-step how to turn an ordinary bottle into a smart watering tool that saves you time and effort.
Ready to discover how this small DIY trick can make a big difference for your plants? Let’s get started!
Materials Needed
Gathering the right materials is the first step to making a watering bottle for plants. The materials affect how well your watering system works. Use simple items that are easy to find and safe for your plants. This section breaks down what you need to prepare before starting.
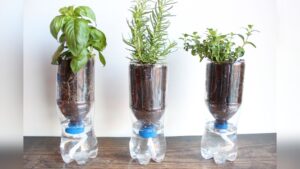
Choosing The Right Bottle
Pick a bottle that holds enough water for your plants. Plastic bottles are popular because they are light and easy to handle. A 1-liter bottle works well for most small plants. Make sure the bottle is clean and has no cracks or leaks. Bottles with a narrow neck help control water flow better. Avoid glass bottles as they can break easily and are harder to manage.
Tools And Supplies
Prepare a few simple tools to make your watering bottle. You will need a sharp knife or scissors to make holes in the bottle. A needle or pin can help create small holes for slow water release. Use tape to secure any loose parts or cover sharp edges. A small piece of cloth or cotton can act as a wick to help water flow steadily. Have a marker to make clear marks where you will cut or poke holes.
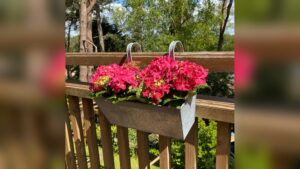
Credit: www.gardeningknowhow.com
Preparing The Bottle
Preparing the bottle is a key step in making a watering bottle for plants. The bottle must be clean and dry to avoid any mold or bacteria growth. It also needs holes to allow water to drip slowly into the soil. This helps keep plants hydrated without overwatering. Follow these simple steps to get your bottle ready.
Cleaning And Drying
Start with an empty plastic bottle. Remove any labels or stickers. Rinse the bottle well with warm water. Use mild soap if needed to remove dirt or residue. Make sure to clean inside the bottle thoroughly. After washing, rinse the bottle again with clean water. Let the bottle air dry completely. Drying is important to prevent mold growth inside.
Making Holes For Drip System
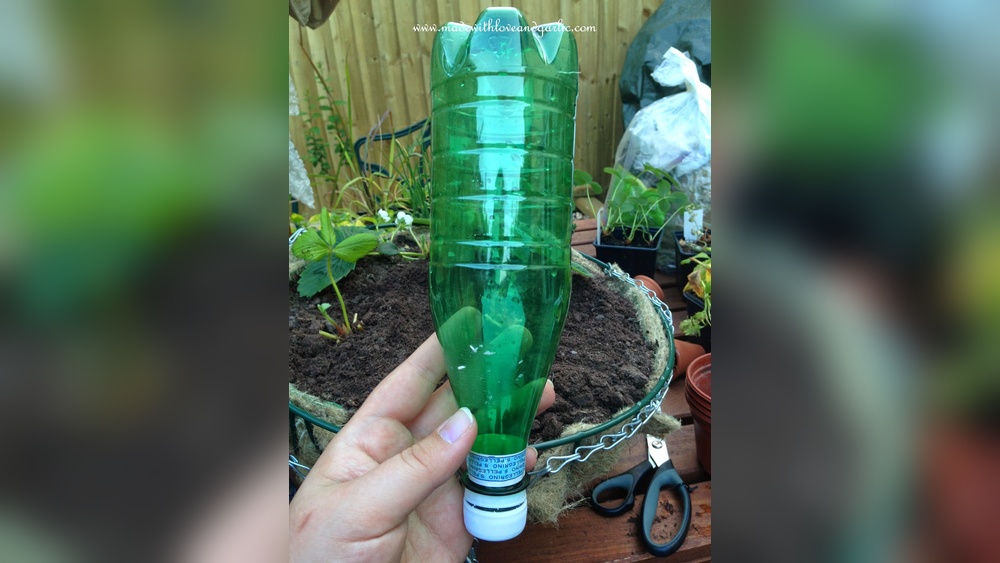
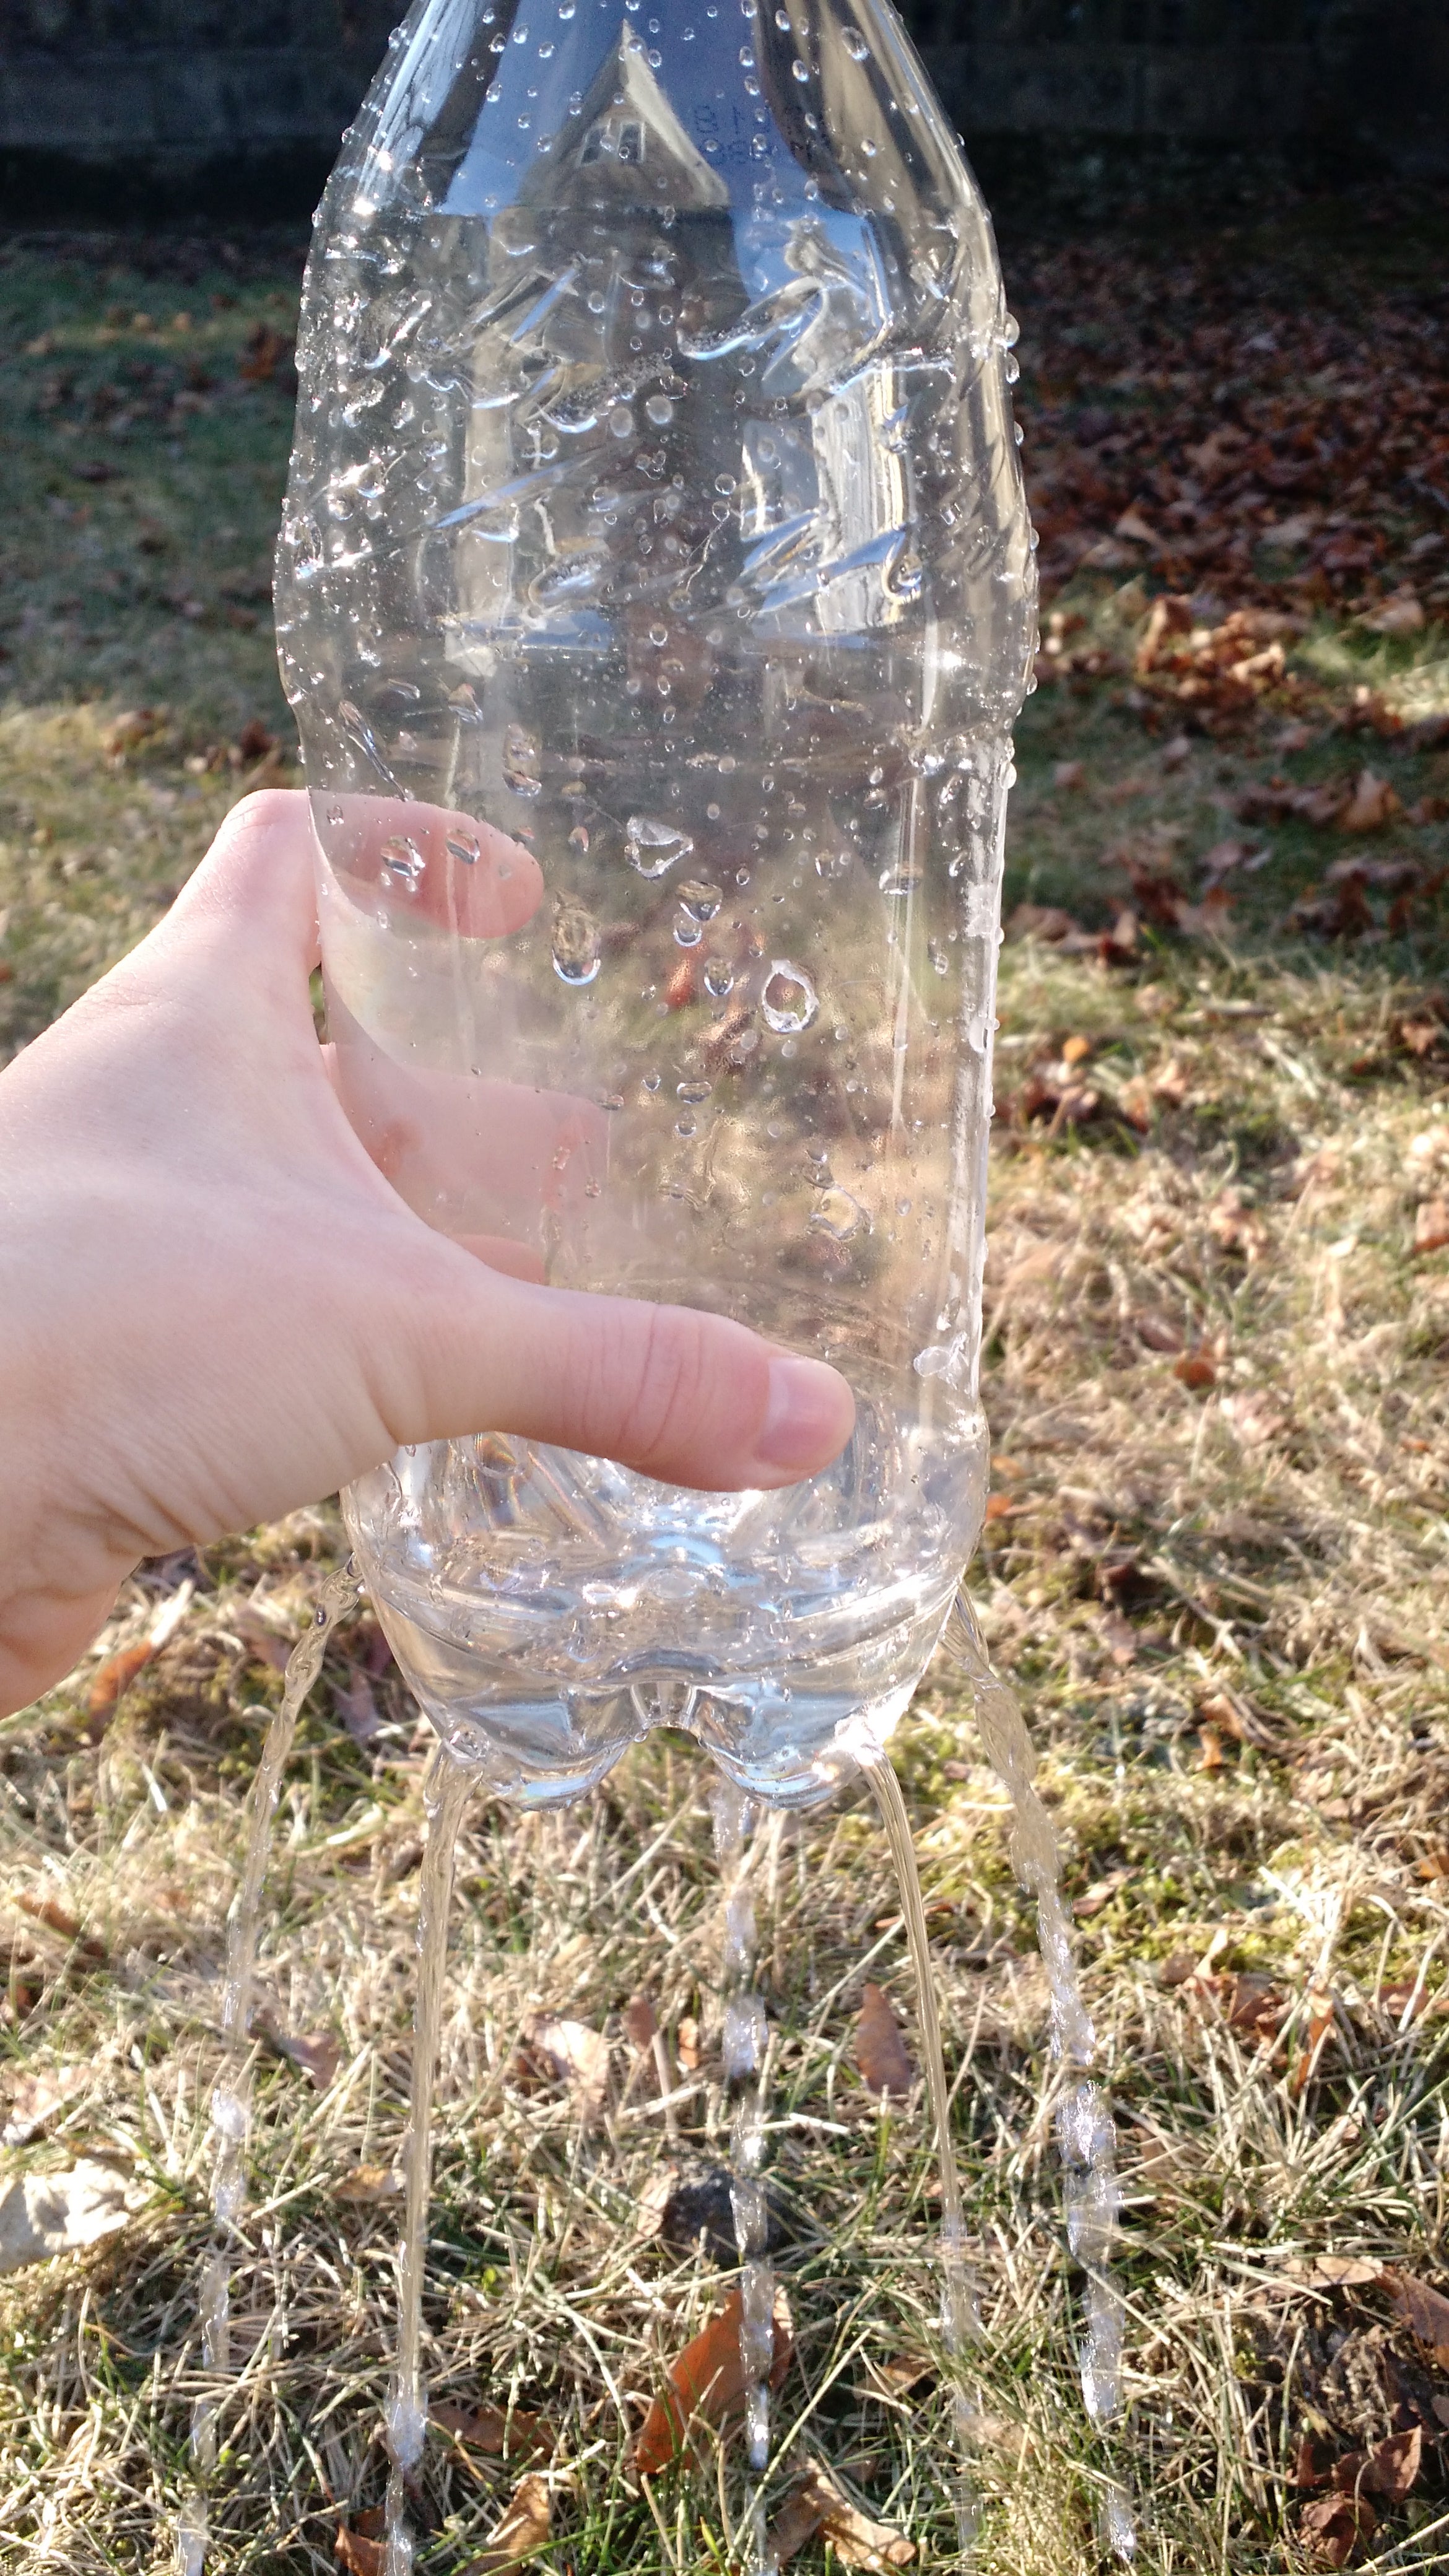
Use a sharp tool like a needle or small nail to make holes. Make two or three small holes near the bottle cap. The holes should be tiny to control water flow. Larger holes will cause water to pour out too fast. Test the drip speed by filling the bottle with water. Cover the holes if the drip is too fast. Adjust the hole size carefully to get a slow drip. This will keep your plants watered evenly.
Setting Up A Drip Watering System
Setting up a drip watering system is a simple way to keep plants hydrated. This method delivers water slowly and steadily. It saves water and helps plants absorb moisture better. Using a bottle for drip irrigation is cost-effective and easy to do. Follow these steps to prepare your watering bottle.
Filling And Sealing The Bottle
Start by choosing a clean plastic bottle. Fill it with fresh water, leaving some space at the top. Seal the bottle tightly with its original cap. To control the drip, make small holes in the cap using a pin or needle. The size of the holes controls water flow. Smaller holes drip slower, larger holes drip faster. Test the flow before placing the bottle in the soil.
Positioning The Bottle In Soil
Find a spot near the plant’s roots to place the bottle. Dig a small hole to fit the bottle neck. Insert the bottle upside down into the soil. Bury it enough to keep it stable and prevent tipping. The holes in the cap should be just under the soil surface. This helps water drip directly to the roots. Check the bottle regularly and refill as needed.
Creating A Water-wicking System
Creating a water-wicking system is a smart way to keep plants hydrated. This system uses a simple material to pull water from a bottle to the soil.
It works slowly and steadily. This helps plants get water without overwatering. The process is easy to set up and requires just a few items.
Selecting Absorbent Material
Choose a material that soaks up water well. Cotton rope is a great option. It holds water and lets it flow to the plant roots. Avoid synthetic ropes as they do not absorb water.
The thickness matters. A medium-thick rope works best. It carries enough water but does not clog the soil. Cut the rope to a length that fits your pot size.
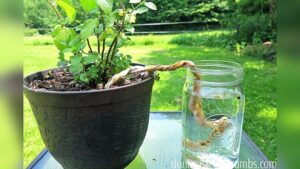
Arranging The Rope Between Water And Soil
Place one end of the rope in the water bottle. Make sure it touches the water. The other end goes deep into the plant soil. This end releases water slowly to the roots.
Keep the rope tight but not stretched. The water will move up the rope by itself. Position the bottle higher than the soil for better flow. Check the setup daily to ensure it works well.
Adjusting Water Flow
Adjusting the water flow in your DIY watering bottle is key to keeping plants healthy. Too much water can drown roots, while too little leaves plants thirsty. Finding the right drip rate helps you control moisture levels effectively. Small tweaks to the bottle’s opening can change the flow speed. This section guides you through simple ways to adjust and monitor water flow.
Controlling Drip Rate
Start by making tiny holes in the bottle cap or side. Smaller holes slow the drip, while bigger holes increase flow. Use a pin or needle to create or adjust holes. Cover holes partially with tape to reduce water release. Test different hole sizes to match your plant’s water needs.
Testing And Monitoring
Place the bottle in the soil and watch how fast water drips. Check soil moisture after a few hours. Adjust the hole size if water drains too fast or too slow. Repeat testing over several days to find the best drip rate. Regularly monitor your plants for signs of over or underwatering.
Tips For Different Plant Types
Different plants need different amounts of water. Making a watering bottle that suits each plant type helps keep them healthy. Adjust the watering flow and bottle placement based on the plant’s needs. This approach saves water and prevents overwatering or underwatering. Below are tips for indoor and outdoor plants.
Indoor Plant Care
Indoor plants usually need less water than outdoor ones. Use a small bottle with tiny holes for slow watering. Place the bottle close to the soil but not touching the plant stem. This helps avoid root rot. Check soil moisture often to adjust the drip speed. Plants like succulents need very slow watering, while ferns need more frequent watering. Use a clear bottle to see water levels easily.
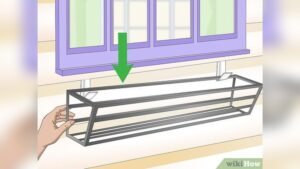
Outdoor Garden Use
Outdoor plants face sun, wind, and rain. Use larger bottles with bigger holes for faster watering. Bury the bottle neck near the plant roots to reduce evaporation. Group plants with similar water needs together to use watering bottles efficiently. For vegetable gardens, use multiple bottles to cover the area evenly. Refill the bottles often during hot and dry weather. Protect the bottles from animals by covering them with mesh or a cage.
Extending Watering Duration
Extending the watering duration for your plants ensures they stay hydrated longer. This helps especially during hot days or when you cannot water frequently. Using a simple watering bottle, you can control the water flow to last several days. Adjusting the setup can keep your plants healthy without daily attention.
Using Multiple Bottles
Attach several bottles around a large plant or garden bed. This spreads water evenly across the soil. Each bottle releases water slowly, increasing total watering time. You can stagger the bottles to empty at different rates. This technique prevents overwatering and keeps soil moist longer.
Choosing Bottle Sizes
Pick bottle sizes based on your plant’s water needs. Larger bottles hold more water and last longer. Small bottles work well for pots or small plants. Use wide bottles for slow water release. Narrow bottles drip faster but provide less water. Match the bottle size to how often you want to water.

Credit: sagesacre.com
Troubleshooting Common Issues
Making a watering bottle for plants is simple, but some issues may arise. These problems can stop your plants from getting enough water. Troubleshooting these issues helps keep your plants healthy and hydrated. Below are common problems and easy ways to fix them.
Clogged Holes
Small holes in the bottle can get blocked by dirt or plant debris. This stops water from dripping out. Check the holes often to make sure they are clear. Use a needle or pin to gently poke through the holes. Clean the bottle neck and cap to remove any buildup.
Uneven Water Distribution
Water may drip too fast on one side and not enough on another. This causes some plants to get too wet while others stay dry. Adjust the size of the holes to control water flow. Make sure the bottle is level and placed evenly above the soil. Move the bottle or add more holes for better water spread.
Eco-friendly Benefits
Making a watering bottle for plants offers many eco-friendly benefits. It helps reduce waste and saves water. Using simple materials, you can create a tool that supports both your garden and the planet.
Upcycling Plastic Bottles
Plastic bottles often end up in landfills or oceans. Turning them into watering bottles gives them a second life. This reuse cuts down on plastic pollution. It also reduces the need to buy new plastic items. Upcycling helps lower your carbon footprint. Plus, it teaches sustainable habits that anyone can follow.
Water Conservation
Watering bottles control how much water plants receive. They deliver water slowly and directly to the roots. This method reduces water waste through evaporation or runoff. It ensures plants get just the right amount of water. Using a watering bottle can save liters of water each week. Saving water supports the environment and lowers your water bills.

Credit: www.truevalue.com
Frequently Asked Questions
How Do You Make Homemade Plant Watering Bottles?
Clean an empty plastic bottle, poke small holes in its cap, fill with water, and insert the neck into the plant’s soil for slow watering.
How To Water Plants While Away For 2 Weeks Diy?
Use a plastic bottle with small holes, fill it with water, and insert it neck-down into the soil. Alternatively, place a water container nearby with a soaked string leading into the soil to wick water slowly. Water plants well before leaving.
How To Make A Diy Plant Waterer?
Fill a plastic bottle with water and poke small holes in the cap. Insert the bottle neck into the soil. Water slowly drips to roots, keeping plants hydrated.
How To Make A Diy Watering Can?
Use a clean plastic bottle, poke small holes in the cap, fill with water, and insert the neck into the soil for slow watering.
Conclusion
Making a watering bottle for plants is simple and cost-effective. It helps keep soil moist and plants healthy. Use materials you already have at home. Small holes allow water to drip slowly and steadily. This method saves time and water.
Perfect for busy gardeners or when away. Try this easy DIY project to care for plants better. Your plants will thank you with greener leaves and stronger growth. Give it a go and enjoy growing thriving plants.