How to Make a Plant Watering Bottle: Easy DIY Guide for Thriving Plants
Do you often worry about your plants not getting enough water, especially when you’re busy or away? Imagine a simple, low-cost solution that keeps your plants hydrated without daily watering.
Making your own plant watering bottle is easier than you think, and it can save you time and effort while helping your plants thrive. In this guide, you’ll learn step-by-step how to create an effective self-watering system using just a plastic bottle and a few household items.
Ready to see your plants stay healthy with minimal work? Keep reading to discover easy DIY methods that anyone can do!

Credit: www.truevalue.com
Materials Needed
Gather a clean plastic bottle, scissors, and a cotton string or wick. Water and soil will also be needed to complete the watering bottle. Simple tools make this project easy to start.
Gathering the right materials is the first step to make a plant watering bottle. Use simple items that you can find at home or nearby stores.
Having these materials ready helps you build the watering bottle quickly and easily. The items are affordable and eco-friendly.
Plastic Bottle
Choose a clean plastic bottle of any size. A 1 or 2-liter bottle works well.
Make sure the bottle is empty and dry before use. Clear bottles let you see water levels easily.
Sharp Knife Or Scissors
You need a sharp knife or scissors to cut the bottle safely. Use scissors for better control if you prefer.
Be careful while cutting to avoid any injuries.
Cotton String Or Wick
A cotton string or wick will help move water from the bottle to the soil slowly.
Choose natural fibers like cotton for best water absorption and flow.
Water
Use clean water to fill the bottle. Tap water works fine for most plants.
Water quality affects plant health, so avoid dirty or salty water.
Optional: Needle Or Pin
A needle or pin helps make small holes for water to drip slowly.
This is useful for drip watering systems that release water drop by drop.
Preparing The Bottle
Preparing the bottle is the first step in making a plant watering bottle. This process involves altering a plastic bottle to control water flow. Proper preparation ensures the watering system works effectively. Follow these steps carefully to get the best results.
Cutting The Bottle
Start with a clean plastic bottle. Use scissors or a knife to cut the bottle in half. Cut straight across the middle to create two parts. The top part will hold the soil and plant. The bottom part will serve as the water reservoir. Make sure the edges are smooth to avoid injury.
Making Holes For Wicks
Next, make small holes in the bottle cap or near the cut edge. These holes allow water to flow slowly to the plant roots. Insert a wick, such as a cotton string or cloth strip, through the holes. The wick will draw water from the reservoir to the soil. Ensure the wick fits snugly to prevent leaks.
Making A Two-part Planter
Making a two-part planter is a simple way to keep your plants hydrated longer. This DIY method uses a plastic bottle split into two sections. The top part holds the soil and plant, while the bottom part stores water. A wick connects the two, allowing water to move up slowly. This design helps plants absorb water as they need it, reducing overwatering.
Setting Up The Wick
Use a cotton string or shoelace as the wick. Thread it through the bottle cap hole. The wick should hang down into the water reservoir. Make sure it is long enough to reach the soil in the top part. The wick pulls water up by capillary action to keep soil moist.
Assembling The Planter
Cut a plastic bottle about one-third from the top. Invert the top section into the bottom part. Screw the cap with the wick back on the inverted top section. This creates a water reservoir below and a planter above. The wick moves water from reservoir to soil.
Planting And Soil Preparation
Fill the inverted top with potting soil. Choose soil that drains well but holds moisture. Plant your seeds or seedlings in the soil. Press soil gently around the roots. Avoid compacting soil too much to allow water flow.
Filling The Water Reservoir
Pour clean water into the bottom section of the bottle. Fill it until the water touches the wick. Do not overfill to avoid spilling. Check water level regularly and refill as needed. This keeps your plant hydrated without daily watering.
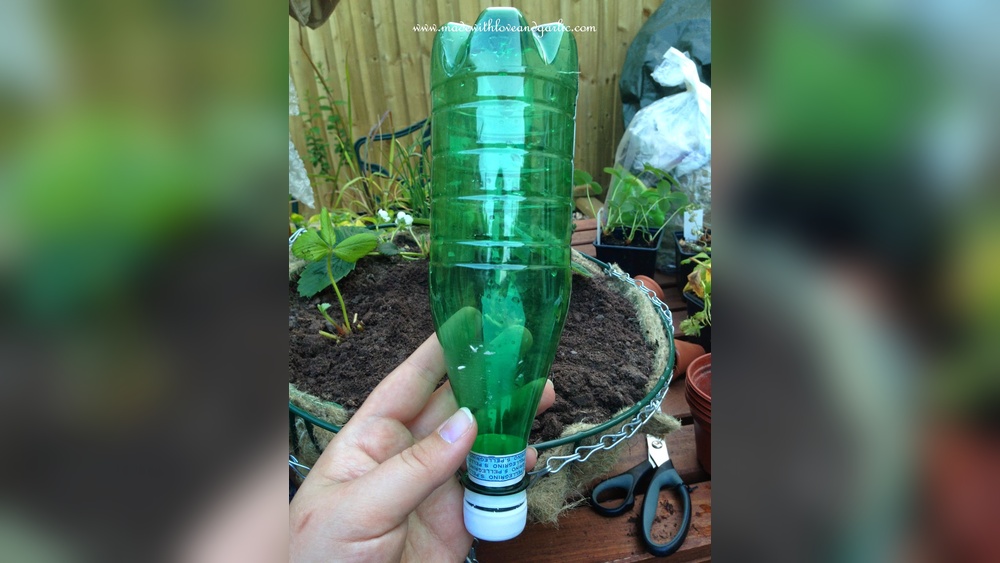
Creating A Drip Watering Stake
Creating a drip watering stake is a simple way to keep plants hydrated. This method uses a plastic bottle and a cotton swab wick. The wick slowly delivers water directly to the roots. It saves time and reduces water waste. Follow these steps to build your own drip watering stake.
Inserting The Cotton Swab Wick
Start by making a small hole near the bottle’s cap. Push one end of the cotton swab through the hole. The swab acts as a wick to carry water. Make sure the wick fits snugly and extends inside the bottle. The other end should hang outside to reach the soil.
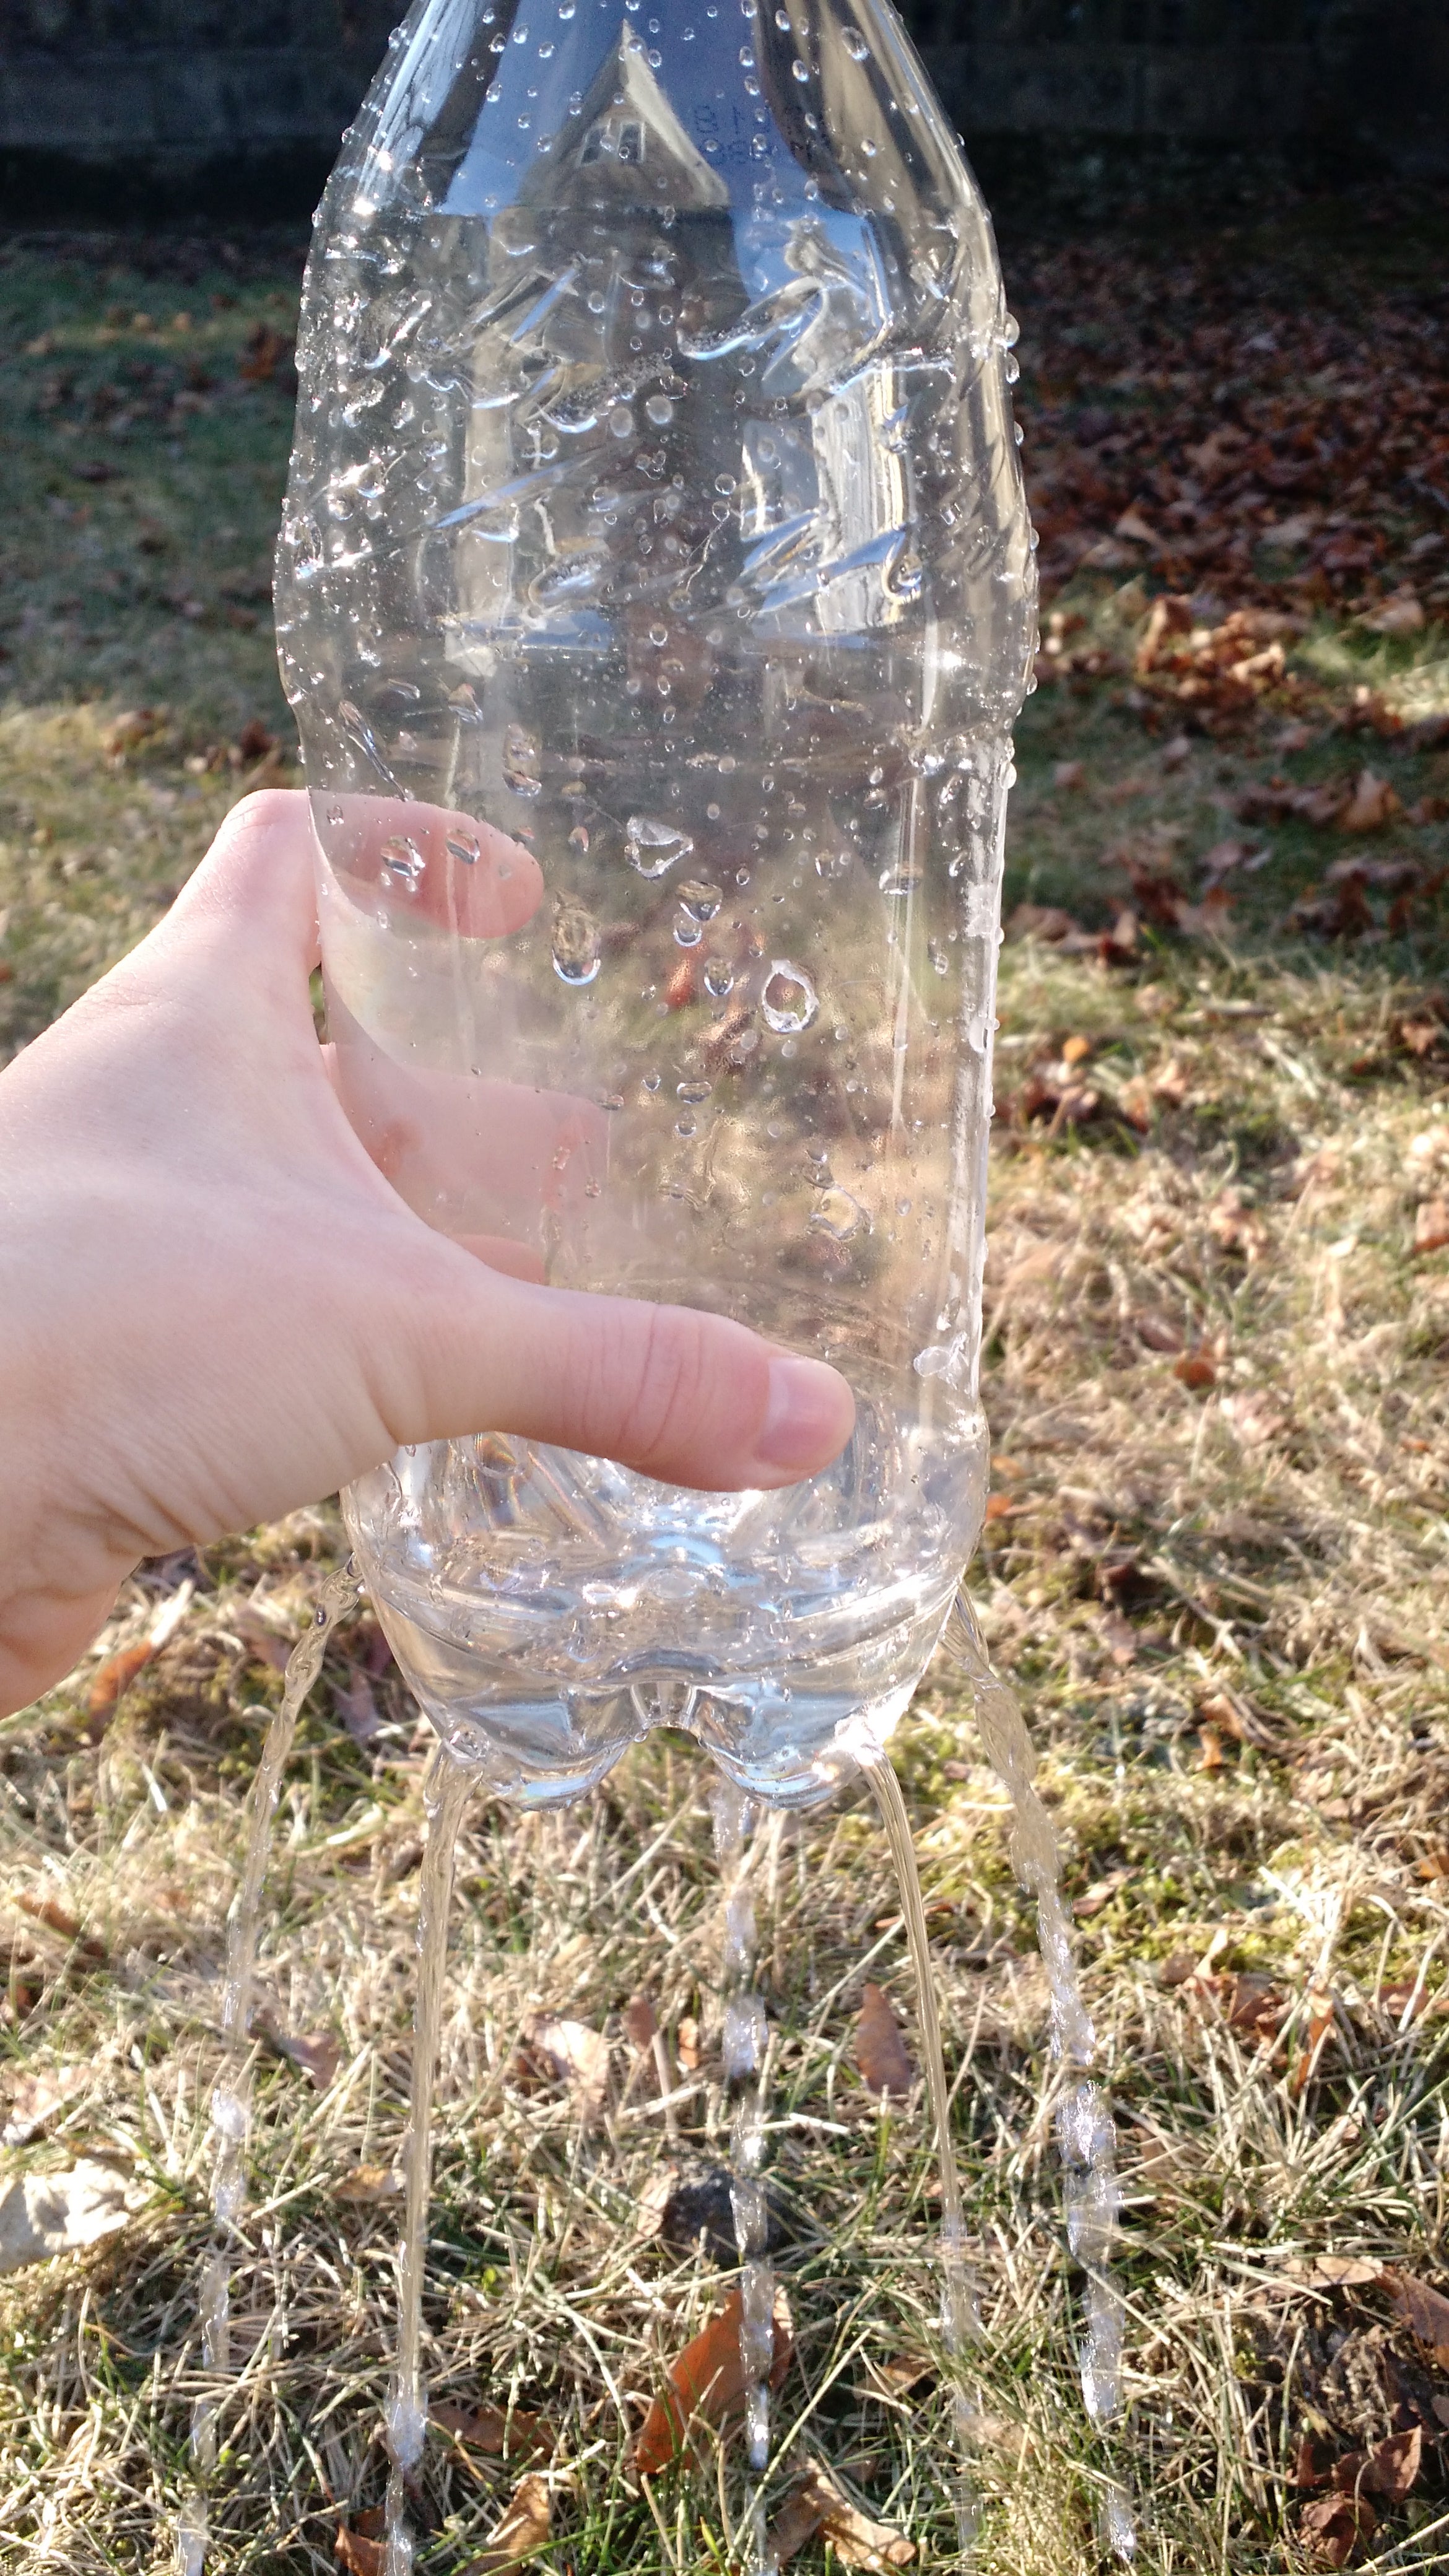
Filling And Positioning The Bottle
Fill the bottle with clean water. Screw the cap back tightly to avoid leaks. Place the bottle upside down near the plant’s base. Insert the wick end into the soil. The water will slowly drip from the bottle through the wick.
Adjusting Water Flow
Control the drip rate by adjusting the wick length. A longer wick slows the water flow. A shorter wick lets water drip faster. Test the setup and watch the soil moisture. Adjust the wick until the plant receives enough water without flooding.
Tips For Effective Watering
Effective watering helps plants grow strong and healthy. Using a plant watering bottle saves water and time. Follow these tips to make sure your watering bottle works well and keeps your plants happy.
Choosing The Right Bottle Size
Select a bottle size that fits your plant’s needs. Small plants need smaller bottles. Large plants need bigger bottles to hold more water. A bottle that is too big may waste water. Too small a bottle will need frequent refilling.
Monitoring Water Levels
Check the water level in the bottle regularly. Refill it before it runs out. Low water means your plant may dry out. Too much water can cause root rot. Watch the soil moisture to adjust watering speed.
Placement For Best Results
Place the watering bottle close to the plant’s roots. Avoid putting it on hard soil where water can’t flow. Keep the bottle in a stable, upright position. Place it where it won’t get knocked over by pets or wind.
Credit: www.gardeningknowhow.com
Benefits Of Diy Watering Bottles
DIY watering bottles offer simple solutions for plant care. They help control water use and improve plant growth. Making your own watering bottle saves money and supports eco-friendly gardening. These benefits make DIY watering bottles a smart choice for any gardener.
Water Conservation
DIY watering bottles release water slowly to plants. This reduces water waste by targeting the roots directly. Less water evaporates compared to traditional watering. This method saves water and keeps soil moist longer. It suits dry climates and busy schedules well.
Plant Health Improvement
Consistent moisture helps plants grow strong. DIY watering bottles provide steady water supply without overwatering. Roots get enough water without drowning. This balance prevents plant stress and disease. Plants stay healthier and bloom better with regular watering.
Cost-effective Gardening
Making watering bottles uses recycled plastic bottles or containers. This lowers the need to buy expensive tools. It also reduces plastic waste by reusing bottles. Gardeners save money and help the environment. DIY bottles are easy to make and maintain.
Troubleshooting Common Issues
Troubleshooting common issues with plant watering bottles helps keep your plants healthy and hydrated. Simple problems can stop the watering system from working well. Fixing these issues improves water delivery and prevents plant stress. Below are common problems and clear solutions for your DIY watering bottle.
Wick Not Drawing Water
The wick may be dry or clogged. Soak the wick in water before use. Check for dirt or blockages that stop water flow. Replace the wick if it is old or damaged. Use cotton or nylon wicks for best results.
Water Flow Too Fast Or Slow
Water flow depends on wick size and bottle holes. If water flows too fast, use a thinner wick or fewer holes. For slow flow, try a thicker wick or add more holes. Adjust the bottle height to control water pressure.
Bottle Stability Problems
Unstable bottles can tip and spill water. Place the bottle firmly in the soil or use stakes to hold it. Use wider bottles or add weight at the base for better balance. Check the ground surface to ensure it is flat.
Credit: dengarden.com
Creative Variations
Creative variations make plant watering bottles more useful and fun. They help fit different plant needs and personal styles. You can try new bottle types, add decorations, or even automate watering. These ideas keep plants happy and your gardening easy.
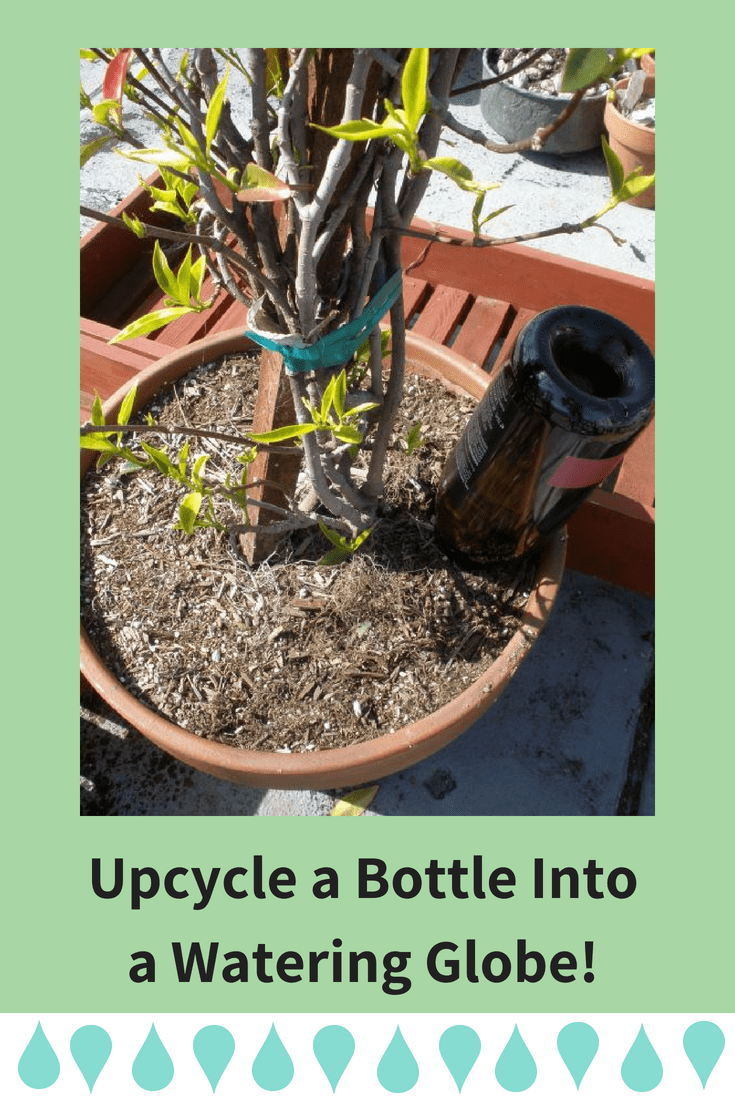
Using Different Bottle Types
Choose bottles of various sizes and shapes to match your plants. Small bottles work well for indoor pots. Large bottles hold more water for outdoor plants. Glass bottles slow water release better than plastic ones. Reuse soda bottles or juice containers to save money. Each bottle type changes how water flows to your plants.
Decorating Your Watering Bottle
Decorate bottles to add color and charm to your garden. Paint the bottles with waterproof paint for bright designs. Use stickers or tape to create patterns easily. Wrap twine or ribbon around the bottle neck for a rustic look. Label bottles with plant names or watering tips. Decorating makes your watering bottles personal and eye-catching.
Automating With Additional Tools
Add simple tools to automate watering and save time. Use a small drip valve for steady water flow. Attach a timer to control watering intervals. Connect multiple bottles with tubes to water several plants at once. Use a moisture sensor to trigger watering only when soil is dry. Automation helps keep plants healthy with less effort.
Frequently Asked Questions
How Do You Make A Self Watering Bottle For Plants?
Cut a plastic bottle in half. Invert the top into the bottom. Thread a wick through the cap hole. Fill top with soil and plant. Add water to the bottom reservoir. The wick draws water to keep soil moist automatically.
How To Water Plants While Away For 2 Weeks Diy?
Create a self-watering system by cutting a plastic bottle in half. Invert the top into the bottom and add a wick through the cap. Fill the bottom with water; the wick draws moisture to the soil. Refill water as needed to keep plants hydrated for two weeks.
How Do You Make A Plant Watering Device?
Cut a plastic bottle in half. Invert the top into the bottom. Thread a wick through the cap. Fill the top with soil and plant. Add water to the bottom reservoir. The wick draws water to keep soil moist.
How To Make A Plant Bottle?
Cut a plastic bottle in half. Thread a string wick through the cap hole. Invert the top into the bottom. Fill soil and plant in the top. Add water to the bottom reservoir. The wick draws water to keep soil moist.
Conclusion
Creating a plant watering bottle is simple and useful. It helps keep soil moist for longer. You save water and reduce watering time. Using recycled bottles also helps the environment. Try making one today for your plants. You will see healthier and happier plants soon.
Small steps like this improve your gardening skills. Enjoy watching your plants grow with less effort.