How Do You Make a Self Watering Planter: Easy DIY Guide
Want to keep your plants healthy without the hassle of daily watering? A self-watering planter is the perfect solution for you.
It cleverly stores water and delivers it to your plants as they need it, so you never have to worry about overwatering or forgetting to water. Imagine how much easier gardening could be when your planter does the work for you! In this guide, you’ll learn simple, step-by-step ways to make your own self-watering planter using everyday materials.
Stick with me, and by the end, you’ll have a smart planter that saves you time, keeps your plants thriving, and even works while you’re away. Ready to get started? Let’s dive in!

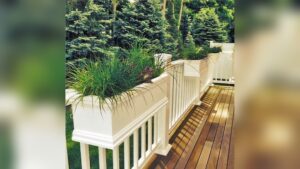
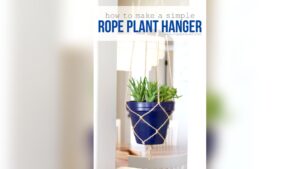
Credit: www.prettypurpledoor.com
Materials Needed
To build a self-watering planter, gather the right materials first. The project needs containers, tools, and wicking materials. These parts work together to keep your plants watered for longer. Having all supplies ready makes the process smooth and easy.
Containers And Tools
Use two containers: one for the water reservoir and one for the soil. Plastic pots or buckets work well. Choose containers with enough depth for roots and water storage. You will also need a drill or a sharp tool to make holes. Scissors help cut the wicking material. A ruler or tape measure ensures proper sizing.
Wicking Materials
Wicking materials draw water up to the soil by capillary action. Cotton rope or thick cotton string is best. Felt strips or strips of old cotton fabric also work. Avoid synthetic materials that don’t absorb water well. The wick should be long enough to reach both the water and soil layers.
Additional Supplies
You will need potting soil suitable for your plants. Add some small stones or gravel for drainage. Water is essential, so prepare clean water for the reservoir. Optional items include a water level indicator and a mesh screen to separate soil and water. These extras improve the planter’s function and ease of use.

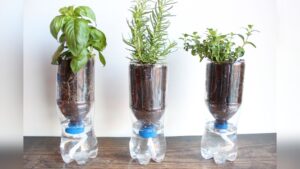
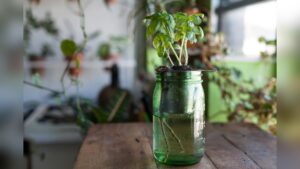
Credit: homesteadbrooklyn.com
Choosing Your Container
Choosing the right container plays a key role in making a self-watering planter. The container holds the soil and water reservoir, so it must suit the plant’s needs. The container type, size, and drainage features affect water retention and plant health.
Selecting a container that balances these elements helps create a planter that waters itself efficiently. Here are important points to consider.
Types Of Containers
Plastic pots are lightweight and easy to work with. They hold water well but may trap heat. Clay or terracotta pots look natural and allow air flow but dry out faster. Metal containers can be stylish but may heat up quickly. Recycled containers like buckets or jars work well for DIY projects.
Size Considerations
The container should fit the plant’s root system comfortably. Small pots dry out quickly and need more frequent refilling. Large containers hold more water but can be heavy and bulky. Choose a size that balances water capacity and space for roots to grow.
Drainage Features
Good drainage prevents root rot and keeps plants healthy. Self-watering planters need a water reservoir separate from the soil. Look for containers with built-in drainage holes or create a false bottom to separate soil and water. Proper drainage ensures roots get oxygen while staying moist.
Creating The Water Reservoir
Creating the water reservoir is key to a self-watering planter. This part holds water separately from the soil. It lets plants draw moisture slowly as they need it. The reservoir helps keep soil moist without overwatering. You can build it in several ways.
Each method aims to provide a steady water supply. This makes plant care easier and helps plants grow healthy. Below are some simple ways to create the water reservoir.
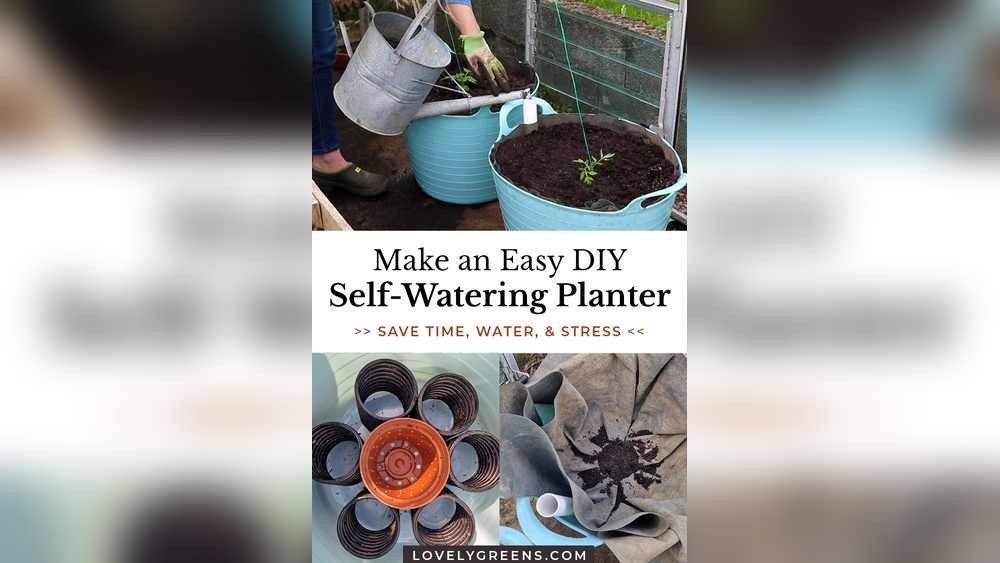
Using Two Containers
Place a smaller container inside a larger one. The larger container holds water as the reservoir. The smaller container holds soil and the plant. Make holes near the bottom of the smaller container. These holes allow roots to reach water. Fill the larger container with water. The soil in the smaller container will absorb moisture slowly. This setup is easy to make and clean.
Building A False Bottom
Create a barrier inside one container to separate soil and water. Use a plastic grid or mesh as the false bottom. Place it a few inches from the container’s base. The space below holds water and acts as the reservoir. Soil sits above the false bottom. A wick or holes let water move up to the soil. This method keeps roots from sitting in water. It prevents root rot and allows good air flow.
Adding A Water Level Indicator
A water level indicator shows how much water is left. Use a clear tube or plastic straw attached to the reservoir. Mark the tube with high and low water levels. Check the water level without disturbing the plant. This helps you add water only when needed. It avoids overfilling and keeps plants healthy. Indicators make self-watering planters easy to manage.
Setting Up The Wick System
Setting up the wick system is a key step in making a self-watering planter. The wick draws water from the reservoir to the soil. This keeps the soil moist without overwatering. You need to choose the right wick, place it correctly, and keep it clean. These actions help the wick work well for your plants.
Selecting The Right Wick
Choose a wick made from natural fibers like cotton or jute. These materials soak up water easily. Avoid synthetic wicks as they may not absorb water well. The wick should be thick enough to move water but not too thick to block airflow. A wick about 1/4 inch wide works well for most planters.
Positioning The Wick
Place one end of the wick in the water reservoir. Make sure it touches the water fully. The other end should be buried in the soil. It must reach deep enough to deliver moisture to the plant roots. Avoid letting the wick dry out by ensuring good contact with both water and soil.
Wick Maintenance Tips
Check the wick regularly for dirt or mold. Clean it by soaking in warm water if needed. Replace the wick every few months for best results. Keep the water reservoir filled to keep the wick working. A well-maintained wick system helps your plants thrive with less effort.
Preparing The Soil And Plant
Preparing the soil and plant is a key step in making a self-watering planter. The right soil and plant choice ensure healthy growth and proper water absorption. Careful planting techniques also help the plant thrive in this unique setup.
Choosing Potting Mix
Select a light, well-draining potting mix. Avoid garden soil that can compact and block water flow. A mix with peat moss, perlite, or vermiculite works well. These materials hold moisture but allow air to reach roots. This balance supports healthy root development in self-watering planters.
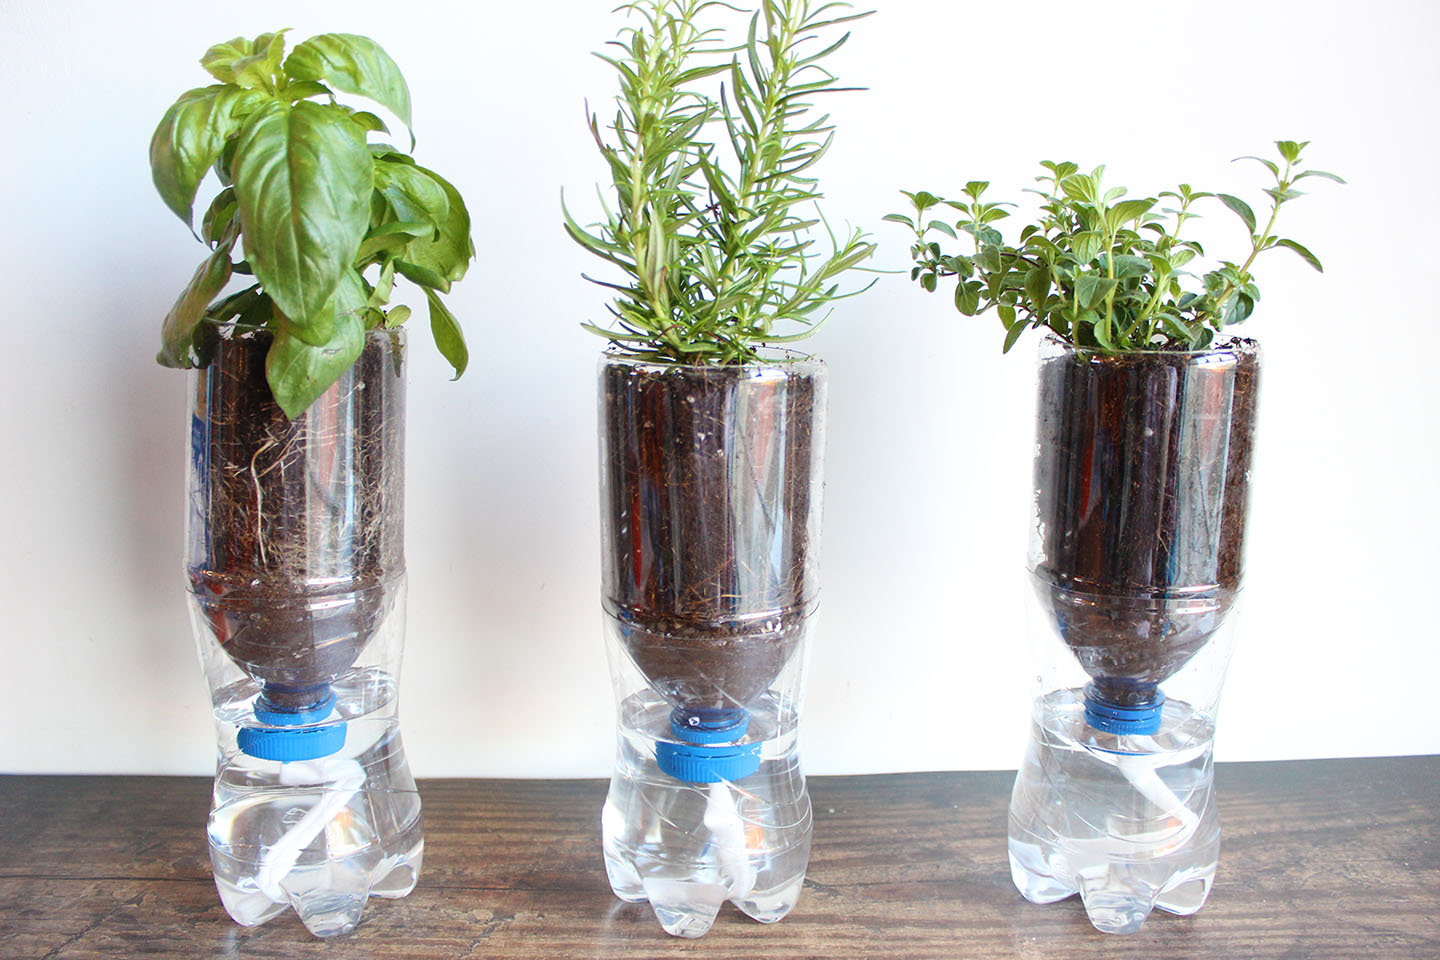
Plant Selection
Pick plants that like consistent moisture but not waterlogged roots. Herbs, leafy greens, and many houseplants do well. Avoid plants needing dry soil or deep root systems. Choose plants suited for container growth to avoid stress. Healthy, young plants transplant easier and establish quickly.
Planting Techniques
Start by moistening the potting mix before planting. Fill the soil section of the planter but leave space for the plant roots. Gently loosen roots of the plant to encourage growth. Place the plant in the soil and cover roots fully. Press soil lightly to remove air pockets. Water lightly to settle soil around roots. Avoid overpacking soil, which can block water movement.
Filling And Testing The Planter
Filling and testing the self-watering planter ensures your plants get the right amount of water. This step is key to making sure the system works well and your plants stay healthy. Proper filling and testing help avoid overwatering or underwatering, which can harm plant roots. Here is how to fill and test your planter effectively.
Adding Water To Reservoir
Start by pouring clean water into the reservoir. Fill it slowly to avoid spills. Watch the water level rise and stop before it reaches the soil layer. The reservoir should have enough water to last several days. Use a funnel if needed for easy filling. Make sure the water reaches the wick or false bottom to allow proper absorption.
Monitoring Moisture Levels
Check the soil moisture regularly after filling. Use your finger or a moisture meter to test the soil. The soil should feel damp but not soggy. Observe the water level in the reservoir daily. If the water drops fast, the soil is using it well. If it stays full, the soil might be too dry or the wick not working. Adjust your monitoring based on these signs.
Adjusting Water Flow
Control water flow by adjusting the wick or reservoir size. If the soil stays too wet, reduce water or use a thinner wick. If the soil dries out quickly, increase water or use a thicker wick. Small changes can balance water supply well. Test changes over a few days to see the effect. Keep adjusting until soil stays moist consistently.
Maintaining Your Planter
Maintaining your self-watering planter is key for healthy plants and long-lasting use. Regular care keeps the system working smoothly. It helps avoid common problems like clogged wicks or stagnant water.
Simple maintenance tasks keep the planter clean and efficient. Check the water level often and clean parts as needed. This prevents mold and algae growth that can harm your plants.
Refilling Water
Check the water reservoir every few days. Fill it up before it runs completely dry. Use clean, room-temperature water for best results. Avoid overfilling to prevent spills and root rot.
Cleaning The Reservoir
Empty the water reservoir once a month. Rinse it well with mild soap and water. Use a soft brush to remove dirt or algae buildup. Let it dry fully before refilling to prevent bacteria growth.
Preventing Mold And Algae
Keep the planter in a well-ventilated area with indirect sunlight. Avoid excess moisture on the soil surface. Remove dead leaves and debris regularly. Use clean water to reduce algae chances.
Troubleshooting Common Issues
Troubles can happen with self-watering planters. Simple fixes solve most problems fast. Check these common issues to keep your planter working well.
Wick Not Absorbing Water
The wick moves water from the reservoir to the soil. Sometimes, it stops working. Dirt or mold can block the wick. Clean or replace the wick if water does not move up. Make sure the wick stays wet and touches both water and soil.
Overwatering Or Underwatering
Too much water causes root rot, while too little dries plants out. Check the water level often. Do not fill the reservoir above the fill line. Let the soil dry a bit between watering. Adjust the wick size if water moves too fast or slow.
Plant Health Problems
Yellow leaves or slow growth may mean a problem. Check for pests or diseases on the plant. Make sure the plant gets enough light for its type. Use good soil that drains well. If plants still struggle, try a different plant suited for self-watering.
Creative Variations
Creative variations make self-watering planters fun and unique. You can customize the design to fit your style and needs. Different materials and tools help improve the watering system. These ideas bring new life to simple planters.
Experiment with textures, colors, and automation. Each method keeps plants hydrated with less work. Let’s explore some popular creative variations.
Using Concrete Or Decorative Pots
Concrete pots add a sturdy and modern look to your planter. They retain moisture well, helping plants stay hydrated longer. Use a two-part system by placing a smaller pot inside a larger concrete container. Fill the space between with water. This creates a hidden reservoir that feeds the soil.
Decorative pots offer endless style options. Choose colorful or patterned pots to brighten your space. They work the same way by separating soil and water. Add a wick or false bottom to improve water flow. These pots combine beauty with function.
Incorporating Self-watering Globes
Self-watering globes are easy to use and charming. Simply fill them with water and insert into the soil. The globe slowly releases water as the soil dries. They fit well with small planters or indoor plants.
Combine globes with traditional self-watering planters for extra moisture. This helps during hot weather or dry indoor air. Choose glass or plastic globes depending on your budget and style. They add a creative touch while keeping plants happy.
Automated Watering Add-ons
Automated watering systems take self-watering planters to the next level. Use drip irrigation kits or small pumps powered by batteries or solar energy. These systems deliver water on a schedule or as needed.
Add sensors that detect soil moisture to control watering. This avoids overwatering and water waste. Automated add-ons save time and keep plants healthy. They are perfect for busy gardeners or larger planter setups.
Credit: www.ehow.com
Frequently Asked Questions
How Do I Make My Own Self-watering Planter?
Create a water reservoir below the soil using two containers or a false bottom. Add a wick or fabric to draw water up to the soil by capillary action. Fill the reservoir, and the planter will self-water as the soil dries.
How Can I Automatically Water My Plants While On Vacation?
Use a self-watering planter or set up an automatic drip irrigation system with a timer. Both ensure plants stay hydrated.
Do Self-watering Planters Really Work?
Yes, self-watering planters work well by providing consistent moisture through a water reservoir. They reduce watering frequency and prevent overwatering.
Where Does The Water Go In A Self-watering Planter?
Water in a self-watering planter moves into a reservoir below the soil. The soil absorbs water through a wick or false bottom as needed. This system keeps soil moist without overwatering, providing plants with consistent hydration.
Conclusion
Creating a self-watering planter saves time and keeps plants healthy. The simple design uses a water reservoir and soil separated by a wick or false bottom. This system slowly feeds water to plants as they need it. It works well for busy gardeners and those new to plant care.
With basic materials, anyone can build one at home. Try making your own to enjoy easier plant watering and greener growth.