How to Make a Self Watering Plant: Easy DIY Guide for Thriving Greens
Are you tired of constantly worrying about watering your plants just right? What if your plants could take care of themselves, drinking exactly what they need when they need it?
Making a self-watering plant setup is easier than you think, and it can save you time, stress, and even help your plants thrive. Whether you’re often busy, forgetful, or just want a smarter way to care for your green friends, this guide will show you simple, practical methods to create your own self-watering system at home.
Keep reading to discover easy steps that turn ordinary pots into hands-free plant havens—your plants will thank you!
Materials Needed
Gathering the right materials is crucial for making a self watering plant. Each item plays a key role in ensuring your plant stays hydrated with minimal effort. Focus on containers, wicking materials, and tools that suit your plant’s needs.
Choosing The Right Containers
Select containers that can hold both soil and water. Look for pots with two parts: one for the plant and one for the water reservoir. Plastic or glass containers work well. The container must fit your plant size and have enough space for roots.
Selecting Absorbent Wicking Materials
Pick wicks that soak and transfer water efficiently. Cotton, wool, or nylon cords are popular choices. The wick should be long enough to reach from the water reservoir into the soil. Avoid synthetic materials that do not absorb water well.
Additional Tools And Supplies
Prepare simple tools like scissors and a drill or nail for making holes. Use a funnel to fill water without spilling. You may need potting soil and small stones for drainage. Keep a measuring cup handy to monitor water levels easily.

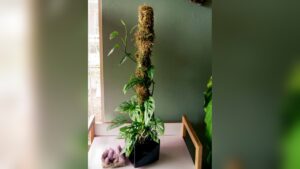
Credit: www.foliage-factory.com
Wicking System Setup
Setting up a wicking system helps plants absorb water steadily from a reservoir below. Place one end of a cotton or wool wick in water and the other in the soil. This simple method keeps soil moist without frequent watering.
Preparing The Water Reservoir
Choose a container that can hold enough water for your plant. Clean it well to avoid mold growth. Make sure the reservoir fits under or beside your plant pot. Fill the container with fresh water. Avoid overfilling to prevent spillage. Use room temperature water for best results.
Inserting The Wick Into Soil
Select a wick made from absorbent material like cotton or wool. Cut the wick long enough to reach from the reservoir to the soil. Insert one end of the wick deep into the soil near the plant roots. The wick should be snug but not too tight. Place the other end of the wick into the water reservoir. This allows water to travel up to the soil.
Starting The Capillary Action
Moisten the wick before placing it in the soil to help water flow. Capillary action will pull water from the reservoir to the dry soil. Check the wick daily to ensure it stays wet. Adjust the wick if water is not reaching the soil. This simple process keeps your plant hydrated over time.
Drip System Setup
The drip system setup is a simple way to keep plants hydrated for days. It uses a container filled with water that slowly releases moisture into the soil. This method saves time and helps plants grow healthy by providing steady water supply. Below are easy steps to create a drip system at home.
Using A Water-filled Bottle
Choose a clean plastic bottle, 500ml or larger. Fill it with fresh water. This bottle will act as the water source for your plant. Make sure the bottle cap is tightly closed before making holes.
Creating Slow Drip Holes
Use a pin or needle to make small holes in the bottle cap. These holes control the water flow, allowing it to drip slowly. Start with one or two holes. Test the drip speed and adjust by adding or enlarging holes if needed.
Positioning The Bottle In Soil
Turn the bottle upside down. Push the cap end into the soil near the plant roots. Ensure the bottle is stable and does not fall over. The water will drip directly into the soil, keeping it moist over time.

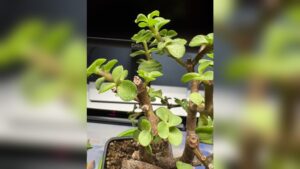
Credit: www.youtube.com
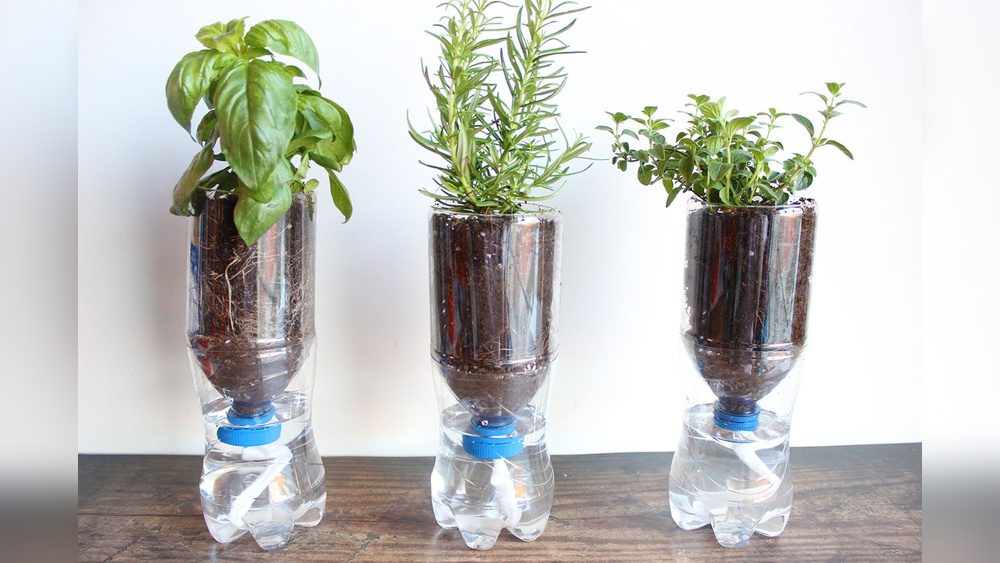
Recycled Bottle Planters
Recycled bottle planters offer a smart and eco-friendly way to make self-watering plants. They use common plastic bottles to create a water reservoir that feeds the plant slowly. This method saves water and keeps plants healthy longer.
You can reuse bottles of different sizes to fit your plant needs. The process is simple and requires only a few tools. This approach also helps reduce plastic waste while adding a green touch to your home.
Cutting And Preparing Bottles
Start by cleaning the plastic bottle thoroughly. Remove any labels and dry the bottle well. Cut the bottle into two parts: the top third and the bottom two-thirds.
Use scissors or a sharp knife carefully to make a clean cut. The top part will become the water funnel, and the bottom part will hold the soil and plant.
Building Self-watering Bulbs
Invert the top part of the bottle and place it into the bottom part. The neck of the bottle should face down into the water reservoir below. Poke a few small holes in the bottle cap to allow water flow.
Add a cotton wick or piece of cloth through the bottle neck to help water move up to the soil. Fill the bottom part with soil and plant your seeds or seedlings. Pour water into the bottom reservoir, and the wick will keep soil moist.
Decorating And Personalizing
Make your recycled planter look nice by painting the outside with water-based paints. Use markers or stickers to add patterns and colors. You can also wrap the bottle with twine or fabric for a rustic look.
Personal touches make the planter unique and fit your style. Decorating also helps protect the plastic from sunlight, making the planter last longer.
Maintaining Your Self-watering Plant
Maintaining your self-watering plant ensures it stays healthy and thrives. Regular care keeps the system working well. Simple steps help avoid common problems and encourage steady growth.
Refilling Water Reservoirs
Check the water reservoir often. Keep it filled to provide a constant water supply. Use clean water to prevent mold and bacteria. Refill before the reservoir runs dry to avoid stressing the plant. A full reservoir helps the wick or drip system work smoothly.
Monitoring Soil Moisture
Feel the soil surface regularly. Soil should be moist but not soggy. Adjust water levels if the soil feels too dry or too wet. Use a moisture meter for more accuracy. Proper soil moisture supports healthy roots and plant growth.
Troubleshooting Common Issues
Watch for yellowing leaves or wilting. These signs may indicate overwatering or underwatering. Check the wick or drip for blockages or damage. Clean the reservoir and wick to remove dirt or algae. Fix small problems early to keep plants healthy.

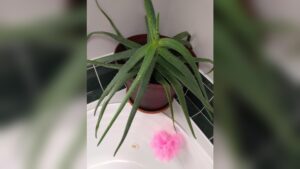
Credit: www.youtube.com
Benefits Of Self-watering Plants
Self-watering plants offer many advantages for both new and experienced gardeners. They help maintain steady moisture in the soil, which supports plant health. These systems reduce the frequency of watering and make plant care easier. The benefits make self-watering plants a smart choice for anyone wanting a low-maintenance garden.
Consistent Moisture Levels
Self-watering plants keep soil moisture steady. This prevents plants from drying out or getting too wet. Consistent watering helps roots absorb nutrients well. Plants stay healthier and stronger with balanced moisture.
Ideal For Busy Or Traveling Gardeners
These plants need less attention each day. They work well for people with busy schedules. Travelers can leave plants alone for days without worry. The self-watering system supplies water automatically.
Promoting Healthy Plant Growth
Steady water supply encourages strong root development. Plants grow faster and produce more leaves or flowers. Less stress on plants means fewer problems like wilting. Healthy growth leads to a more beautiful garden.
Advanced Diy Ideas
Advanced DIY ideas take self-watering plants to a new level. These methods use technology and smart materials. They save more water and reduce plant care time. Perfect for busy gardeners or plant lovers seeking efficiency.
Automated Drip Systems
Automated drip systems deliver water slowly and regularly. Use a small pump connected to a water reservoir. Set a timer to control watering intervals. This system mimics natural rain drops. It keeps soil moist without flooding. Great for larger plant collections or outdoor gardens.
Combining Wick And Drip Methods
Combining wick and drip methods improves water delivery. The wick draws water up from a reservoir. The drip adds slow, steady moisture to soil surface. This dual method keeps soil evenly moist. It reduces the risk of overwatering. Ideal for plants with different water needs.
Using Pvc And Other Materials
PVC pipes create durable and customizable watering setups. Cut pipes to fit your plant container size. Drill small holes for water to drip into soil. Connect pipes to a water source or bottle. Use other materials like tubing or sponges for wicks. This setup lasts longer and handles more plants.
Tips For Different Plant Types
Different plants need unique watering methods in self-watering setups. Adjusting systems ensures each plant gets the right moisture level. Understanding plant types helps create a healthy environment.
Adapting Systems For Succulents
Succulents need less water than other plants. Use a wick system with a slow drip or small reservoir. Avoid overwatering by limiting water supply. Well-draining soil is important to prevent root rot. Check soil moisture before adding water to the reservoir.
Watering Tropical Plants
Tropical plants thrive in high humidity and consistent moisture. Use a larger water reservoir for steady supply. A drip system works well for these plants. Keep soil slightly moist but not soggy. Add mulch on top to retain soil moisture longer.
Caring For Indoor Greens
Indoor greens like ferns and pothos need balanced watering. Use a wick system to deliver water gradually. Monitor soil moisture often to avoid drying out. Place plants away from direct sunlight to reduce evaporation. Adjust watering frequency based on room temperature.
Frequently Asked Questions
How To Water Plants While Away For 2 Weeks?
Use a self-watering system like a wick or drip setup. Place a wet wick from water reservoir to soil. Alternatively, invert a water-filled bottle with a small hole into the soil for slow watering. This keeps plants hydrated during your two-week absence.
How Do You Make Homemade Self-watering Hacks?
Create a self-watering hack by placing a wet wick from soil into a water container. Alternatively, invert a water-filled bottle with a small hole in the cap into the soil to drip water slowly. Both methods ensure plants receive consistent moisture automatically.
Is There A Way To Automatically Water Plants?
Yes, use self-watering systems like wick setups or drip bottles that slowly deliver water to plants automatically.
How To Make A 5 Gallon Self-watering Container?
Cut a 5-gallon container in half. Place a wick or fabric strip from the soil into a water reservoir below. Fill the bottom with water. Soil draws moisture up through the wick, keeping plants hydrated automatically.
Conclusion
Creating a self-watering plant is simple and practical. Use basic materials like a wick or bottle for steady watering. This method saves time and keeps plants healthy. You can enjoy lush plants even when busy or away. Try making your own self-watering system today.
It helps plants grow with less effort. Watching your plants thrive becomes easier and more fun.